 Now that we have cabinets and everything painted, we can move onto the countertops and backsplash! Above are just a few of the may choices we brought home and debated over. Our contractor was trying to steer us toward granite, but I didn’t like many of the variations for our kitchen. Plus, we were leaning toward a lighter shade of countertops, and if you spill red wine on granite, it will stain! I like red wine, and I know I will spill, so that was a lot of pressure.
A new-er product that has been getting a lot of respect in the kitchen is quartz. It’s about the same price as granite, but you don’t have to seal it when it’s installed nor annually like granite, and if I spill Kool-aid or red wine on white quartz, which I can pretty much guarantee, this countertop is safe! Win-Win! Plus, it comes in simple patterns and some variations look like marble, which we were both drawn to.
We went to a bunch of countertop stores around the area, looked on-line, and found two that really stuck out. LG Hausys Rococo Quartz and Vicostone Calacatta Quartz. Rococo quartz only came in 2 cm and we really wanted 3 cm. Calacatta quartz was the one that shined through the rest, the whole time. It looks great with the cabinets, the newly painted walls, and was a touch of bold in our white-on-white kitchen.
 I was able to go to the quartz showroom in Dallas to see the exact piece. This was exciting!! Look at those bold stripes! I was a little nervous but overall super excited!
 Then it was time to talk to our fabricator. This is crucial when picking something with a pattern. Talk to your fabricator, often. I printed out this exact image above, then used it to “puzzle” the pieces we wanted for our lay out. The fabricator took it with him, laid out the design on the slab and had me come out into his shop to make sure I was okay with the design before he actually started cutting. This is what we thought it would look like…
 The fabricator had to change a couple pieces, when he got the actual slab and measured everything out. But as I said before, he had me come out to the shop, and three guys and I walked through the layout. I had the puzzle pieces on the floor, and we working with the big slab until everything was correct. We came up with a plan that kept the flow of the lines consistent, kept the pieces I wanted in each area, and matched the seams perfectly! Sorry, the masking tape is hard to see, but they are there!
  Here’s a crude/discolored idea of what the sink side of our kitchen countertop will look like… see how the lines on the top of each side match up where the seam will be above the sink!! That was the work of one of the fabricators! Moving, measuring, and taping, over and over! Trust me, it’s worth your time to sit and make sure your pattern flows! Your eye thinks the other line connects were the sink is cut out, too (see the arrow below). Bonus!!
 Okay, enough with all the details, are you ready for a peak of the real countertops?!? I figured you would!


Besides the whole sink side, this little gem is one of my favorite pieces.
 And here’s that seam I was so worried about… they got it! Perfect!
 I’m in love! It’s a little bit of boldness in this simple kitchen! Plus, a little dose of Jack, who absolutely loves the construction site!

 With a durable surface like quartz, I won’t be as worried about every little thing I’m doing on them! It’s been a pretty fun process from start to finish.
I’ll be back with our backsplash! Yay! We’re getting SO close to the end!

 We have been moving along at a snail’s pace these last couple of weeks…. maybe even slower than a snail’s pace. But the tile AND flooring guys (hold your breath) actually showed up this week. Of course the flooring guys still have work to do, but the backsplash is finished!
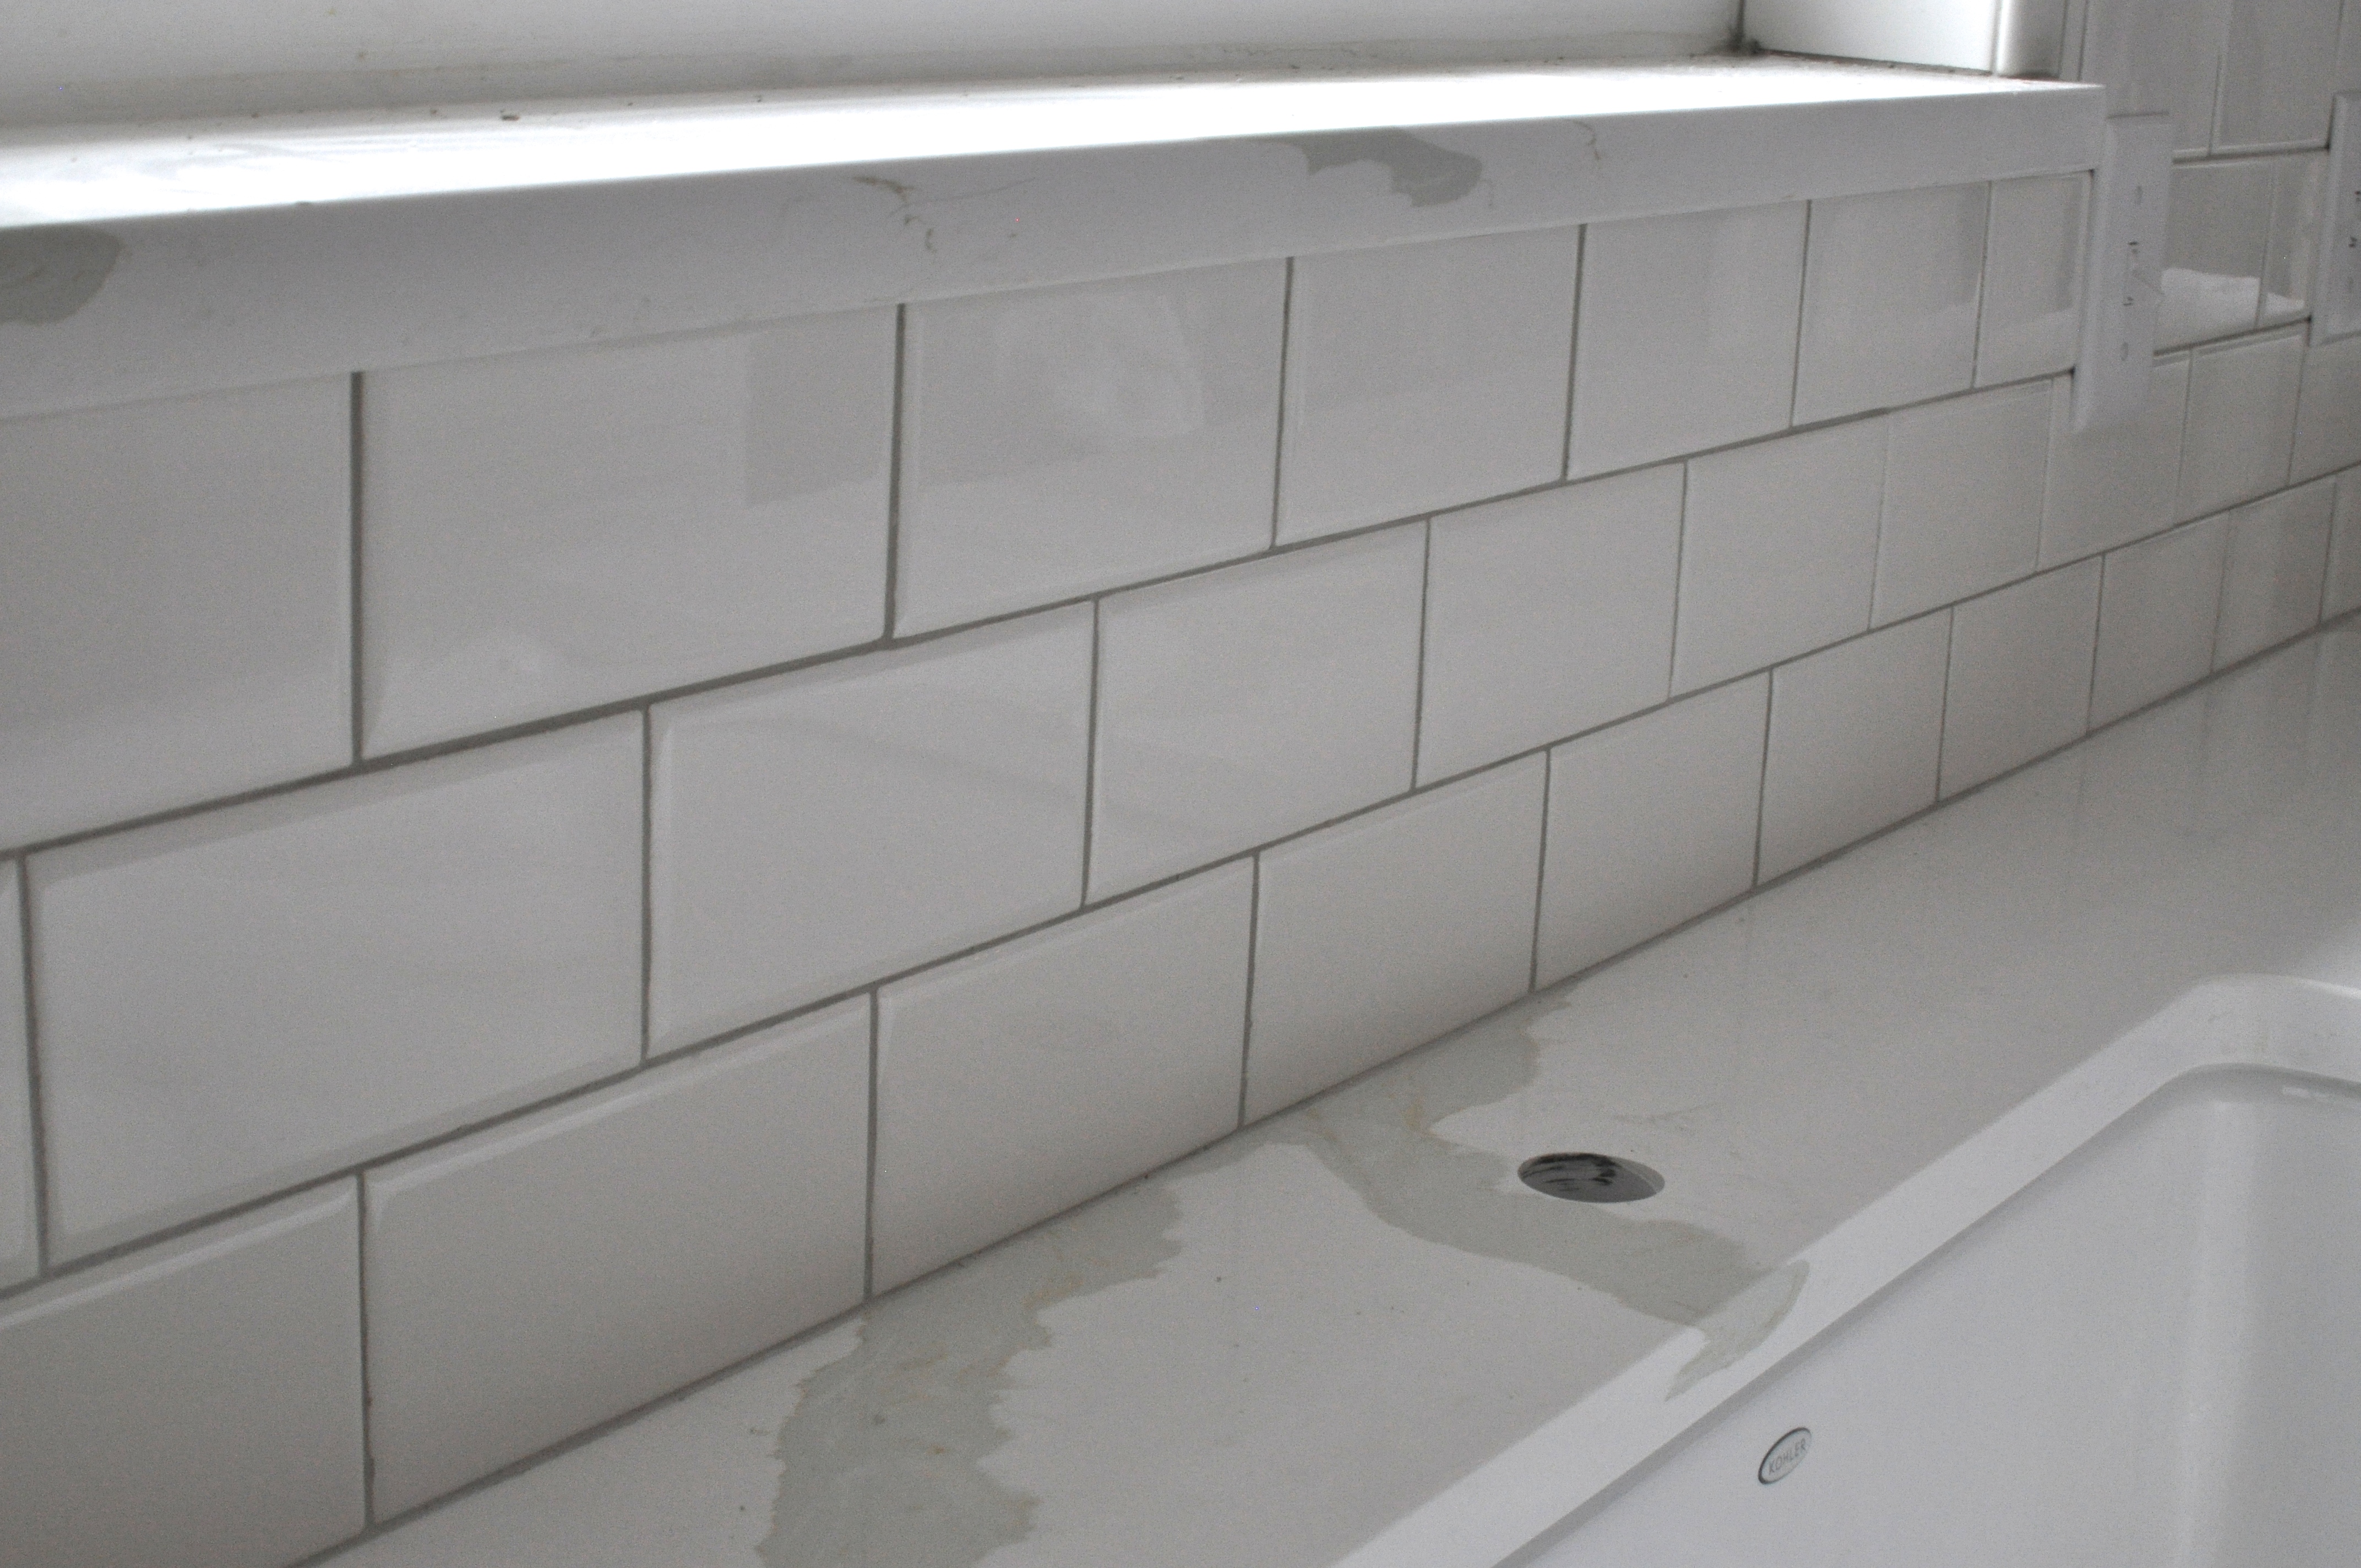
 We decided not to stop the subway tile at the level of the cabinets but worked them all the way up to the middle of the window. I like the look of more subway tiles than less, plus it will be a great backsplash to whatever items I decide to place on the sill.
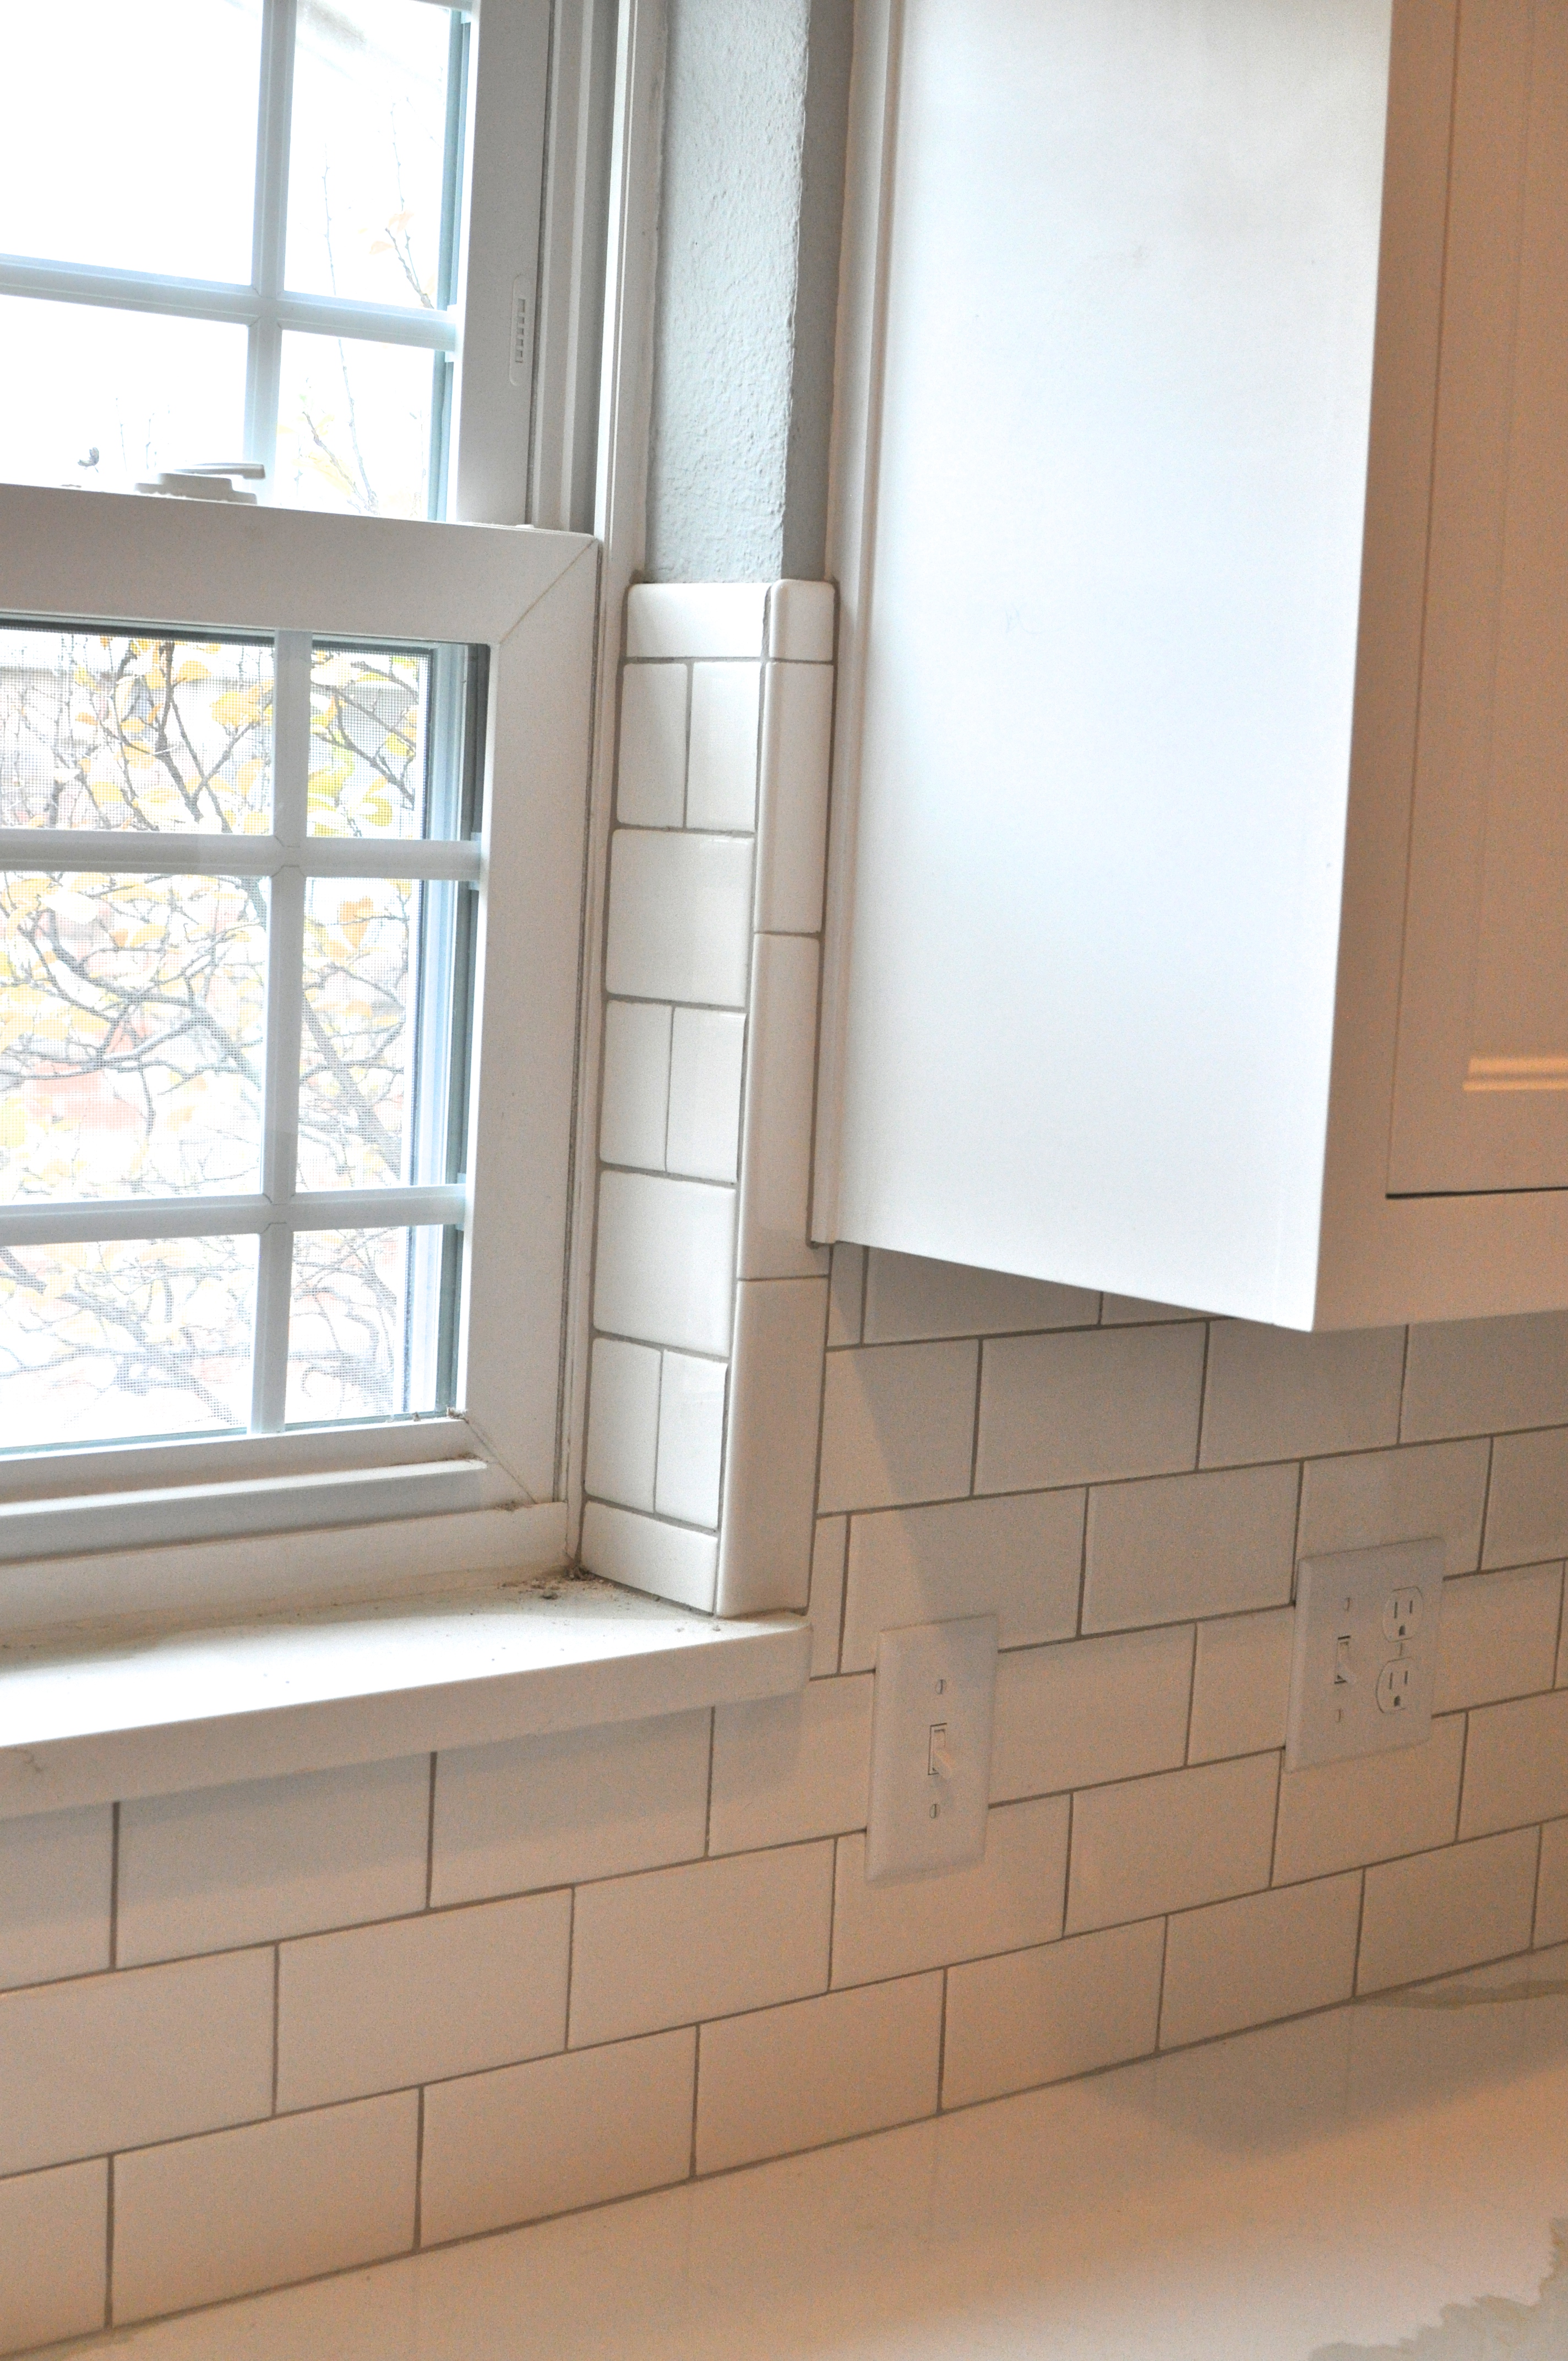
 After they put in the tiles, it was time for the grout. We went with Polyblend Oyster Gray #386. At first glance (when it was still drying), I thought it was too dark, but by the next day, I liked the color and the contrast.
 All in all, we’re really pleased with the progress but can’t quite believe it’s almost Thanksgiving (Thanksgiving!), and I don’t have my kitchen back. Sigh. It’s been two months for this very small galley kitchen. Wow. Touch ups, appliances are up next!


