he’s here!

Jackson PaulJackson Paul Snitker finally entered the world Monday night at 5:06 pm, weighing in at 8 lb, 5 oz, and stretching 20 3/4 inches long.

It was a long day and a long night beforehand. At 5 pm Sunday night, we had a date for cervical ripening at the hospital. We started the induction process at 6 am that next morning. 8 hours of dilating, followed by 2 1/2 hours of pushing, ended with an upward facing baby, shoulders shifting back and forth with each push, and a doctor with a grim outlook of getting him out vaginally. Eventually a c-section ensued.

So, the images of my labor being as easy as my mothers have abandoned me but the outcome of all these amazing events left me to believe it was all worth it. The hubs made a great point when he looked at me and asked me – When have we ever done anything the easy way? Why should we start now?

DSC_0009

JPS

We spent the rest of the night and next day just staring at Jack, watching his first bath, completely memorized that he is ours. It’s amazing how your perspective on life can change dramatically in a couple of days. We are so so so blessed. He definitely has our hearts.

SKS

Paul & Jack

bags are packed! finally.

I don’t know what you have been doing all weekend but all I have been thinking about is tomorrow.

Tomorrow I become a parent.

The hubs and I checked into the hospital at 5pm tonight, where I’ll be monitored and starting my induction Monday morning…where we will emerge sometime that day (if all goes well) as a family of three.

To say I am nervous, is an understatement. I had sweaty palms signing into registration, questioning my answers to commonly known items such as gender and address. I am nervous.

But I’m so excited, too.

Excited to be on the other end of delivery and to shout out my two-cents about the dos and do nots of labor and delivery. To help new moms with their hospital packing list, and well, to have that baby boy in my arms.

I cannot wait to see what he looks like. How I feel after he is here. How I’ll be an emotional wreck until he’s 90… You know, the usual.

After tonight I know nothing will be the same, but I’m so excited to get this new life underway. I’ll keep you posted!

blogoversary 2

Tiff's Treats Box

Hello Friends! It’s been TWO years writing on my house talks, and I wanted to take this moment to reflect on all the goodness! We’ve transformed our little ranch style house at 614, into a place we now call home. We continue to formulate ideas to create, invent, and share all it’s goodness. Inside these walls, I’ve loved sharing my love for baking and house projects. And I’m just continually overjoyed at all the followers and blog-love I receive. Thank you friends and family for enjoying my little outlet as much as I do!

Here are some of my favorite posts from the year:

1. YHL Bloggers

2. French Workbench

3. Nursery Reveal

4. Apple Cheese Crisp

This year (more like a couple days), we’ll be adding a bambino to our blog roll, and I’m sure he will make an appearance or two-million much like our K9 boys, Boston and Otis!

mht 2nd blogoversary

Instead of going with the traditional slice of cake or cupcake, I stopped by Tiff’s Treats to celebrate. It’s this amazing little gem that was first introduced in Austin and has since expanded to Dallas and Houston. Lucky me! They have a simple philosophy of baking and delivering warm cookies to your work or home! You can add milk, Texas Blue Bell ice cream or Starbucks coffee to your order for an even more amazing experience.

Tiff's counter

During my time in Texas, I have given and have received Tiff’s Treat’s at home and at our office… It’s such an uplifting treat! Who doesn’t love warm cookies during a long work day?!? If you’re ever in the Austin, Dallas, or Houston area definitely order them!!

Tiff's menu

Happy second birthday my house talks! Thank you for the memories… and the cookies! :)

chocolate crackles

Cover Crackle

These are by far my favorite cookies, though when I mentioned making chocolate crackles to the husband, he looked up and asked what they were. I guess I never make them? I just loved them at grandma’s house, and that’s it. It’s probably because you need to know your oven well, very well for this cookie to be a success. They are a wonderful fluffy, chewy cookie, but if you bake them too long you end up with a flat crunchy cookie… and if you under bake them, they are raw/doughy inside, and trying to re-cook them will only cause you pain. It’s my own version of goldilocks over here. These cookies have to be juuuust right. Knowing your oven is key or some dumb-luck is even better!

Grandma Anne's Recipe

grandma’s original typed recipe

Recipe

Ingredients

  • 1 cup chocolate chips
  • 1 cup brown sugar, packedChocolate Chips
  • 1/3 cup oil
  • 2 eggs
  • 1 teaspoon vanilla
  • 1 cup all-purpose flour
  • 1 teaspoon baking powder
  • 1/4 teaspoons salt
  • 1/2 cup chopped walnuts (optional)
  • 1/2 cup powered sugar

Melt chocolate chips. Combine with sugar and oil. Add eggs, one at a time; beat well. Add vanilla.

Chocolate Mixture

Combine flour, baking powder, and salt. Add to chocolate mixture. Stir in nuts (optional).

Dough

Chill dough until firm and easy to handle. Drop teaspoons of dough in powdered sugar. Roll to coat surface. This is what makes the crackle.

powdered cookies

Place on greased cookie sheet. Bake at 350° degrees for 10 – 12 minutes. Watch closely, DO not over bake! After taking them out of the oven place them on a cooling rack, I think they fluff up better that way! Enjoy!!

Single Crackle

fw wedding

Couple Dancing

I’ve had these pictures on my computer for quite some time, and I don’t know why I haven’t shared these with you. Maybe it’s come to my attention now because one my best-est cousins got engaged this weekend, making me think about wedding venues and wedding planning? Happy engagement to Amy & Jon; enjoy all the planning!!

Anyway, the hubs and I were invited to share in a wonderful couple’s wedding in Fort Worth! We decided to make a day of it in Fort Worth, and I got to see the husbands fancy new office and enjoy some of the surrounding area.

We decided to have lunch before the wedding at Yucatan Taco Stand, this fabulous Tex-Mex in Fort Worth’s up-and-coming neighborhood near Baylor. It’s a wonderful street to stroll along to eat, people watch, and shop.

FW Taco Stand

After the lunch, it was time to get all dressed up for the wedding. It was held in Fort Worth’s historic Ashton train depot and was just as aesthetically beautiful as the couple.

FW Venue

They accesorized the space with flowers hanging from the outside fences and trees. It was so tasteful and beautiful.

Flowers

The wedding was outside the depot and the reception inside. Equipped with a Superman cupcake-cake (for the groom), wedding cake, and an amazing candy bar for us to take home. I think there was real food, too. Ha. Otherwise, just wanted to share with you another wonderful couple’s journey and wedding. My best to Natalie and Seth and all the wonderful couples getting married this year!

Treats

Invitation

nursery reveal

Nursery 1

I know most of you have been waiting patiently for the Big Nursery Reveal! for a while now! It’s so exciting, no!?! I’m only kidding. I’ve been the one waiting to finally reveal the nursery because that meant I could finally say it’s finished!! And that is it, my friends! All I need is our baby boy to complete the space! Okay, maybe I’ll add the first letter of his name to one of the walls! We’ll see.

As I said in this post here and here, we went with a gender-neutral wall color and palette made up of natural woods and whites, then added some personal touches and gender-specific accessories. I wanted a calming place to have our baby rest his head and a place we can transition easily when he’s older. When ever I say that, I always think of those bridesmaid dresses they always say you can wear again, in the back of my closet, yep, still haven’t worn them. Maybe better thinking is Baby #2 will enjoy the space next while Baby #1 moves into another room all together. Yep, I’m a perpetual planner.

The bumper pad will be forgotten, due to the pediatricians new advisories against them in infancy. I may add one later when he gets a little older to protect his arms and legs but for now, it will stay open.

I’ll try to give a detailed list of all the goodies at the end.

Nursery 2


Nursery Right Side

basket and dresser

changing table

dresser & diapers

XO & Shelf

center nursery

books & diaper pail

animal portraits

Nursery left side

glider & side table

crib & pouf

gallery wall

ABC

Lastly, the other man of the nursery! We’re taking bets if he’ll sleep in our room or the nursery when the baby comes!

Boston Nursery

Source List: Wall Color – Benjamin Moore Pashmina (Affinity Collection) in Natura, Crib – Wal-Mart Parklane 3-in-1, Crib Skirt & Boppy cover – Handmade, Sarah Watt’s Collection fabric, Crib Mattress and Changing Pad – Nook, Ceiling fixture – Birds Nest Hanging Light, Serena & Lily, Sheepskin Rug – Amazon, Senegalese Storage Basket – Serena & Lily, Glider Chair & Ottoman – West Elm Graham collection, Floor lamp – Urban Outfitters, Orange side table – west Elm Martini table, Giraffe Bust – Anthropologie, Pouf – Handmade at City Craft Dallas, Dresser – West Elm Patchwork dresser, Animal Portraits – Berkley Illustrations on Etsy, Animal Portrait frames – Ikea, Changing table topper – Pottery Barn Kids, Rocking Bird – West Elm, Orange nightlight truck – Target, Leaf tray with nooks – Crate & Barrel, “XO” – Thrifted Canton, TX, Framed “baby Toms” – Vintage Bloom Photography, Pottery barn wood gallery frame, Shelf – West Elm Reclaimed wood 2′ with silver branch brackets, Worm – West Elm, Aesop’s Fables – Vintage from the hubs grandma, Yarn Rhino – Target, St. Louis Cardinals banks – Hubs/Gifted from childhood, Silver ABC bank – Mine/Gifted from Childhood, Diaper Pail – Ubbi from Buy, Buy, Baby, Rolling Storage Crate – Senera & Lily, Framed Baby – Vintage, Ha. My father as a baby, in Pottery barn wood gallery frame, Framed baseball – vintage single baseball by Shawn St. Peter on Etsy in Pottery barn wood gallery frame, Framed Arrows – Gotcha Arrows and Heart By ProjectType on Etsy in Pottery barn wood gallery frame, Wooden Alphabet – Bookhouathome on Etsy.

belly project part II

Just growing that baby over here! I cannot believe it, but I’ve hit my last trimester and am already considered full-term, that was at 34 weeks! I know I still have 4 weeks left but with all the uncertainty about me making to the Big 4-0 weeks, I wanted to get these photos up!

Week 21 – 36 have been a little more challenging than the first twenty, but still I have yet to complain (whole-heartedly) about this pregnancy process. A couple weeks ago, I finally had to stop trying to lay on my stomach to sleep (my preferred position prior to pregnancy), and I invested in a wedge pillow which has been awesome! I suggest it to all pregos! Then, while traveling to Pittsburgh to see a friend, I had my first experience with swelling! Cankles! It was super weird to have big ankles/feet/lower legs, but luckily it all went away when I was back on the ground in Texas. But they sprouted up again at Week 33. They look bigger to me but most wouldn’t notice, thank goodness.

Here’s Weeks 21 – 36. As usual most of my pictures were taken by my iPhone! It was just easier than having the hubs take them, but I did get into my t-shirt a couple times, too! It’s funny, before this experience, I felt bad for friends that would post their own pregnancy photos taken by themselves; now, I just realize it isn’t sad, it’s just more convenient… maybe I’ll invest in a tripod?

21 weeks

23 weeks

24 weeks

25 weeks

25.5 (26) Weeks

27 weeks

28 weeks

30 weeks

30.5 (31) weeks31.5 (32) weeks33 weeks34 weeks35 weeks

36 weeks

Otherwise, life is good, baby is good, and BIG, and we’re just getting really excited about his arrival which could be less than 2-3 weeks away, if the doctor has anything to do with it! Crazy! Oh, and I’ve been addicted to chocolate shakes or chocolate milk before bed… Justified by helping with my acid reflux! It works like a charm and yes, I recommend it to all my pregos out there!!

Happy Summer, Friends!

the benefits of measuring big

side profileBaby Boy’s Profile

Since my 26 week appointment, my belly measurements have been on the “large size”. Luckily, I’m tall, and I don’t think most people notice that at 26 weeks, I was measuring 32 weeks! And at our 34 week appointment, I was measuring 40 weeks. That being said, my OB is slightly concerned about the status of our bambino’s accelerated growth pattern. I’m consistently measuring big, and I don’t have any other risks for a big bambino, plus being tall, I should ultimately be measuring smaller than bigger. It may just be the way I like to carry my babies. Front and center, so there’s no mistaking I’m pregnant or there may be a bigger than gestational age baby in there (OB’s concern).

That brings me to the benefit of measuring big! I was ordered to get another sonogram last Monday to make sure he wasn’t already 9 pounds with 6 weeks to go! We were just excited to have another sneak peak at our baby boy! We (as always) got to walk away with a couple prints and a DVD of our bambino’s acrobatic performance.

nose, chin and a handNose, lip, chin, and a part of a hand.

breathing b.boyOpening his mouth… practicing his swallowing/breathing. 

As we recently found out, he is measuring big! Proportionately big, but big nonetheless. At 34 weeks, he’s already 6 – 6 1/2 pounds and considered full-term! At this point he gains about 1/2 pound a week making him 9 or 10 pounds (breathe, Sarah) if we go the full 40 weeks… The doctor did indicate this means a semi-early arrival, if I want any chance of a natural delivery. Maybe he doesn’t want to share the month of August with his mom and dad? Maybe he wants mom and dad to realize the joys of unscheduled things to come? We’ll keep you posted!

Otherwise, this little guy did not want his photo taken! His hands were covering his face or he was sucking on his fingers or he was moving so much the doctor (the sonographer wasn’t available which didn’t help) couldn’t take the correct measurements! So, the pictures we have look more like globs throughout this post than baby, but we’ll try again in 3 weeks! We did find out he does have some hair on his head, and he’s practicing his breathing and swallowing, which is a wonderful sign of a healthy baby getting ready for the real world! It just makes me more excited to see this little guy in person and hold him in my arms! We cannot wait for his real debut!

3D image

3D image of his face. right arm across his forehead and left hand is in his mouth .

macarons

macaroon cookies cover

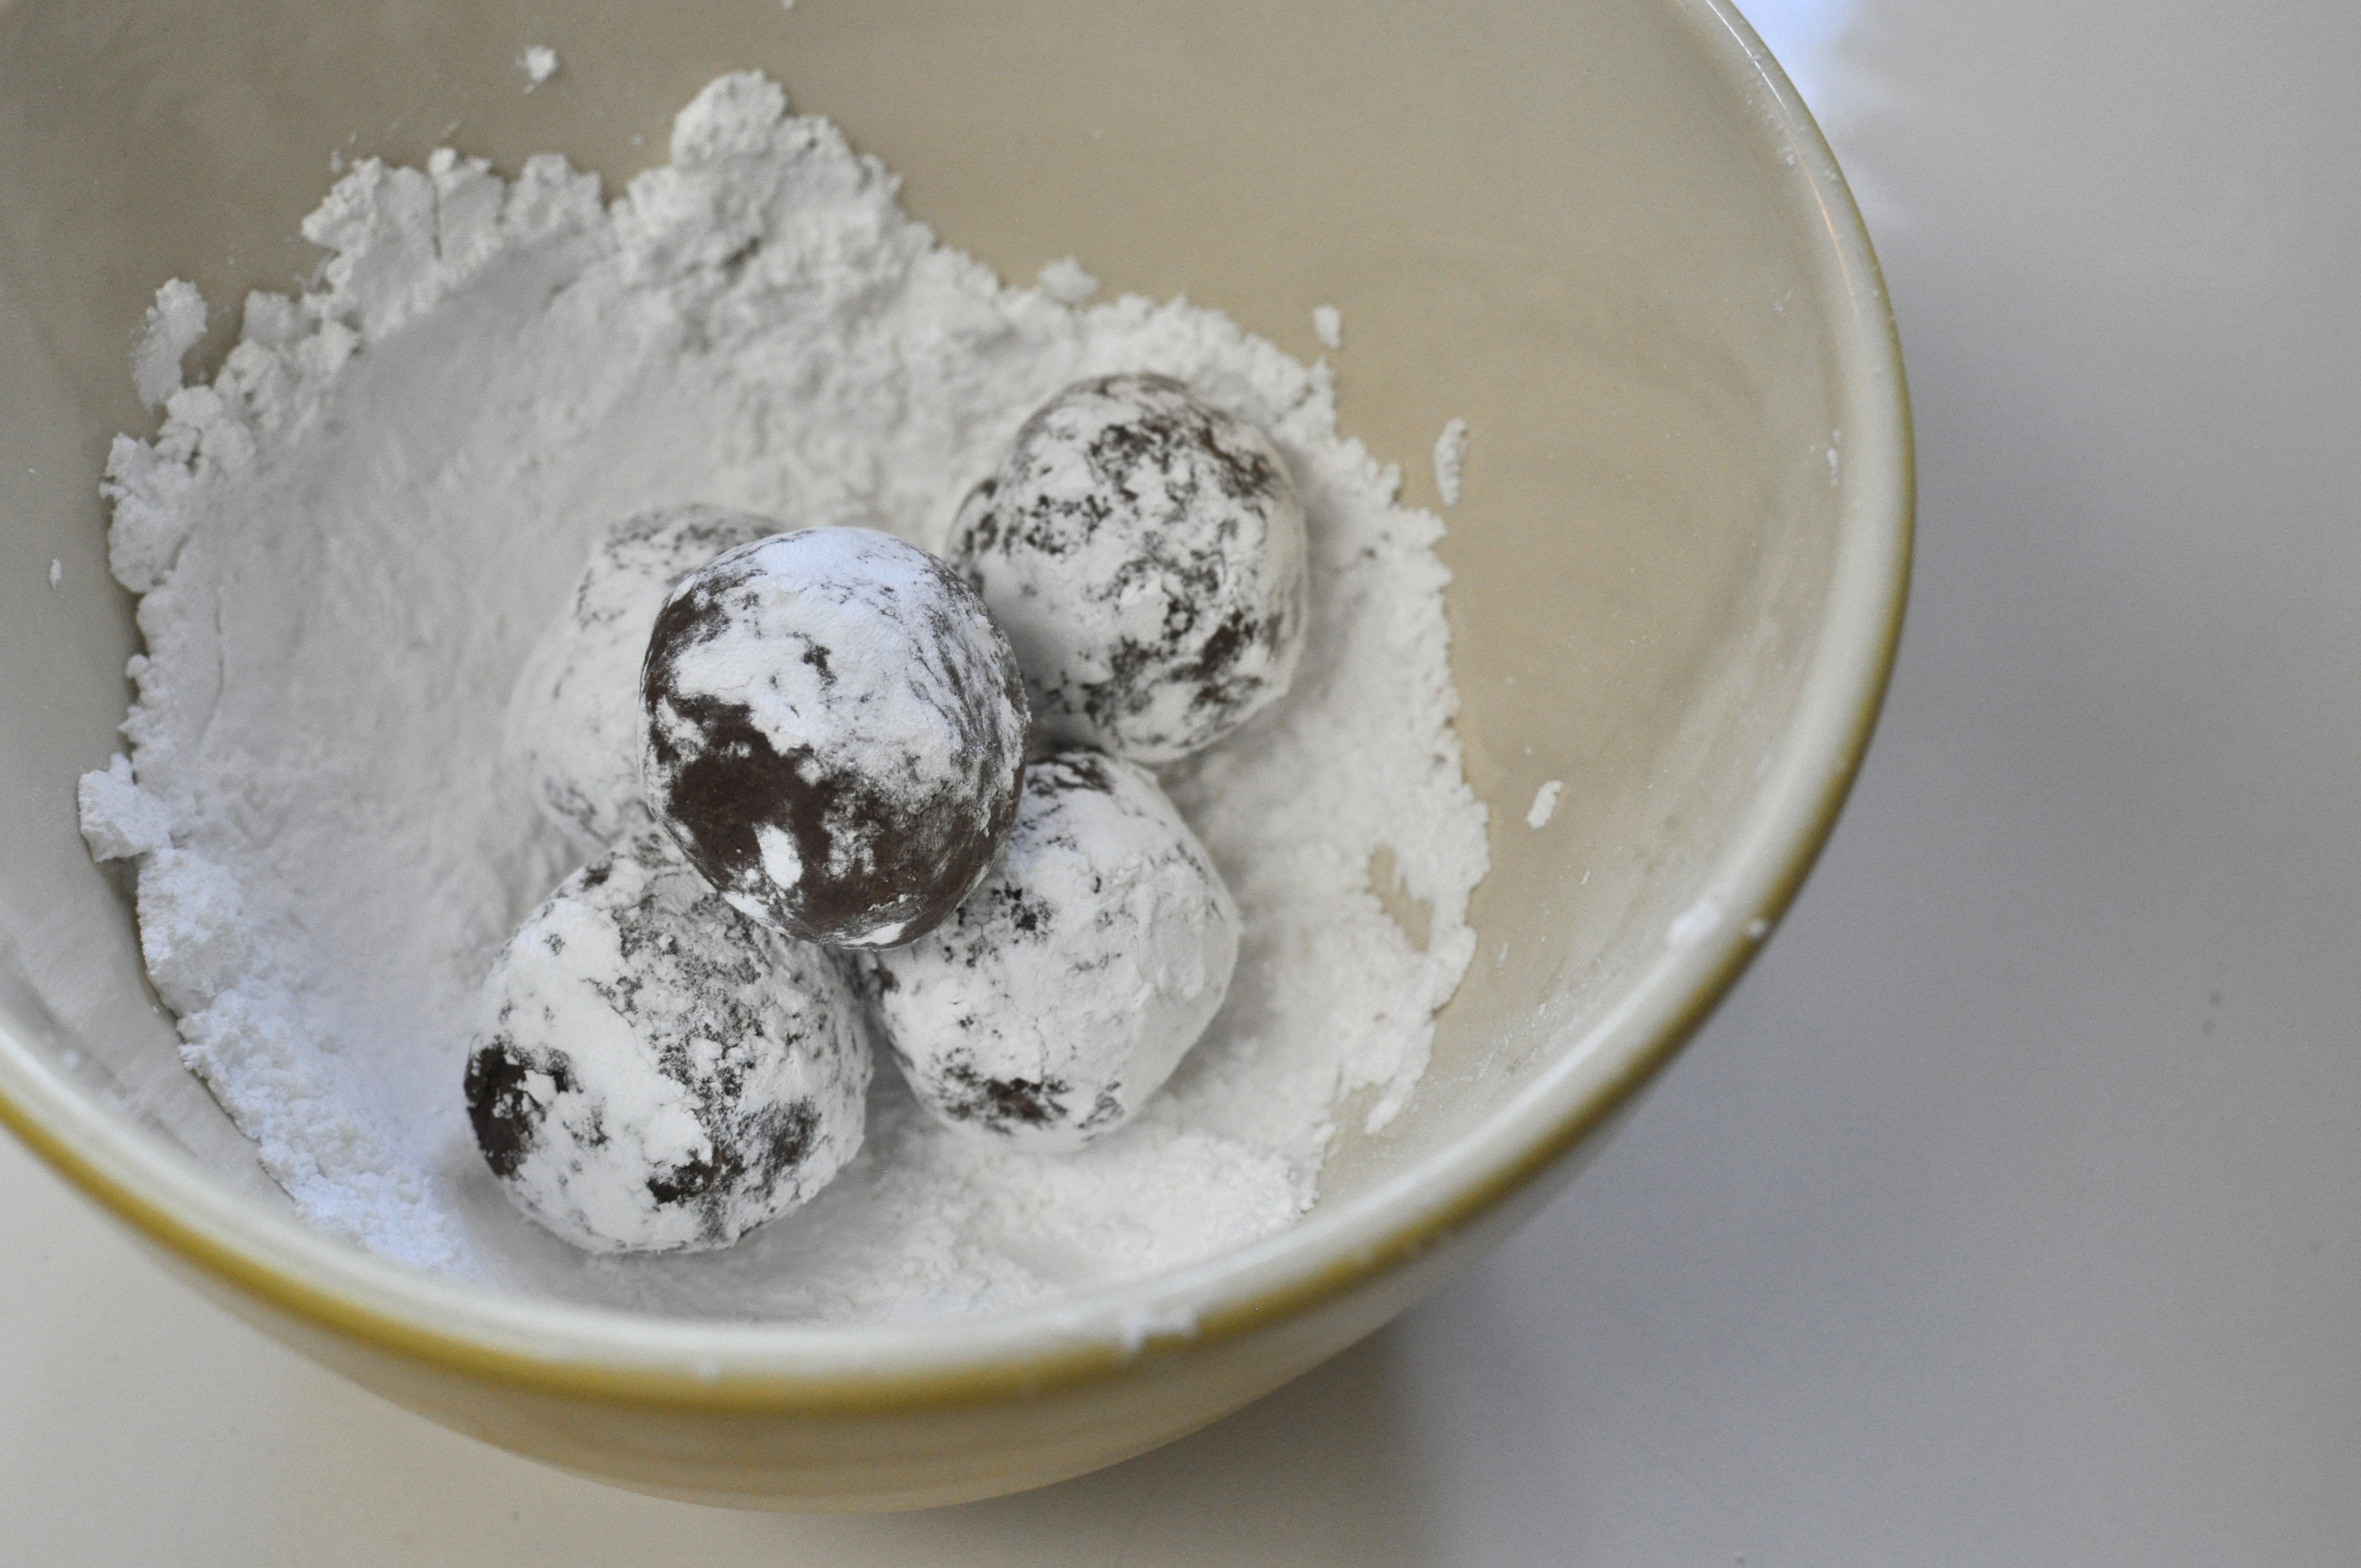
Don’t these macarons look fabulous? I made them!!! Yes, in keeping with exploring Dallas, my friend and I decided to do a macaron cookie class at Sur la Table. Honestly, macarons are intense, and I don’t think I’ll ever set aside a whole Saturday to make a set of these bad boys, but I will purchase them for what seems like too much money, knowing full-well, it was all worth it not to spend my whole Saturday slaving away. That being said, if my friends called up and said they wanted to make them together, with a bottle of wine perhaps, I could open up a Saturday.

Kam & I

Here’s one of the recipes we made in class and my favorite macaron filling.

Hazelnut Macarons

Ingredients

  • 7 ounces powdered sugar, divided
  • 2 1/2 ounces almond flour or meal
  • 1 1/2 ounces hazelnut flour or meal
  • 4 large (4 ounces) egg whites, room temperature
  • Pinch of cream of tartar
  • 3 1/2 ounces granulated sugar
  • Wilton brown food clothing

Recipe

Preheat over to 325°, if baking using double-baking sheet cooking method, or pre-heat oven to 325 degrees, if using single baking sheet cooking method.

Prepare the baking sheet with the parchment paper macaron templates – line baking sheets with Silpat silicone mats and top with parchment paper template.

Pulse one third of the powdered sugar and all the almond flour and hazelnut flour in a food processor to form a fine powder. Using a fine-sieve, sift the mixture 2 times onto a medium piece of parchment paper. Using a fine-sieve, sift remaining powdered sugar 2 times. Set aside.

To make the meringue: In a bowl of a stand mixer fitted with a whisk attachment, whisk whites on medium speed until foamy. Gradually add granulated sugar. Once all sugar is incorporated, and the mixture is thick, add the cream of tartar, scrape down sides of bowl, add food coloring and increase speed to high, whisking until stiff, firm, glossy peaks form.

To complete the macaronnage step: sift almond flour mixture one-third at a time over the egg white and fold using a large spatula until mixture is smooth and shiny. Once all the almond flour mixture is incorporated, check for the correct consistency, as the batter should be nicely firm, have a glossy shine and drip slowly (like lava) from the spatula.

Transfer batter to a pastry bag fitted with a 1/2-inch plain round tip (#12) and pip 1-1/3-inch rounds on parchment-lined baking sheets. Gently tap the bottom of each sheet on work surface to release trapped air. Let stand at room temperature for 15 to 30 minutes. Check for a slight crust to form on the macaron. The macarons should not stick to your fingers when lightly touched.

If using the double baking sheet cooking method, place an empty baking sheet underneath the baking tray with piped macarons.

Bake one sheet at a time, rotating halfway through, until macarons are crisp and firm, about 10-15 minutes. If the macarons are still soft inside, lower oven to 300 degrees, cover with aluminum foil and bake for a few more minutes. If the top of the macarons look crinkled, your oven temperature may be too hot.

Allow macarons to cool on baking sheet for 2-3 minutes and transfer to a wire rack to cool completely before filing with caramel buttercream!

Macaroon Class

Caramel Buttercream

Ingredients

  • 2 ounces water
  • 13 ounces sugar
  • 3.5 ounces water (second use, you need both waters at different stages)
  • 2.5 ounces heavy whipping cream
  • 4 ounces egg yolks
  • 1-2 teaspoons sea salt or to taste (optional)
  • 13.5 ounces butter, softened, not cold, not melted

Recipe

In a large saucepan, cook the FIRST WATER and sugar on medium heat, washing down the sides of the pan with a pastry brush and water (to help prevent crystallization) until boiling. Cook to caramel stage, about 320 degrees or honey-colored. Remove saucespan to a large bowl containing cool water and shock bottom of pot in water to stop cooking process. Allow caramel to cool to about 250 degress, then add SECOOND WATER and heavy cream, stirring with a rubber spatula.

Cook mixture over low heat until the mixture is smooth, stir in salt, set aside.

Using a stand mixer with a whip attachment, whip egg yolks until light and in “ribbon stage” about 2-3 minutes. With the mixer on low speed, carefully pour in the hot caramel down the side of the bowl. Continue whipping until mixture has cooled to about 85 degrees. This could take 10 minutes.

Switch to the paddle attachment. Begin adding chunks of butter, incorporating each into the mixture before adding more butter. If the mixture looks too soft, chill in the refrigerator before using.

FIX THIS: If the buttercream looks “broken” like a sauce, try whipping it on high speed for a few minutes. If it doesn’t come together, set a pan of water on the stove and heat to simmering. Place the mixer bowl over the simmering water and whisk until mixture comes back together, making sure to only do it as long as the mixture isn’t melting.

Store in refrigerator until ready to use. To soften before using, whip it by hand with a whisk, or gently rewarm over a pan of simmering water, whisking as you go.

macaroon cookies cover II

I told you they were intense, right? But they’re amazing to eat! Enjoy. Happy week, friends!
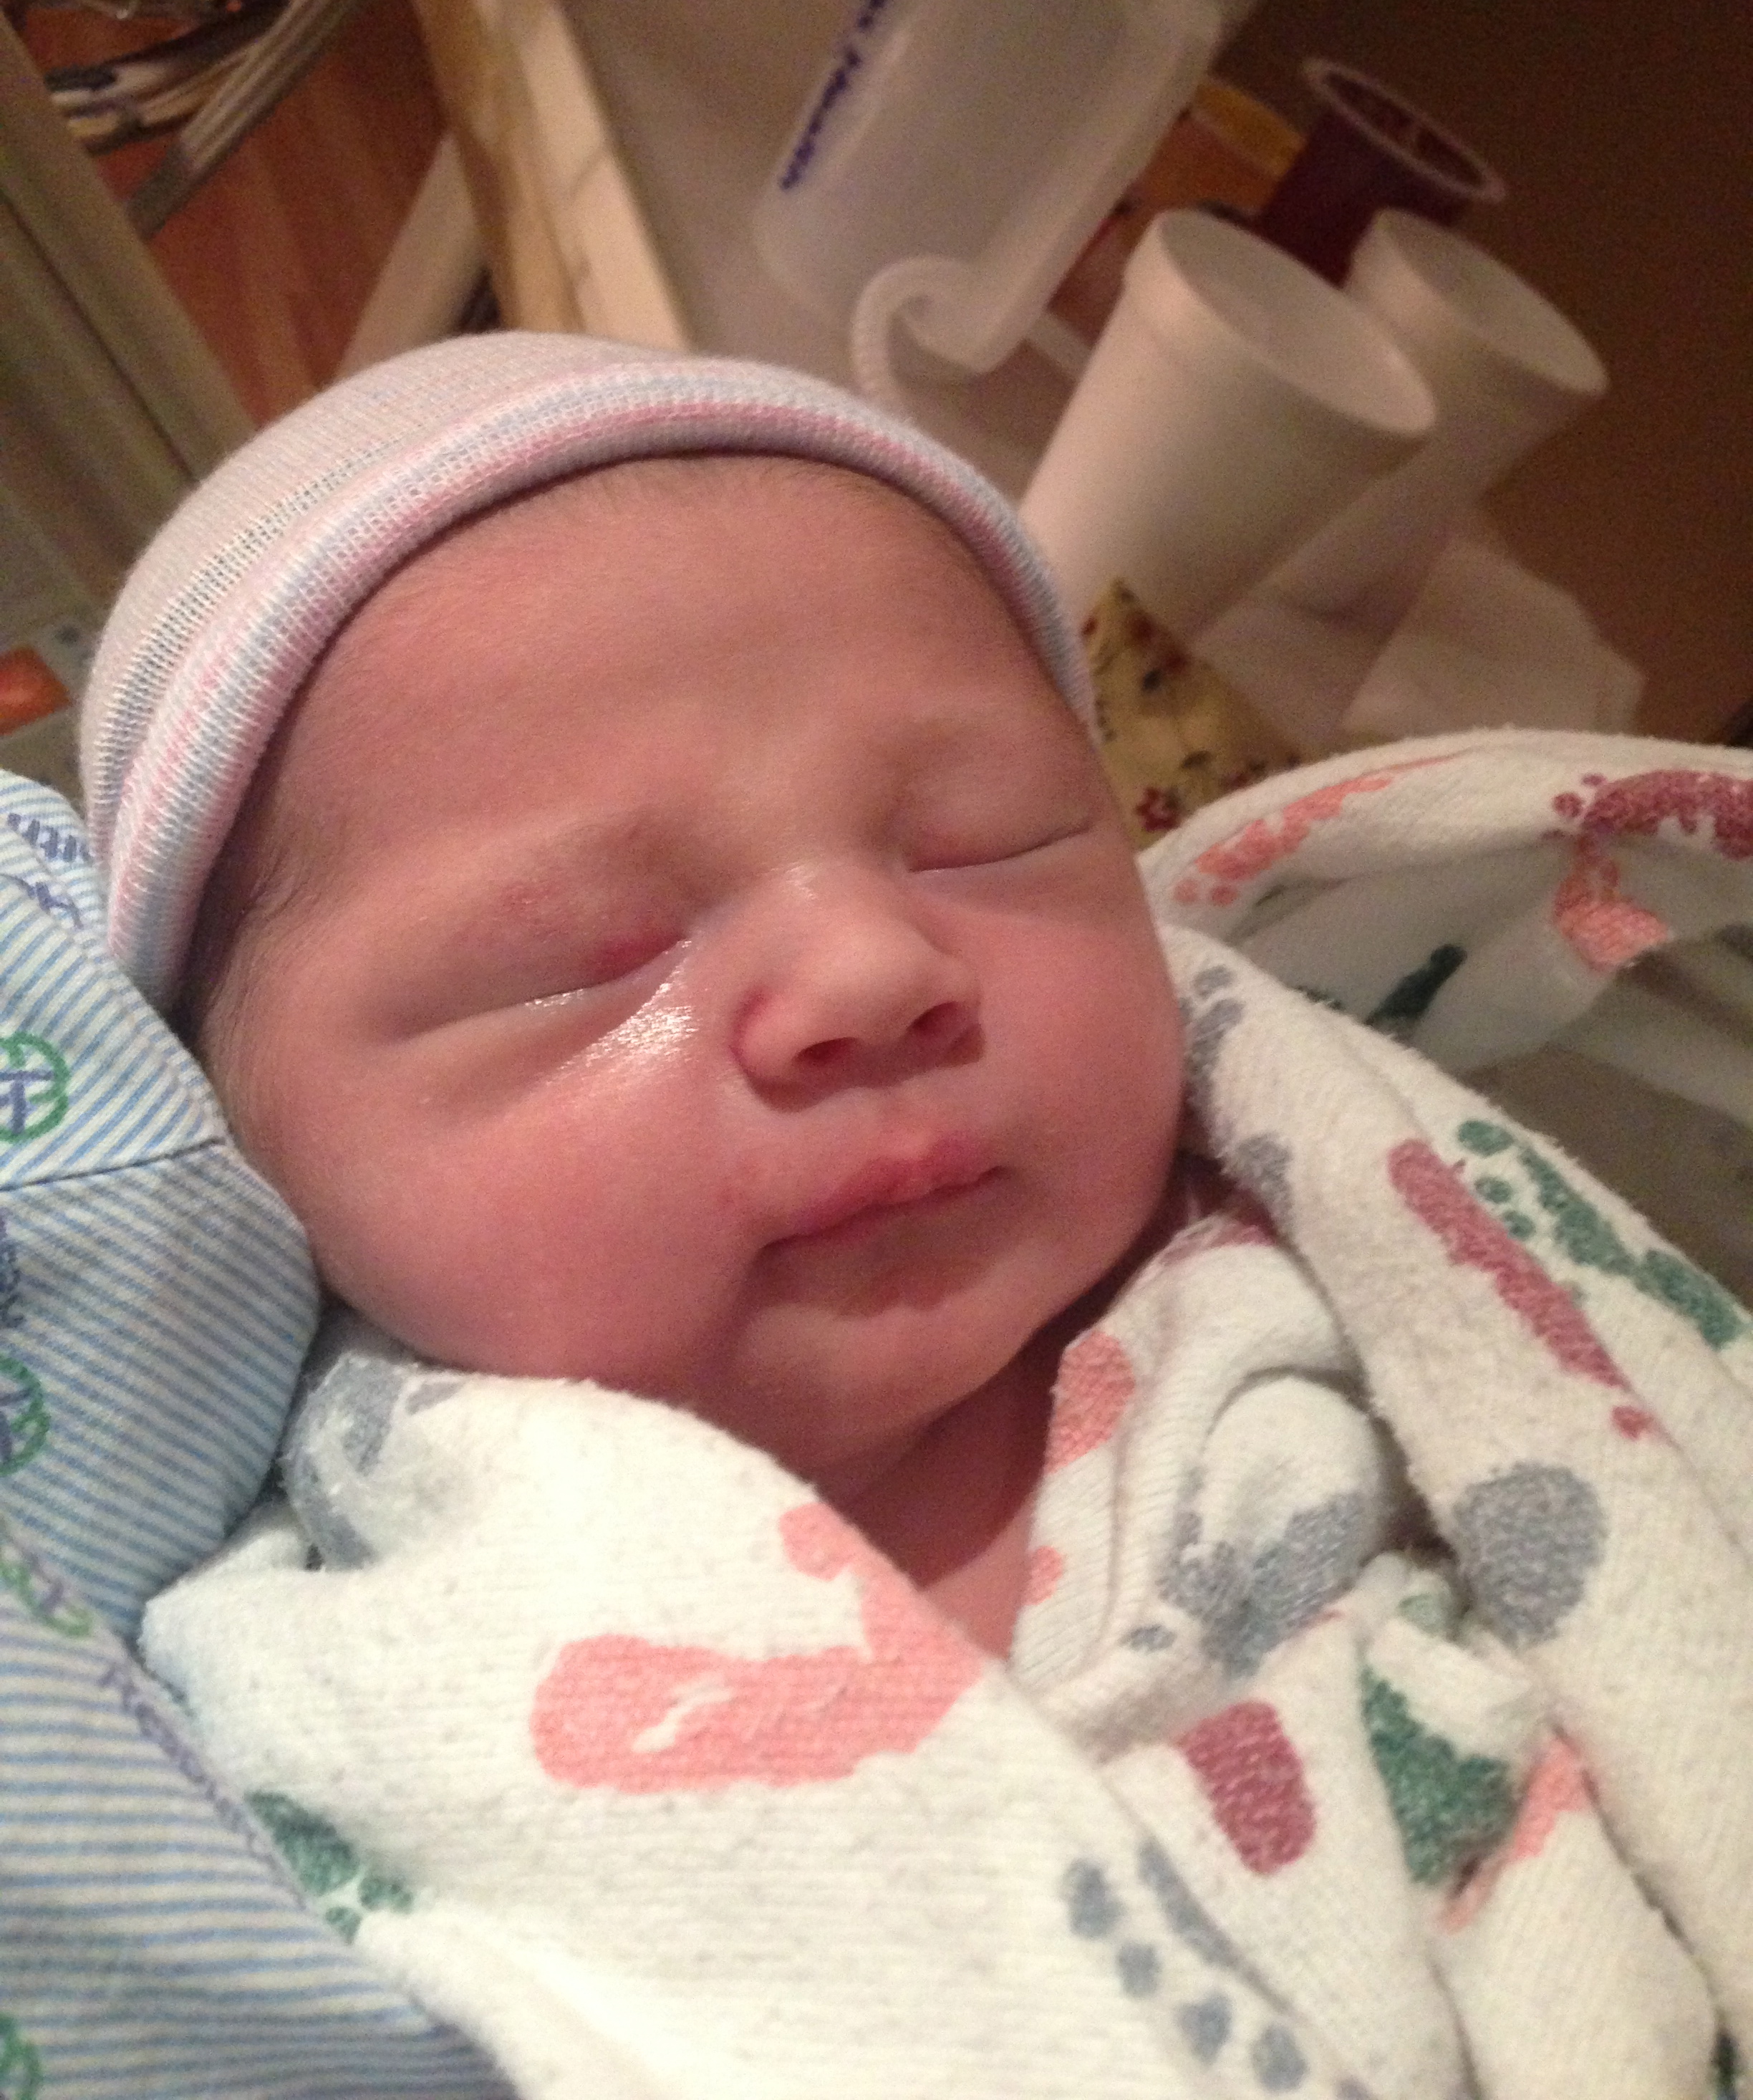
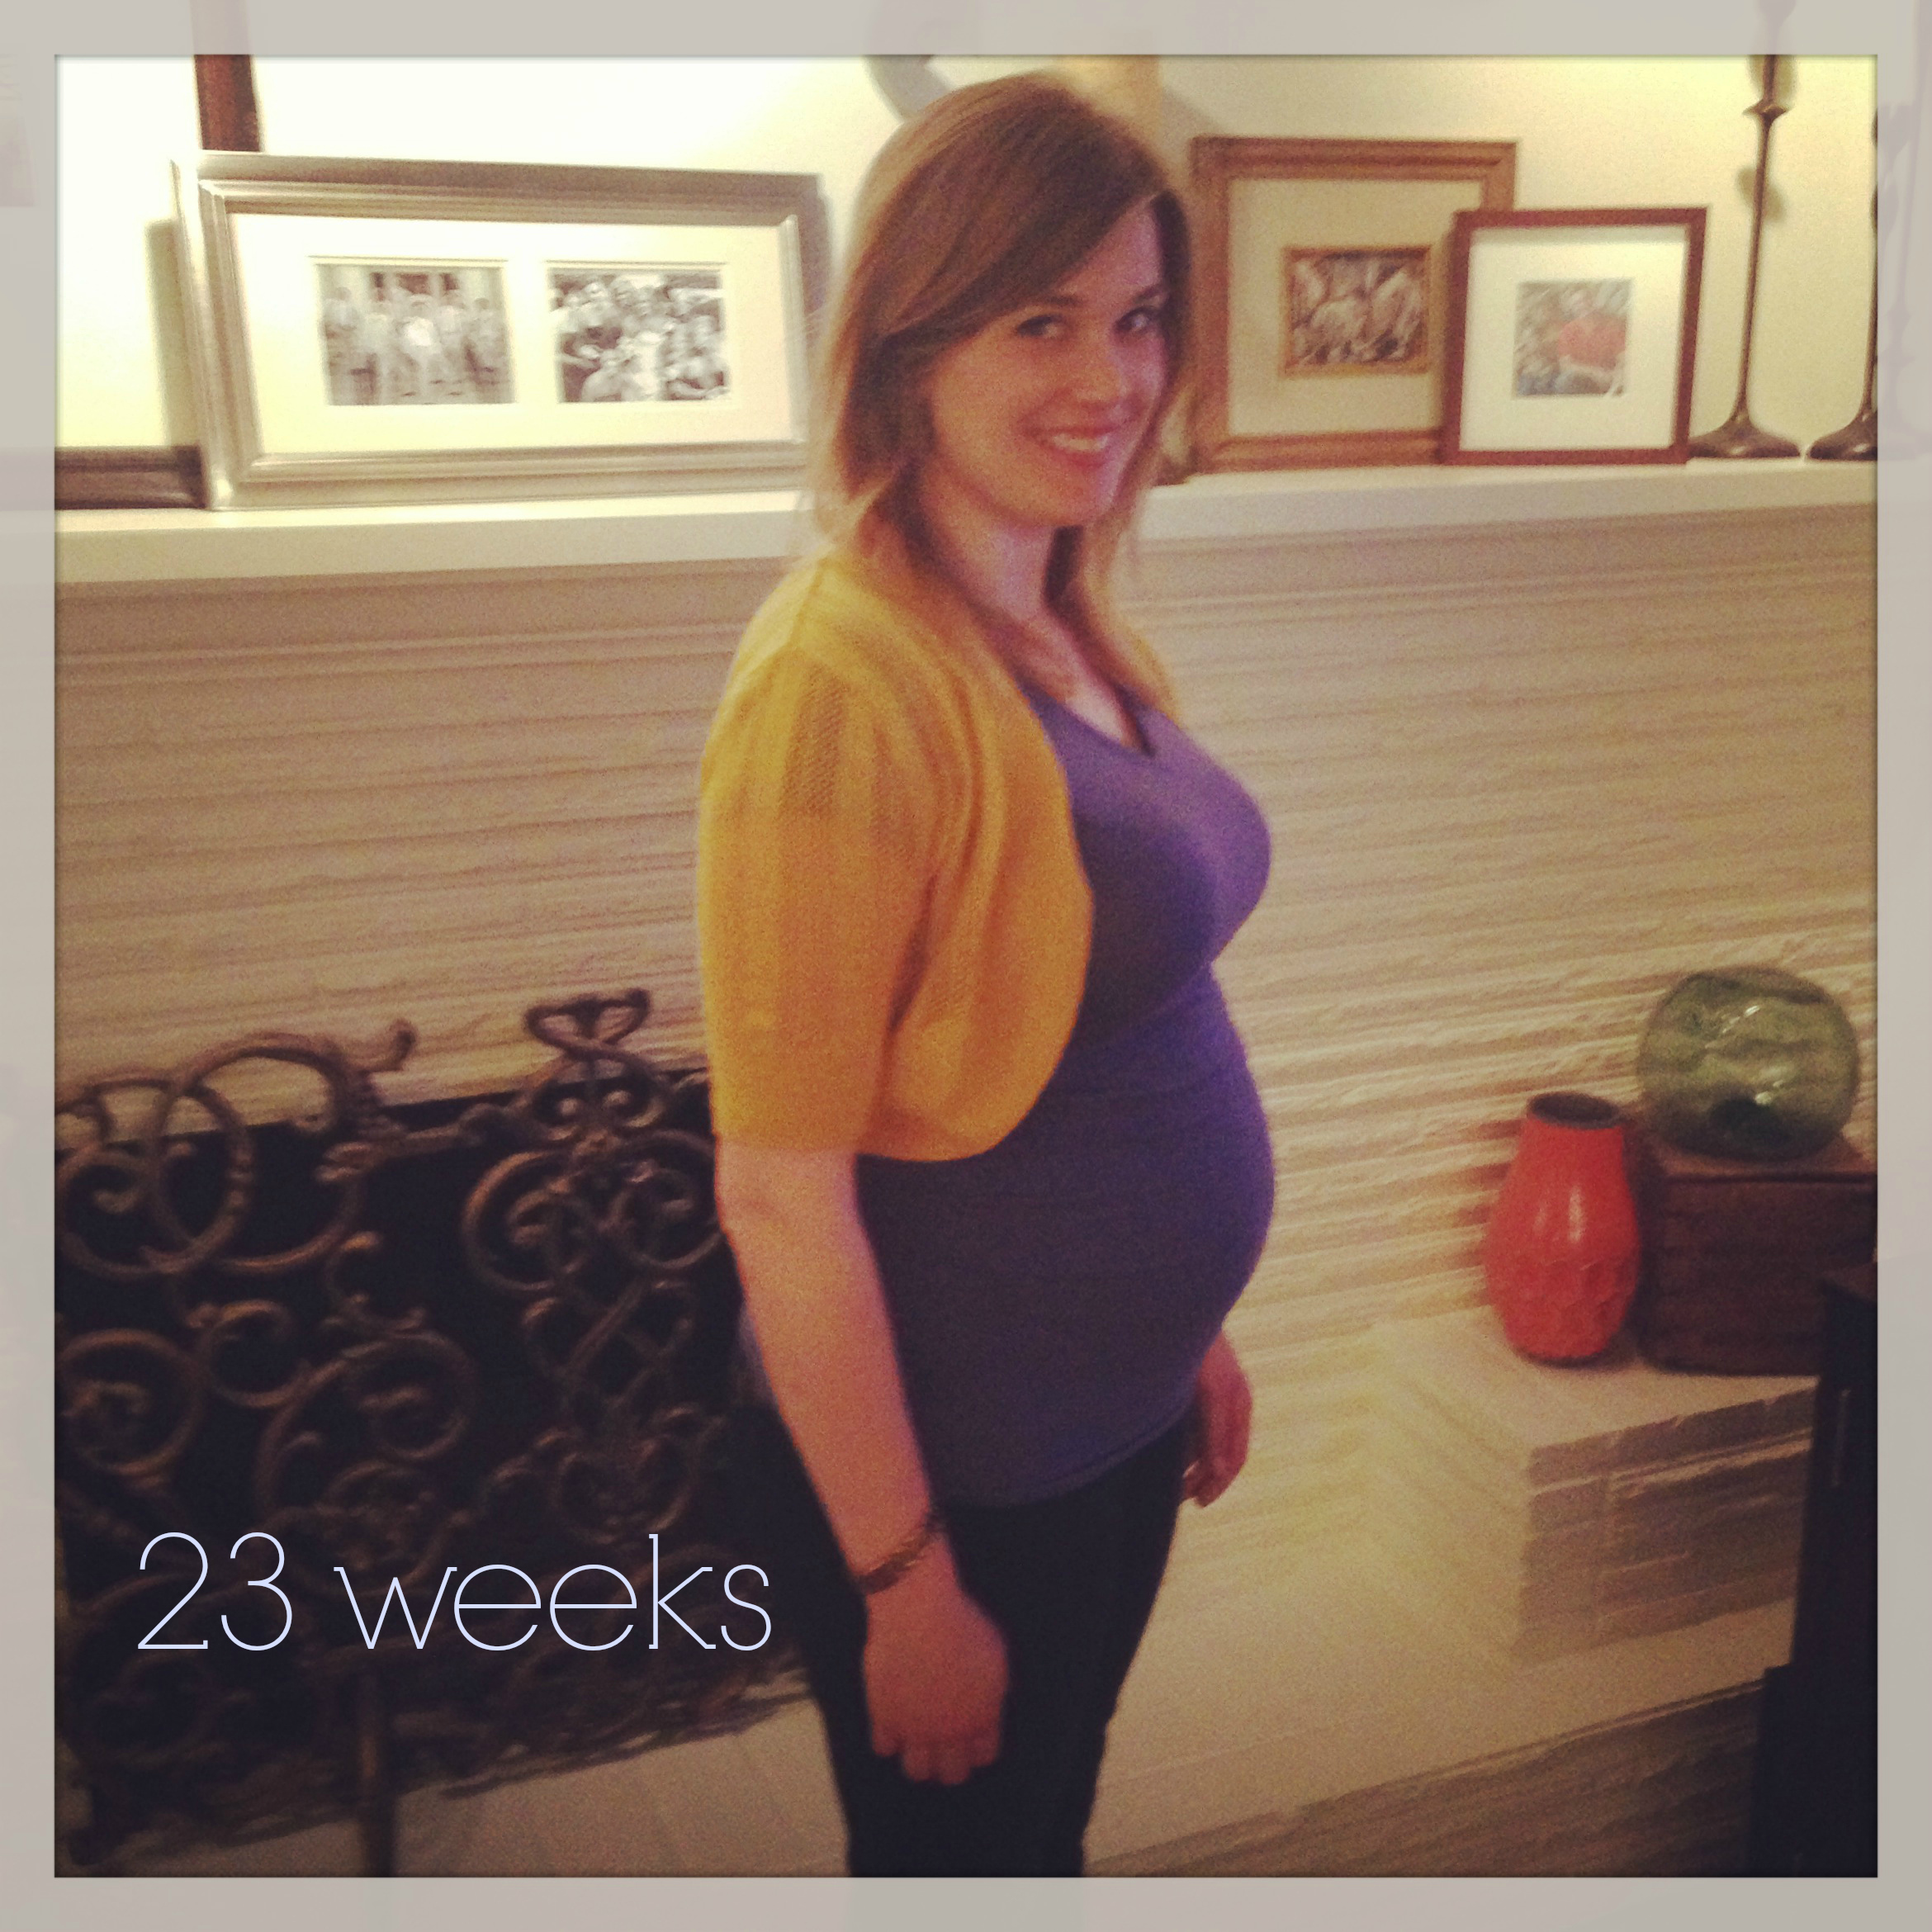
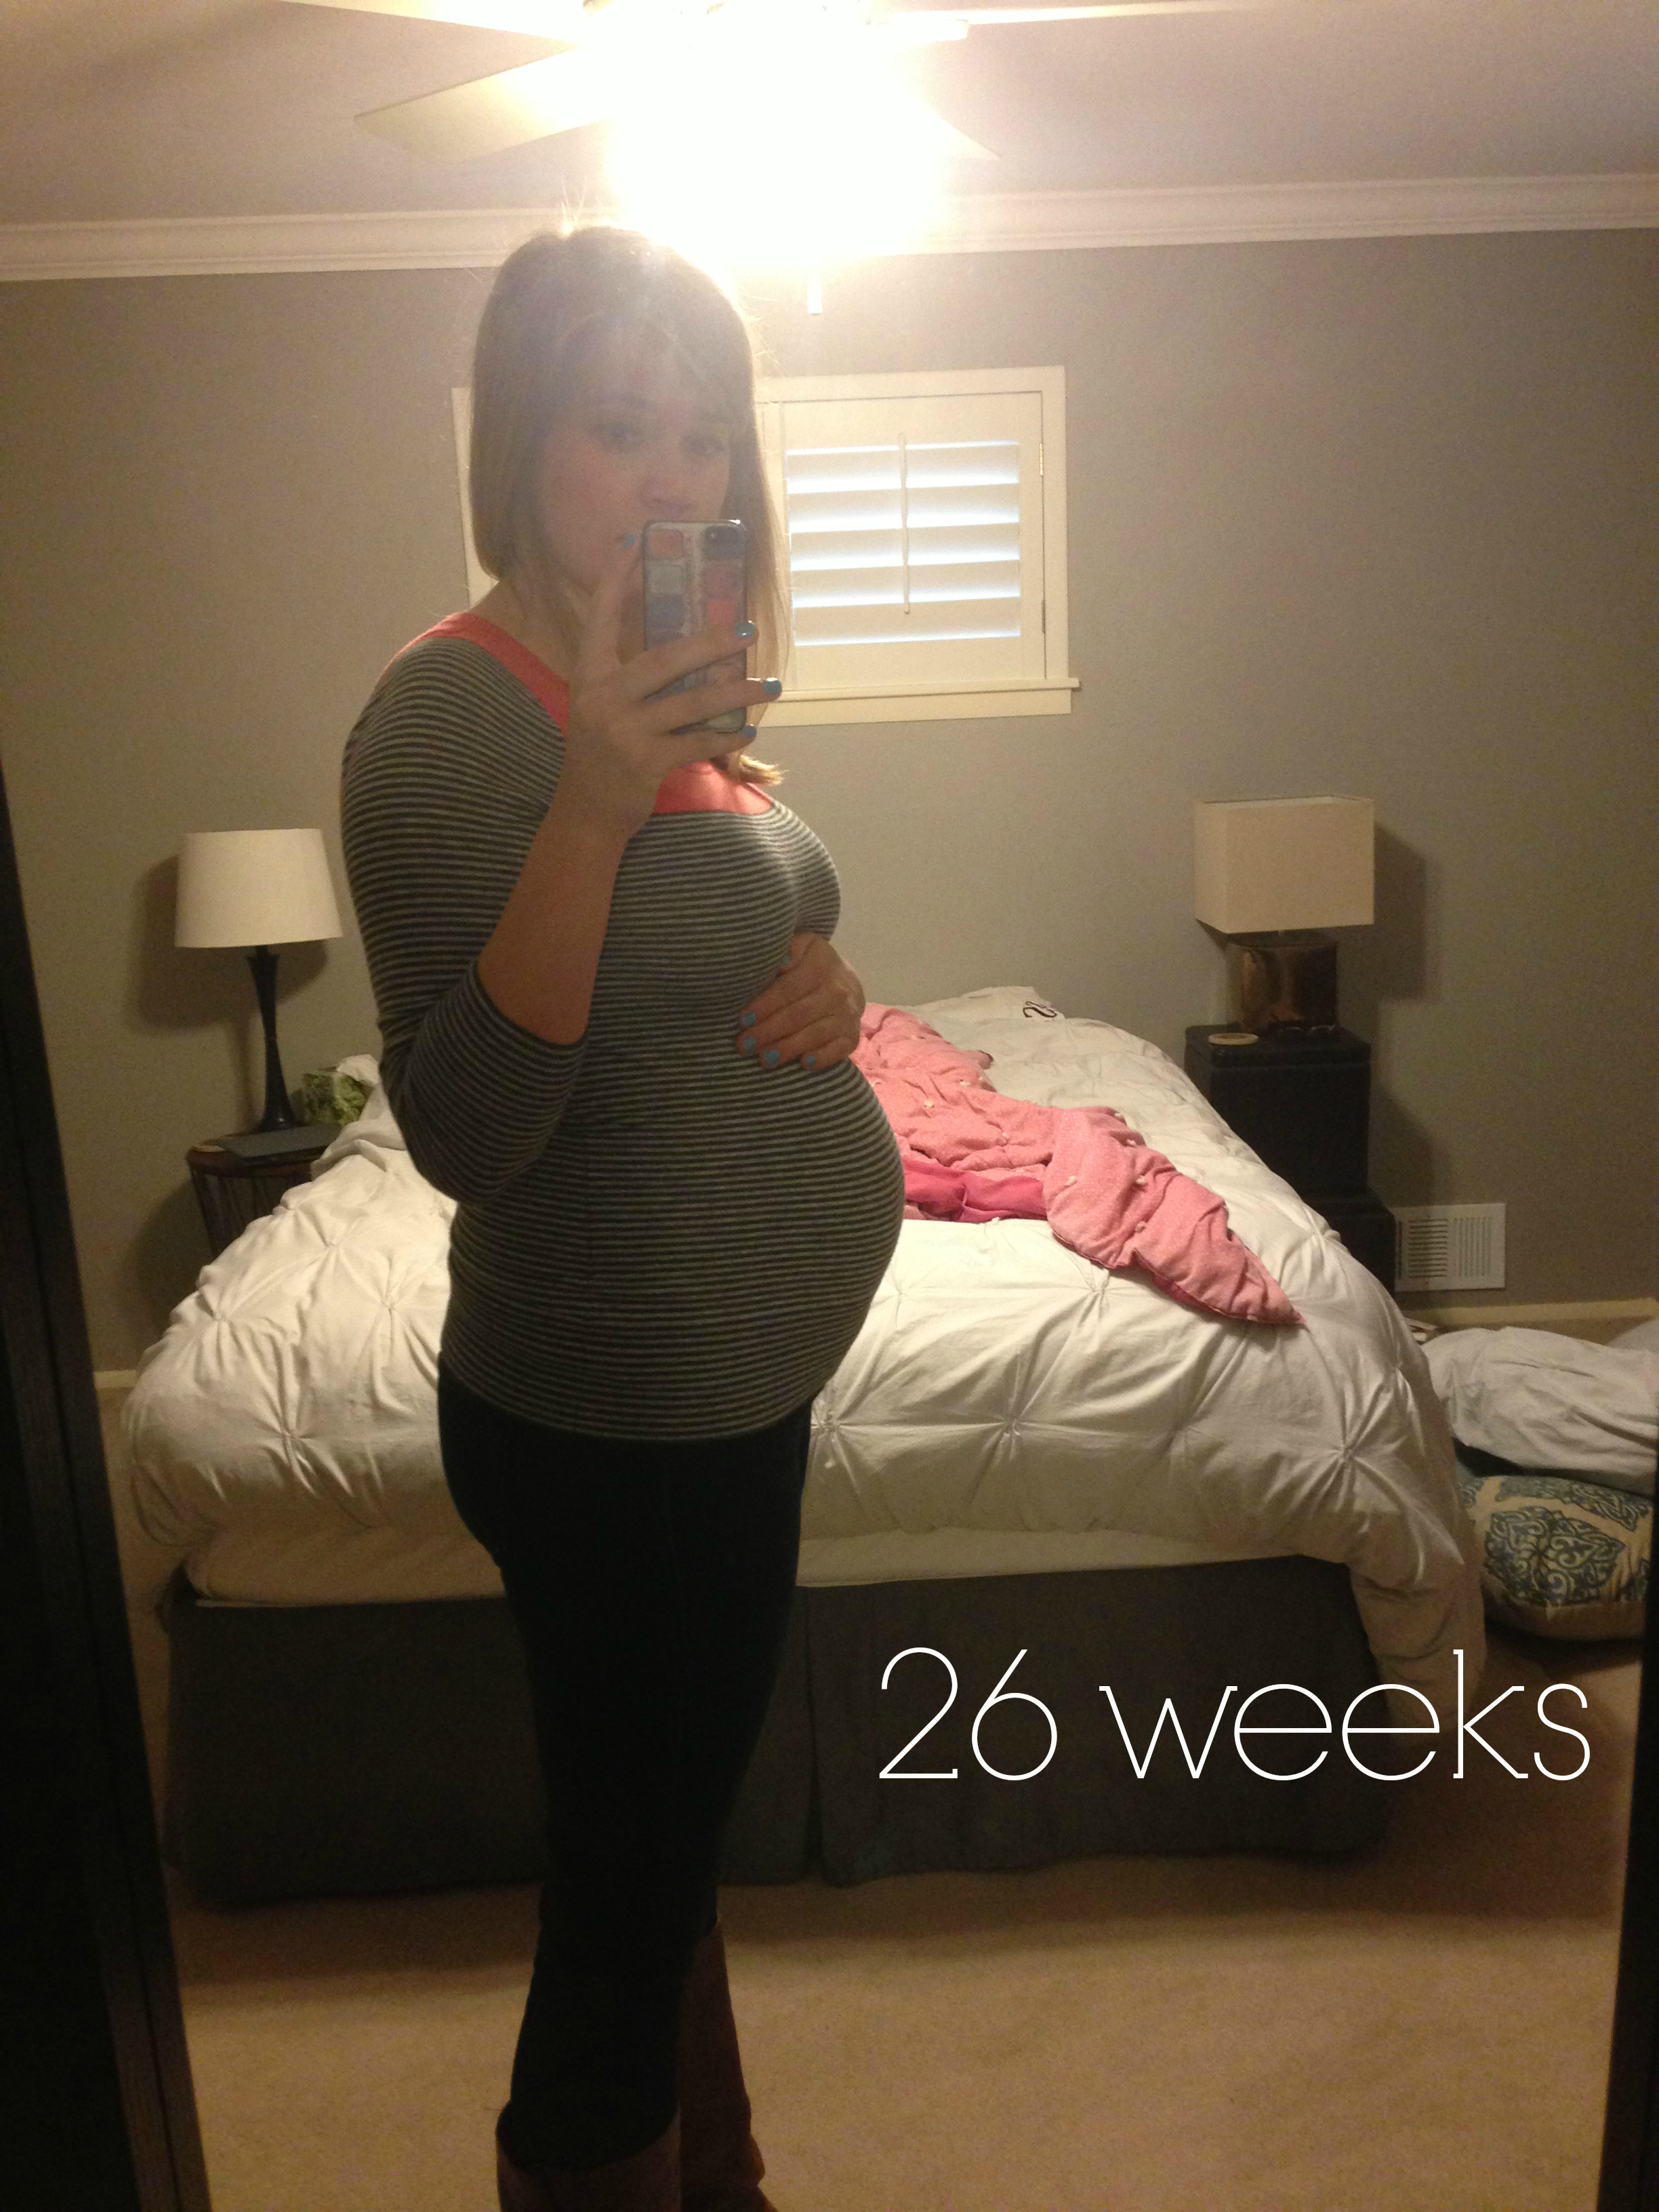
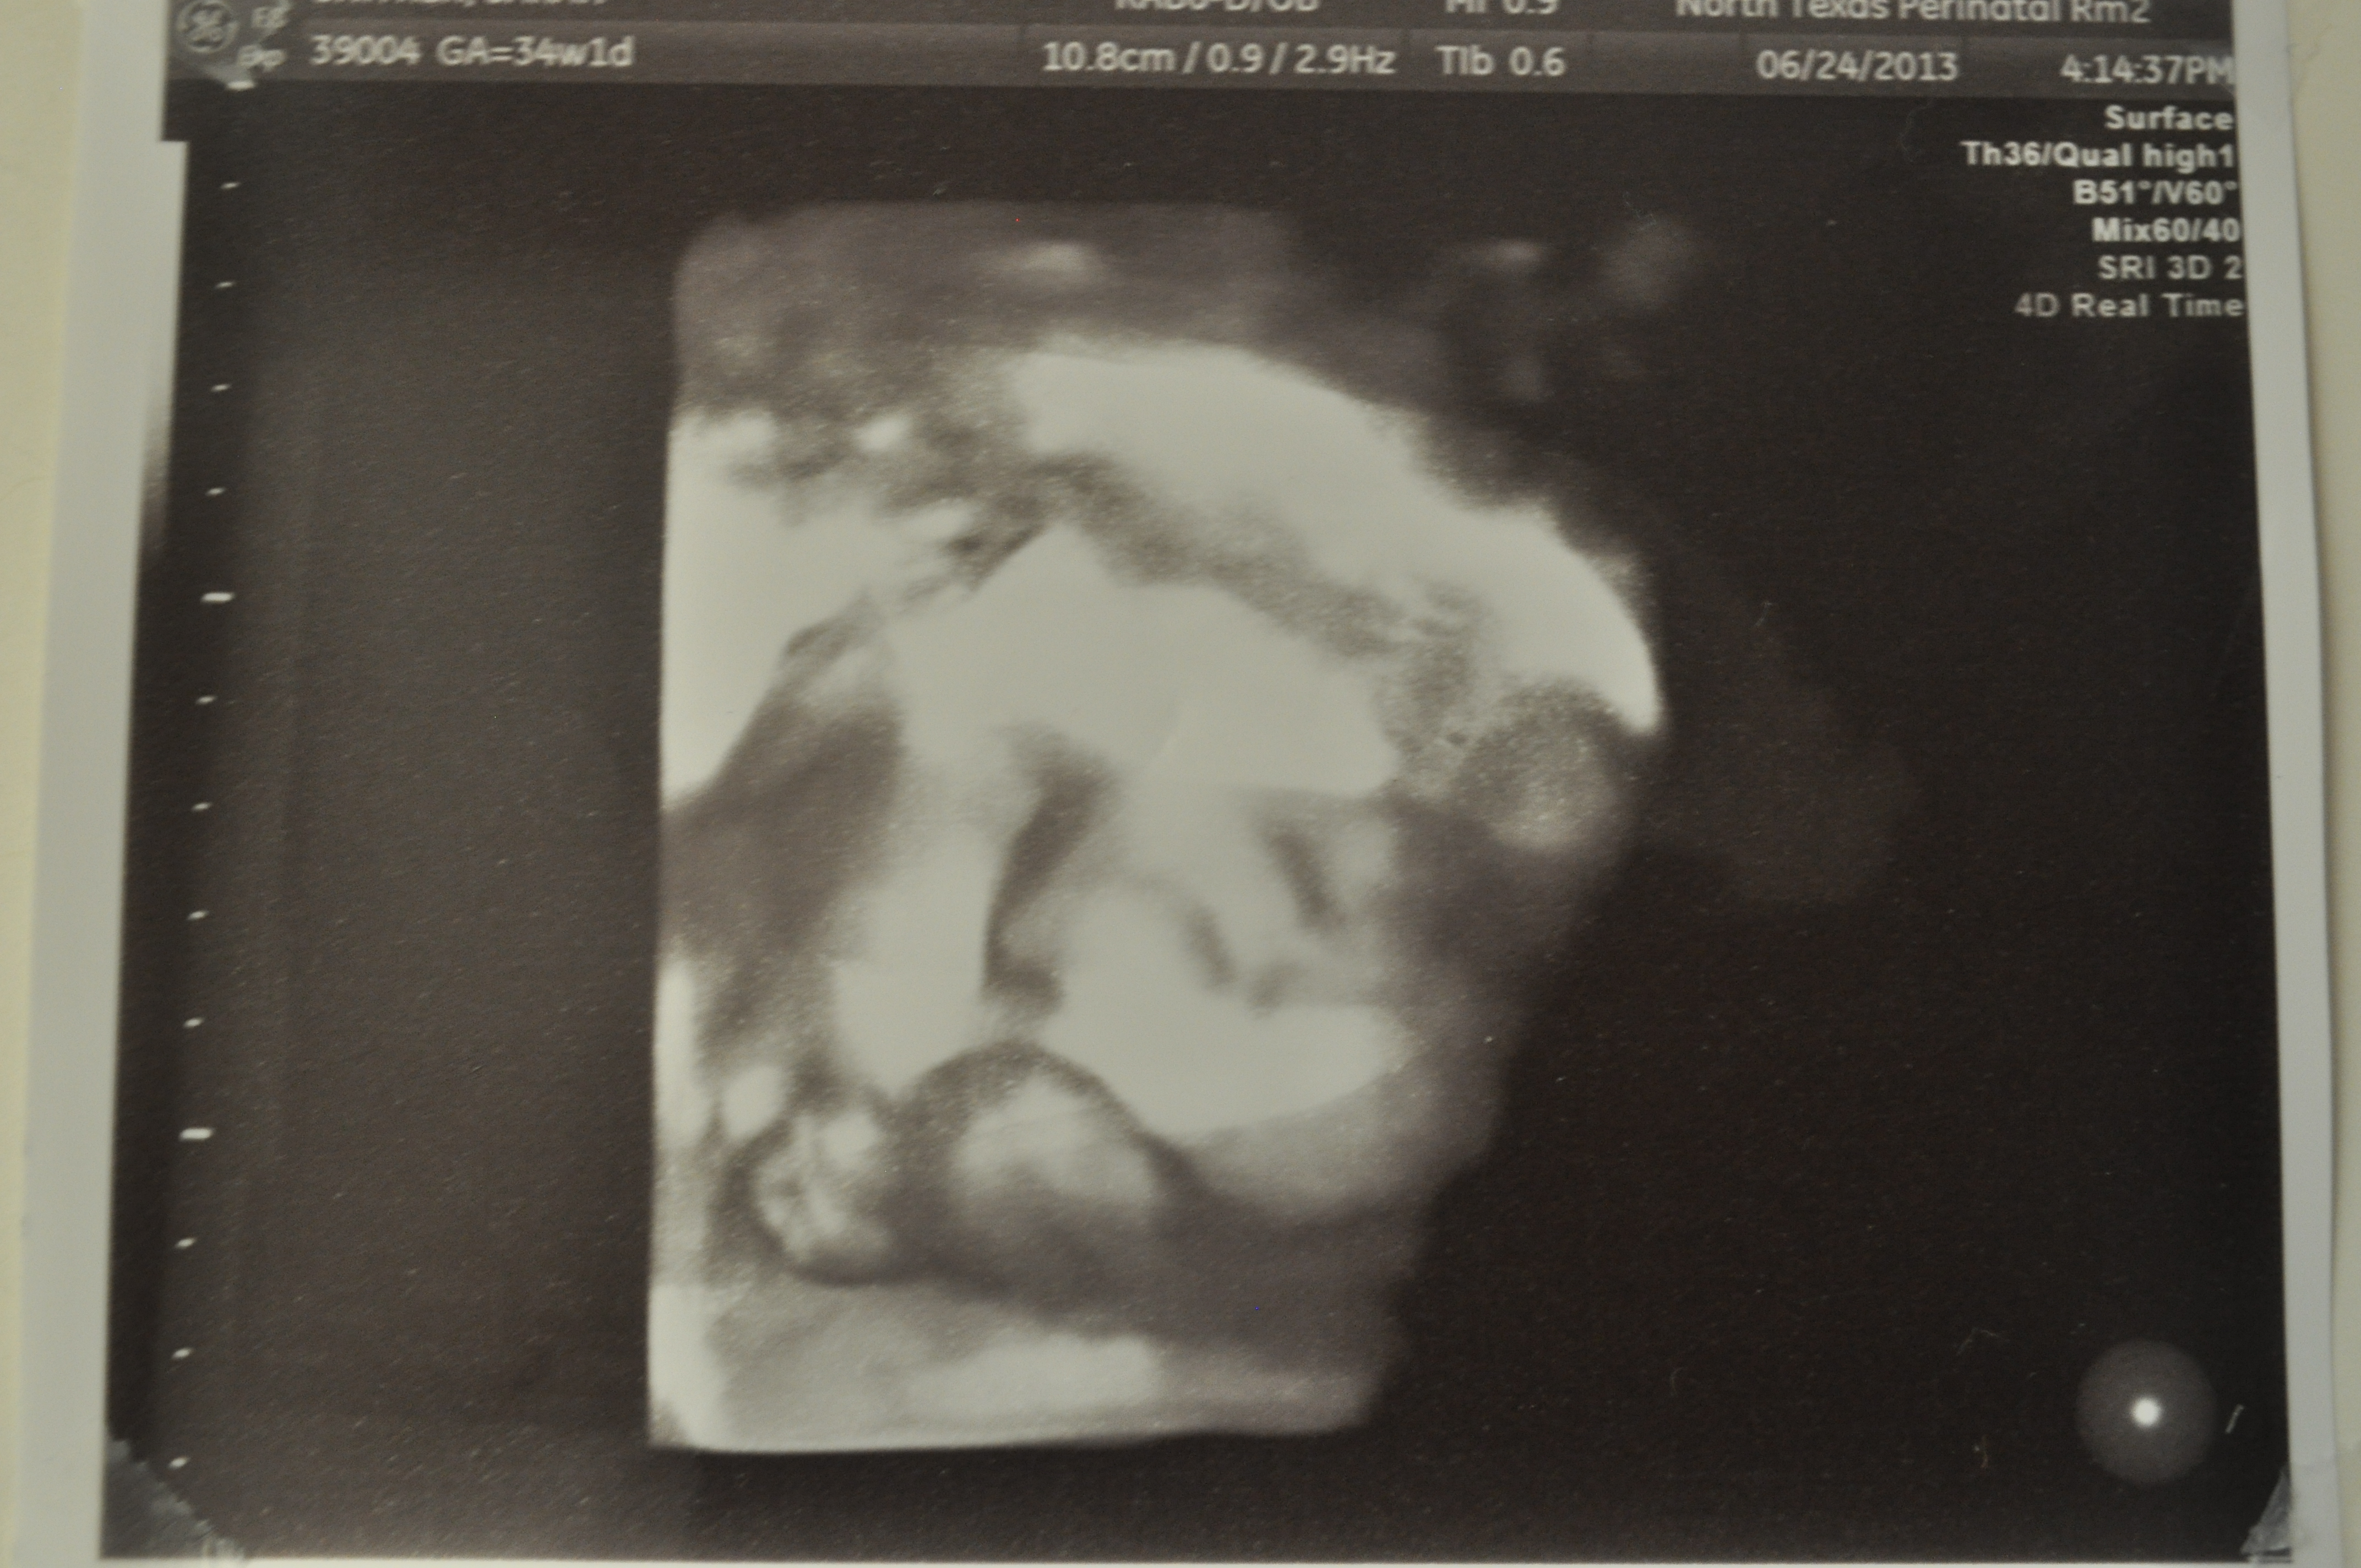