
 Hi Friends! I’m SO excited to say we are OH, SO CLOSE to finishing this kitchen!! I cannot quite believe it’s taken almost four whole months to complete, BUT I’m glad to say, it’s almost done.
We have just three things pending items left for our contractor to complete: Yes, I want to kill him, but that’s another post.
- Redoing the can lights in the breakfast nook. (make sure your electrician is putting in up-to-code lighting!)
- Repainting under the microwave. (When the vent guys came in, they scratched the paint. Grrr.)
- Replacing the window screens (long story… paint guys, windows open, white film.)
The things I have to accomplish are more on the fun side!!
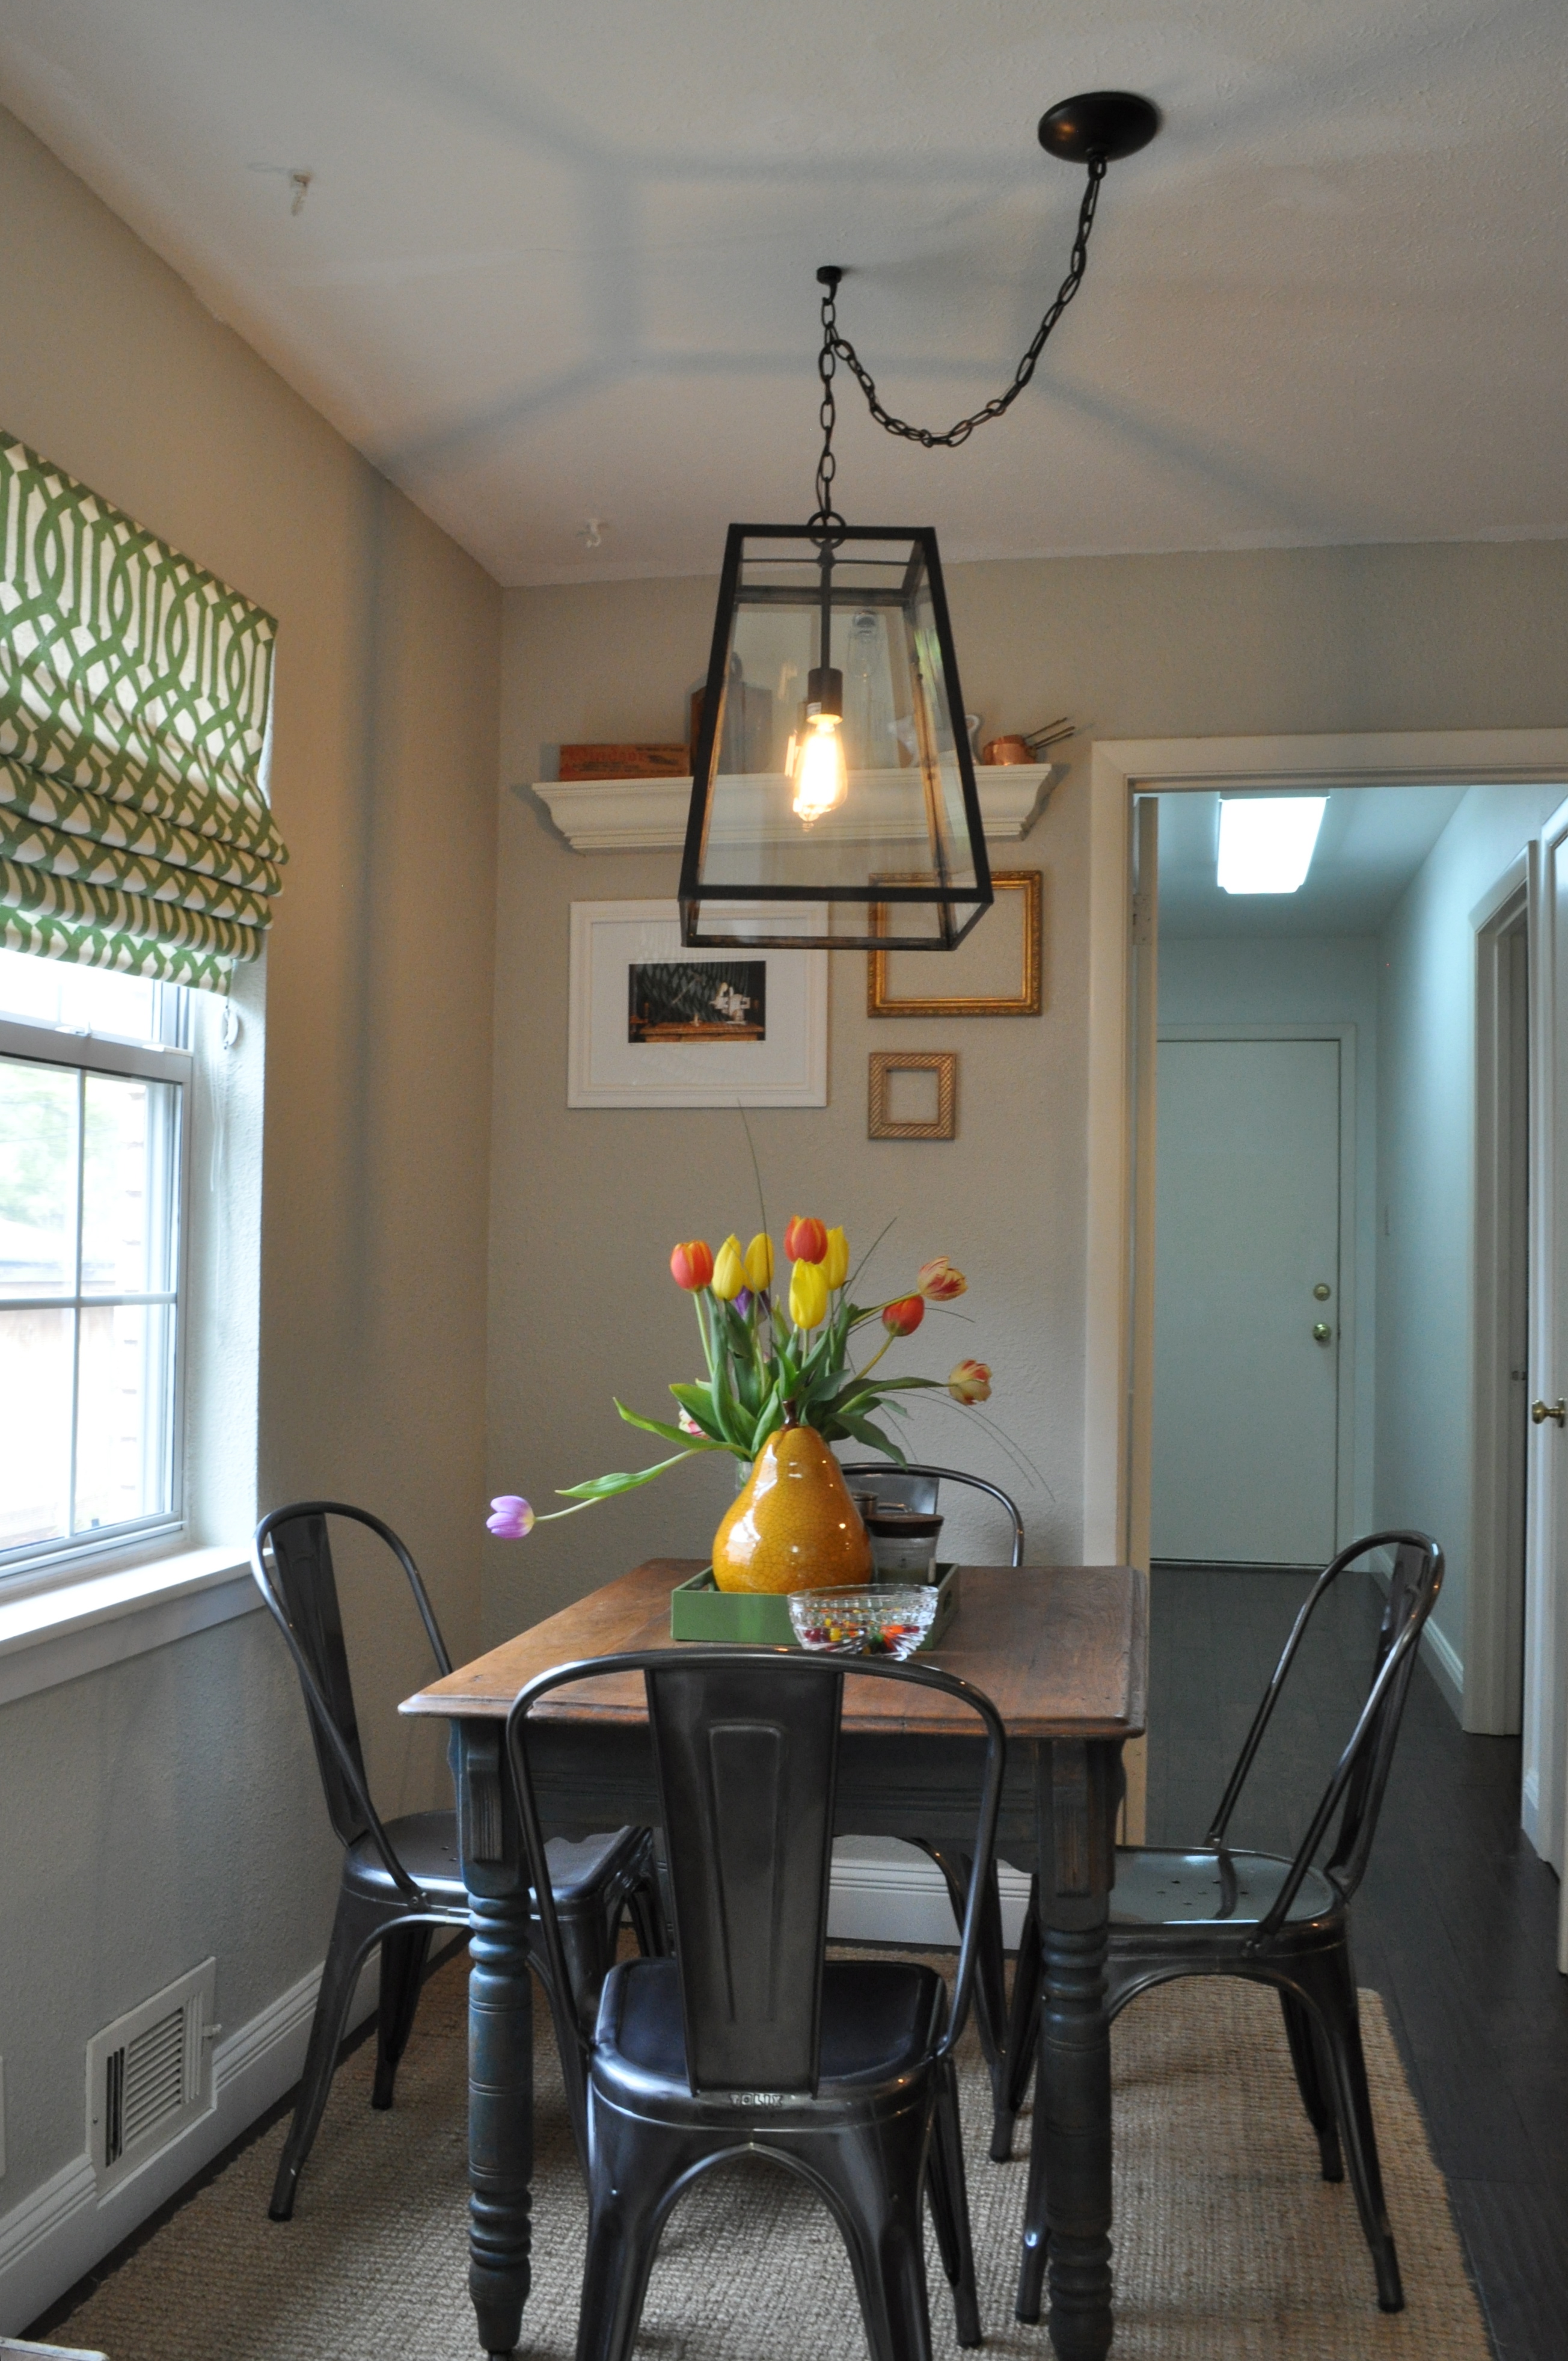
- Art on those bare walls, mainly in the breakfast nook.
- Vent cover under the cabinets.
- Continue
 to reinvent the shelves with fun stuff
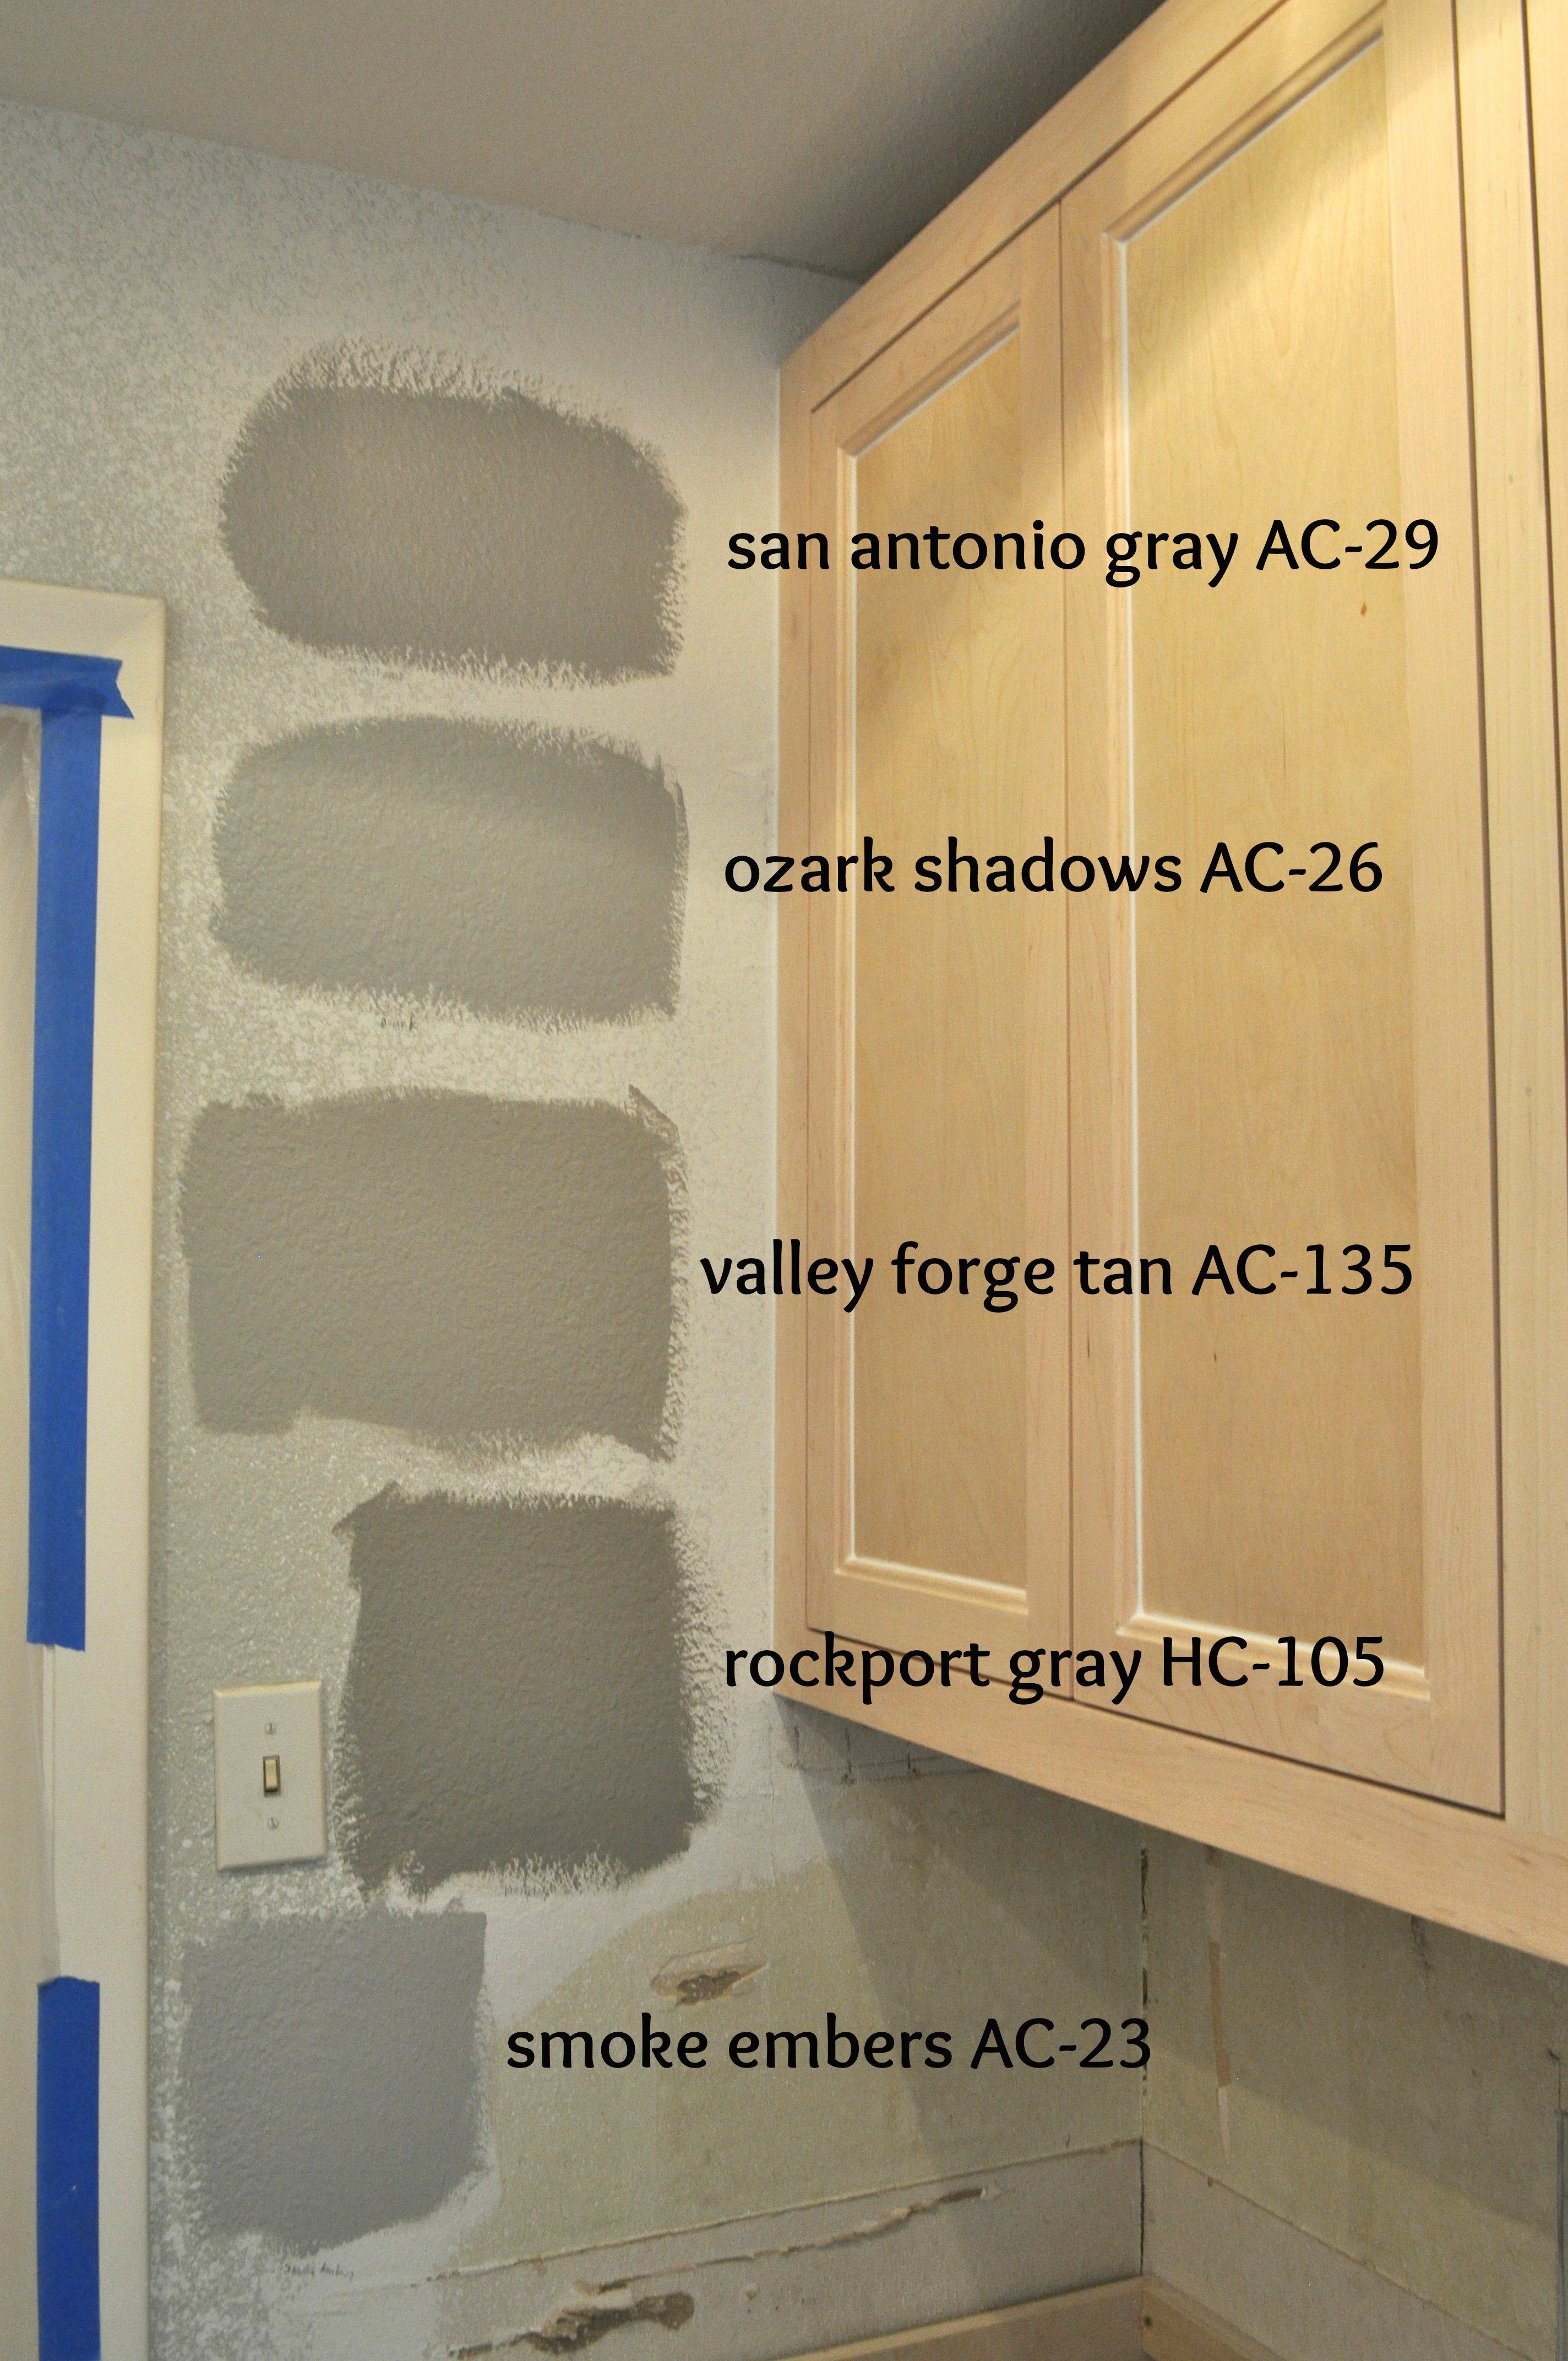
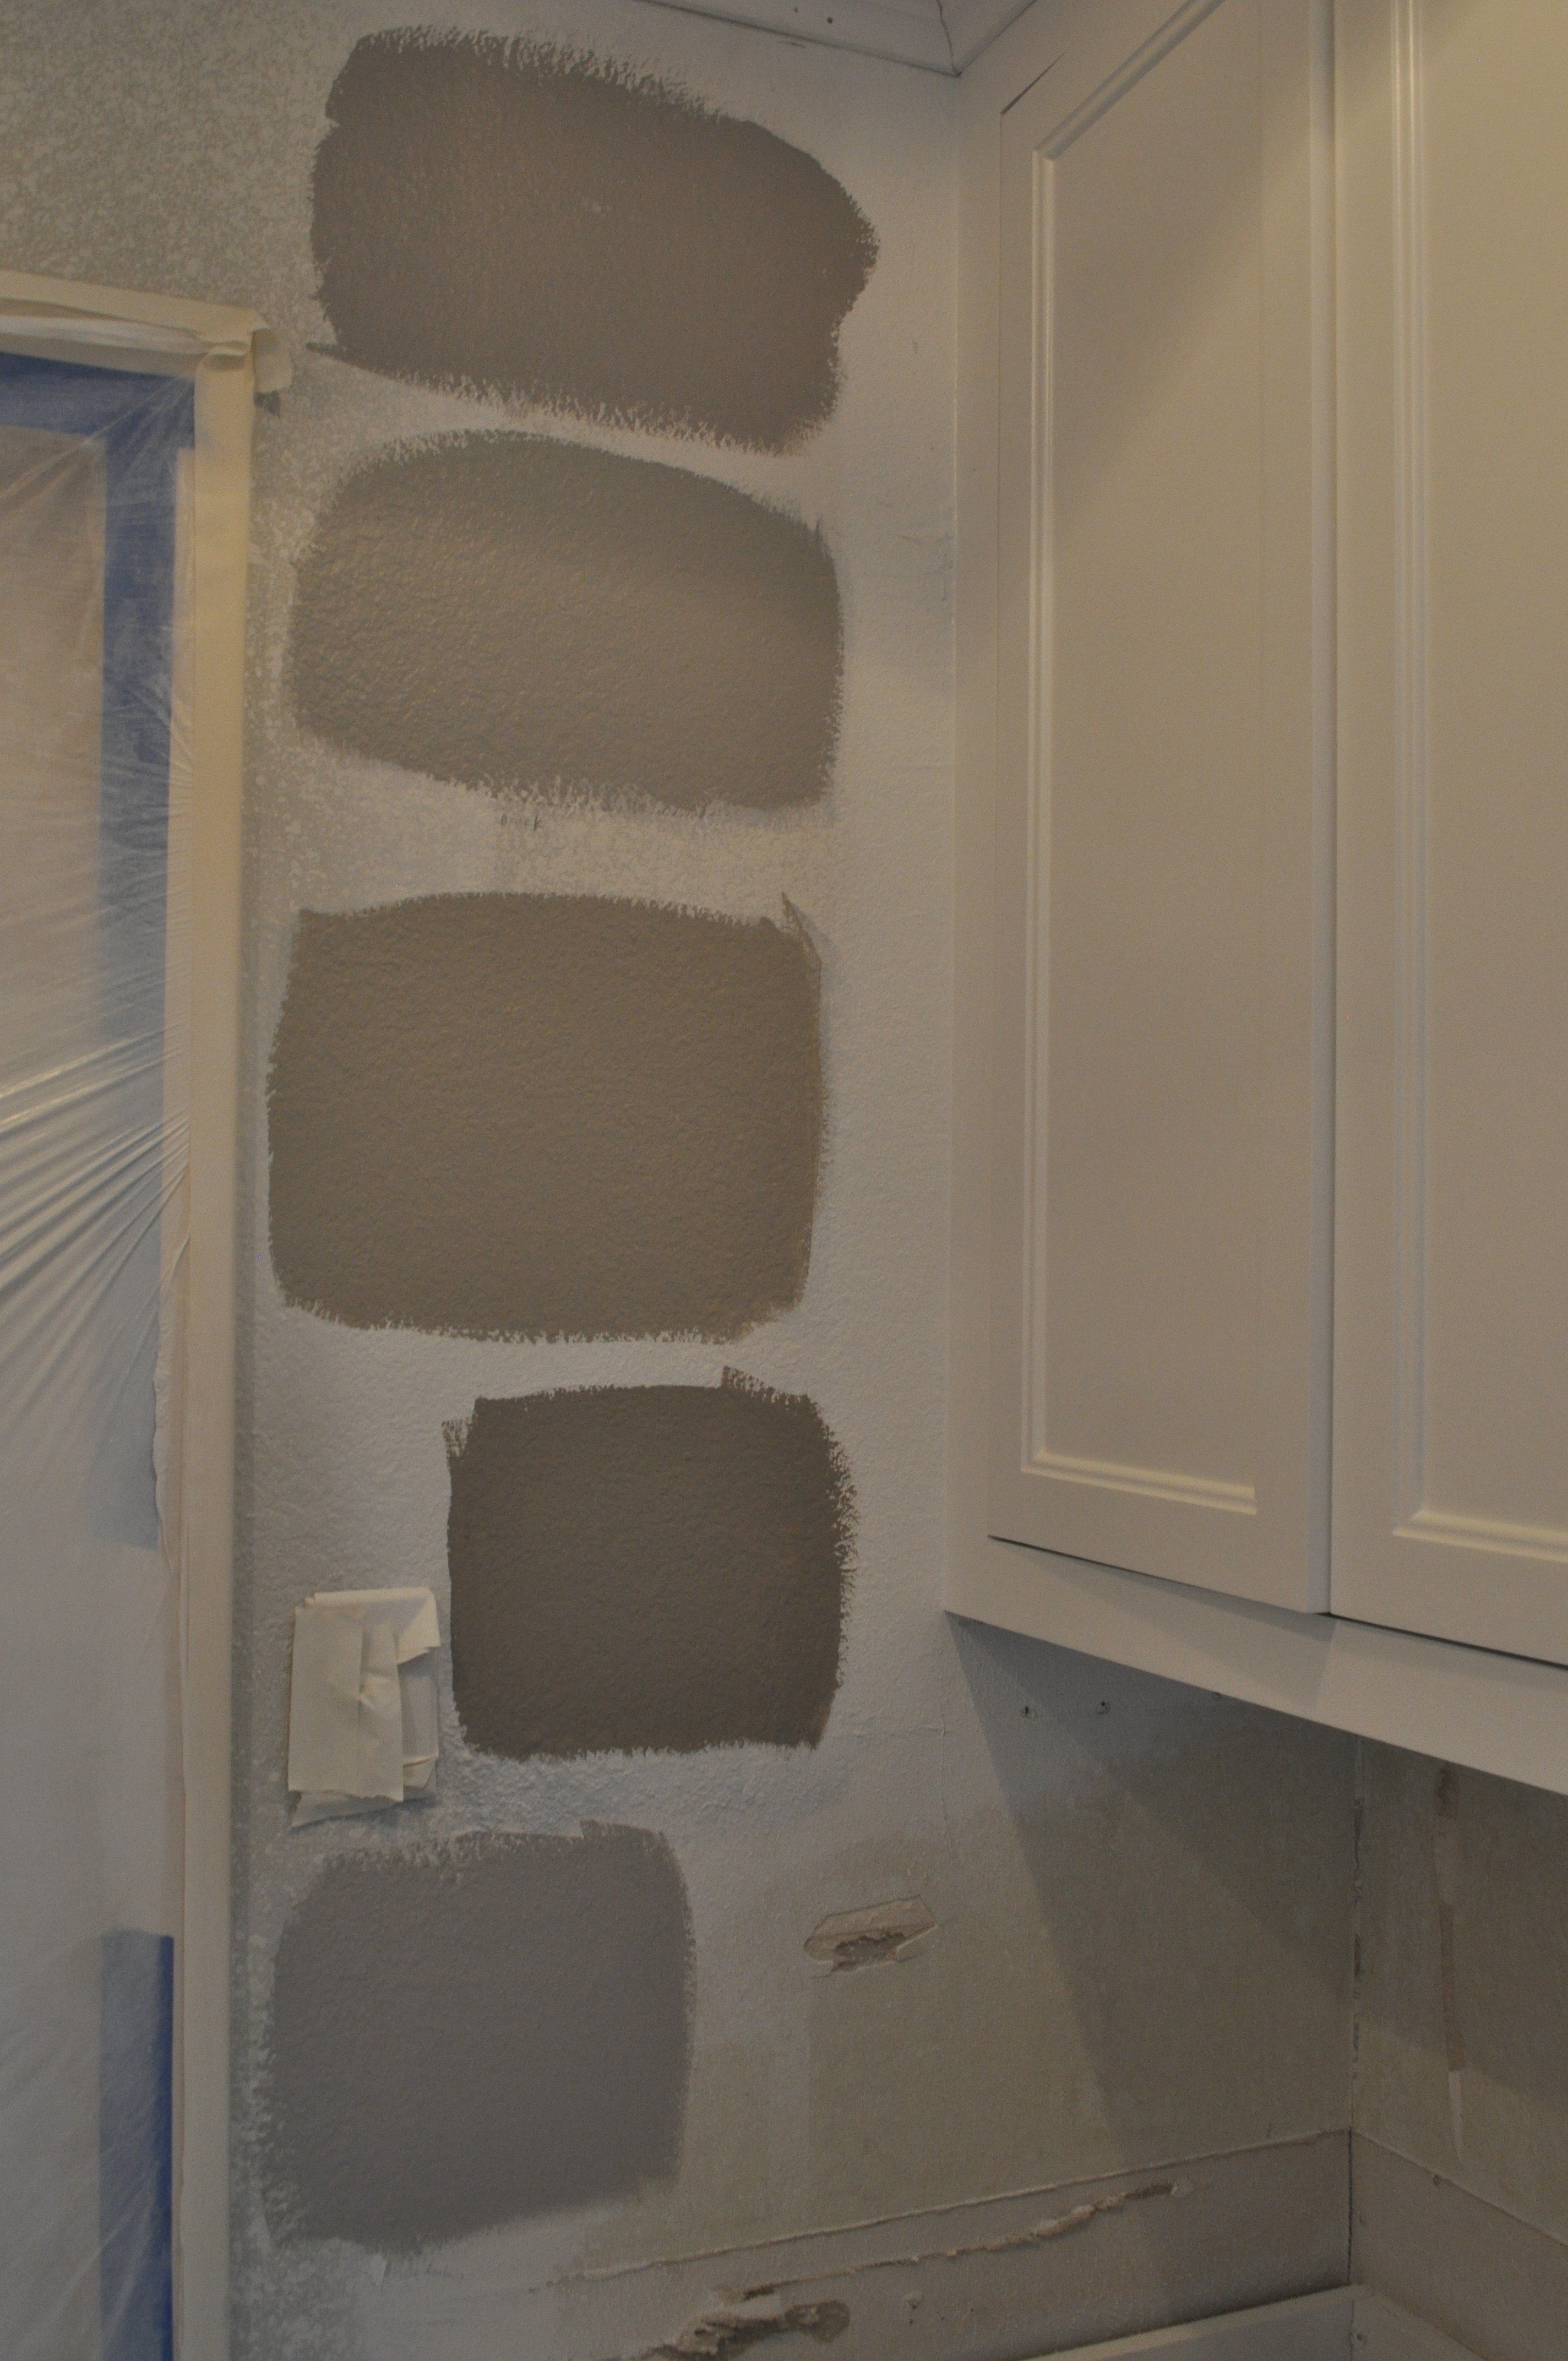
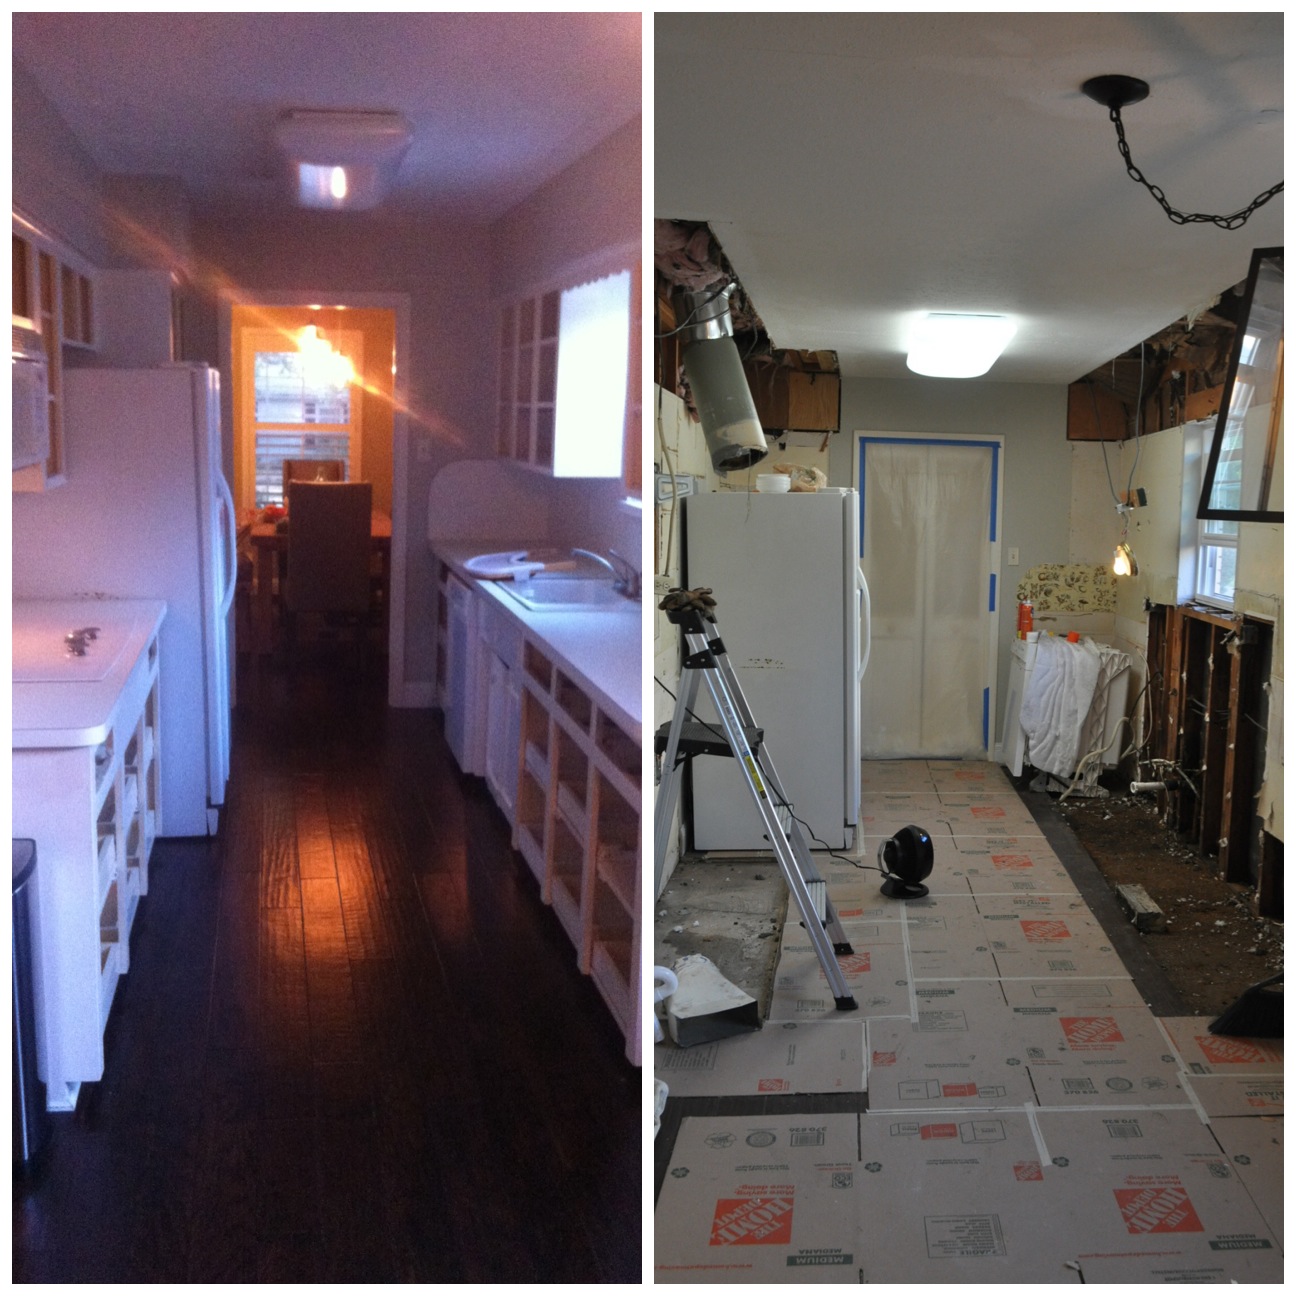
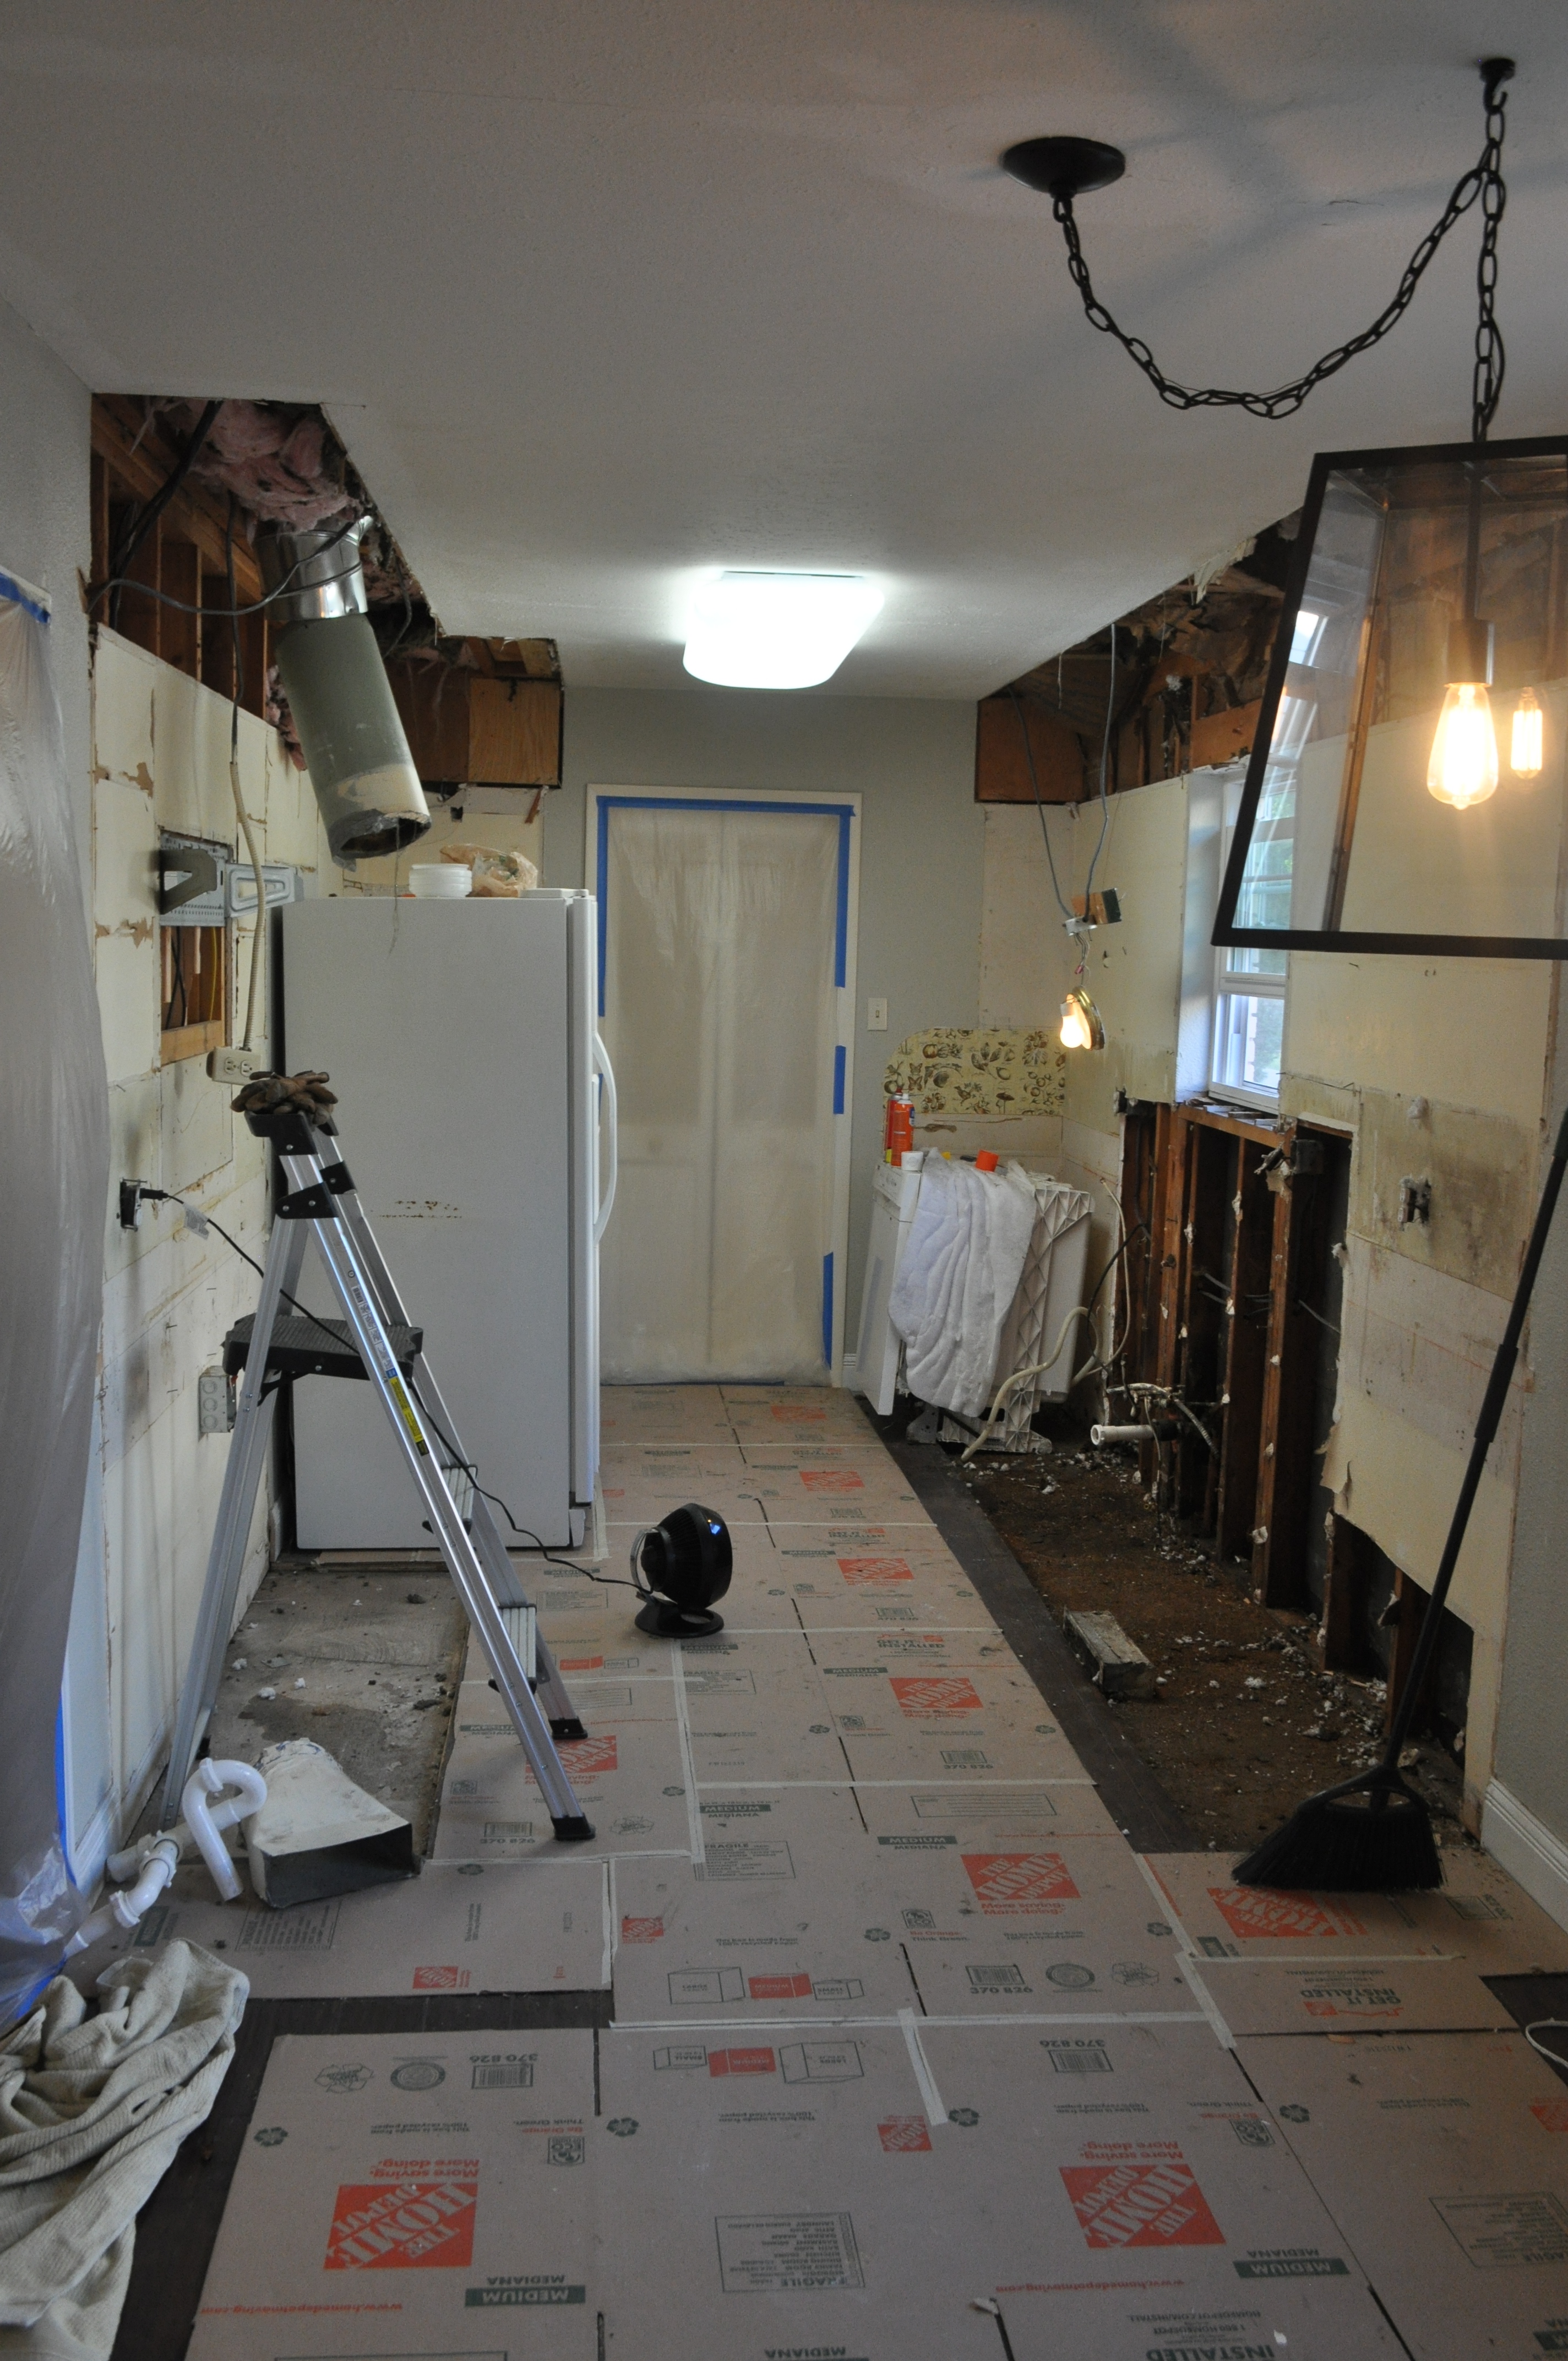
 But before we get to the goodness of the new, lets remember the old. Below is how it looked when we first moved in. Not a bad kitchen; it was functional and clean, but it needed an update
![]() . And the wasted space above the cabinets was killing me!
. And the wasted space above the cabinets was killing me!
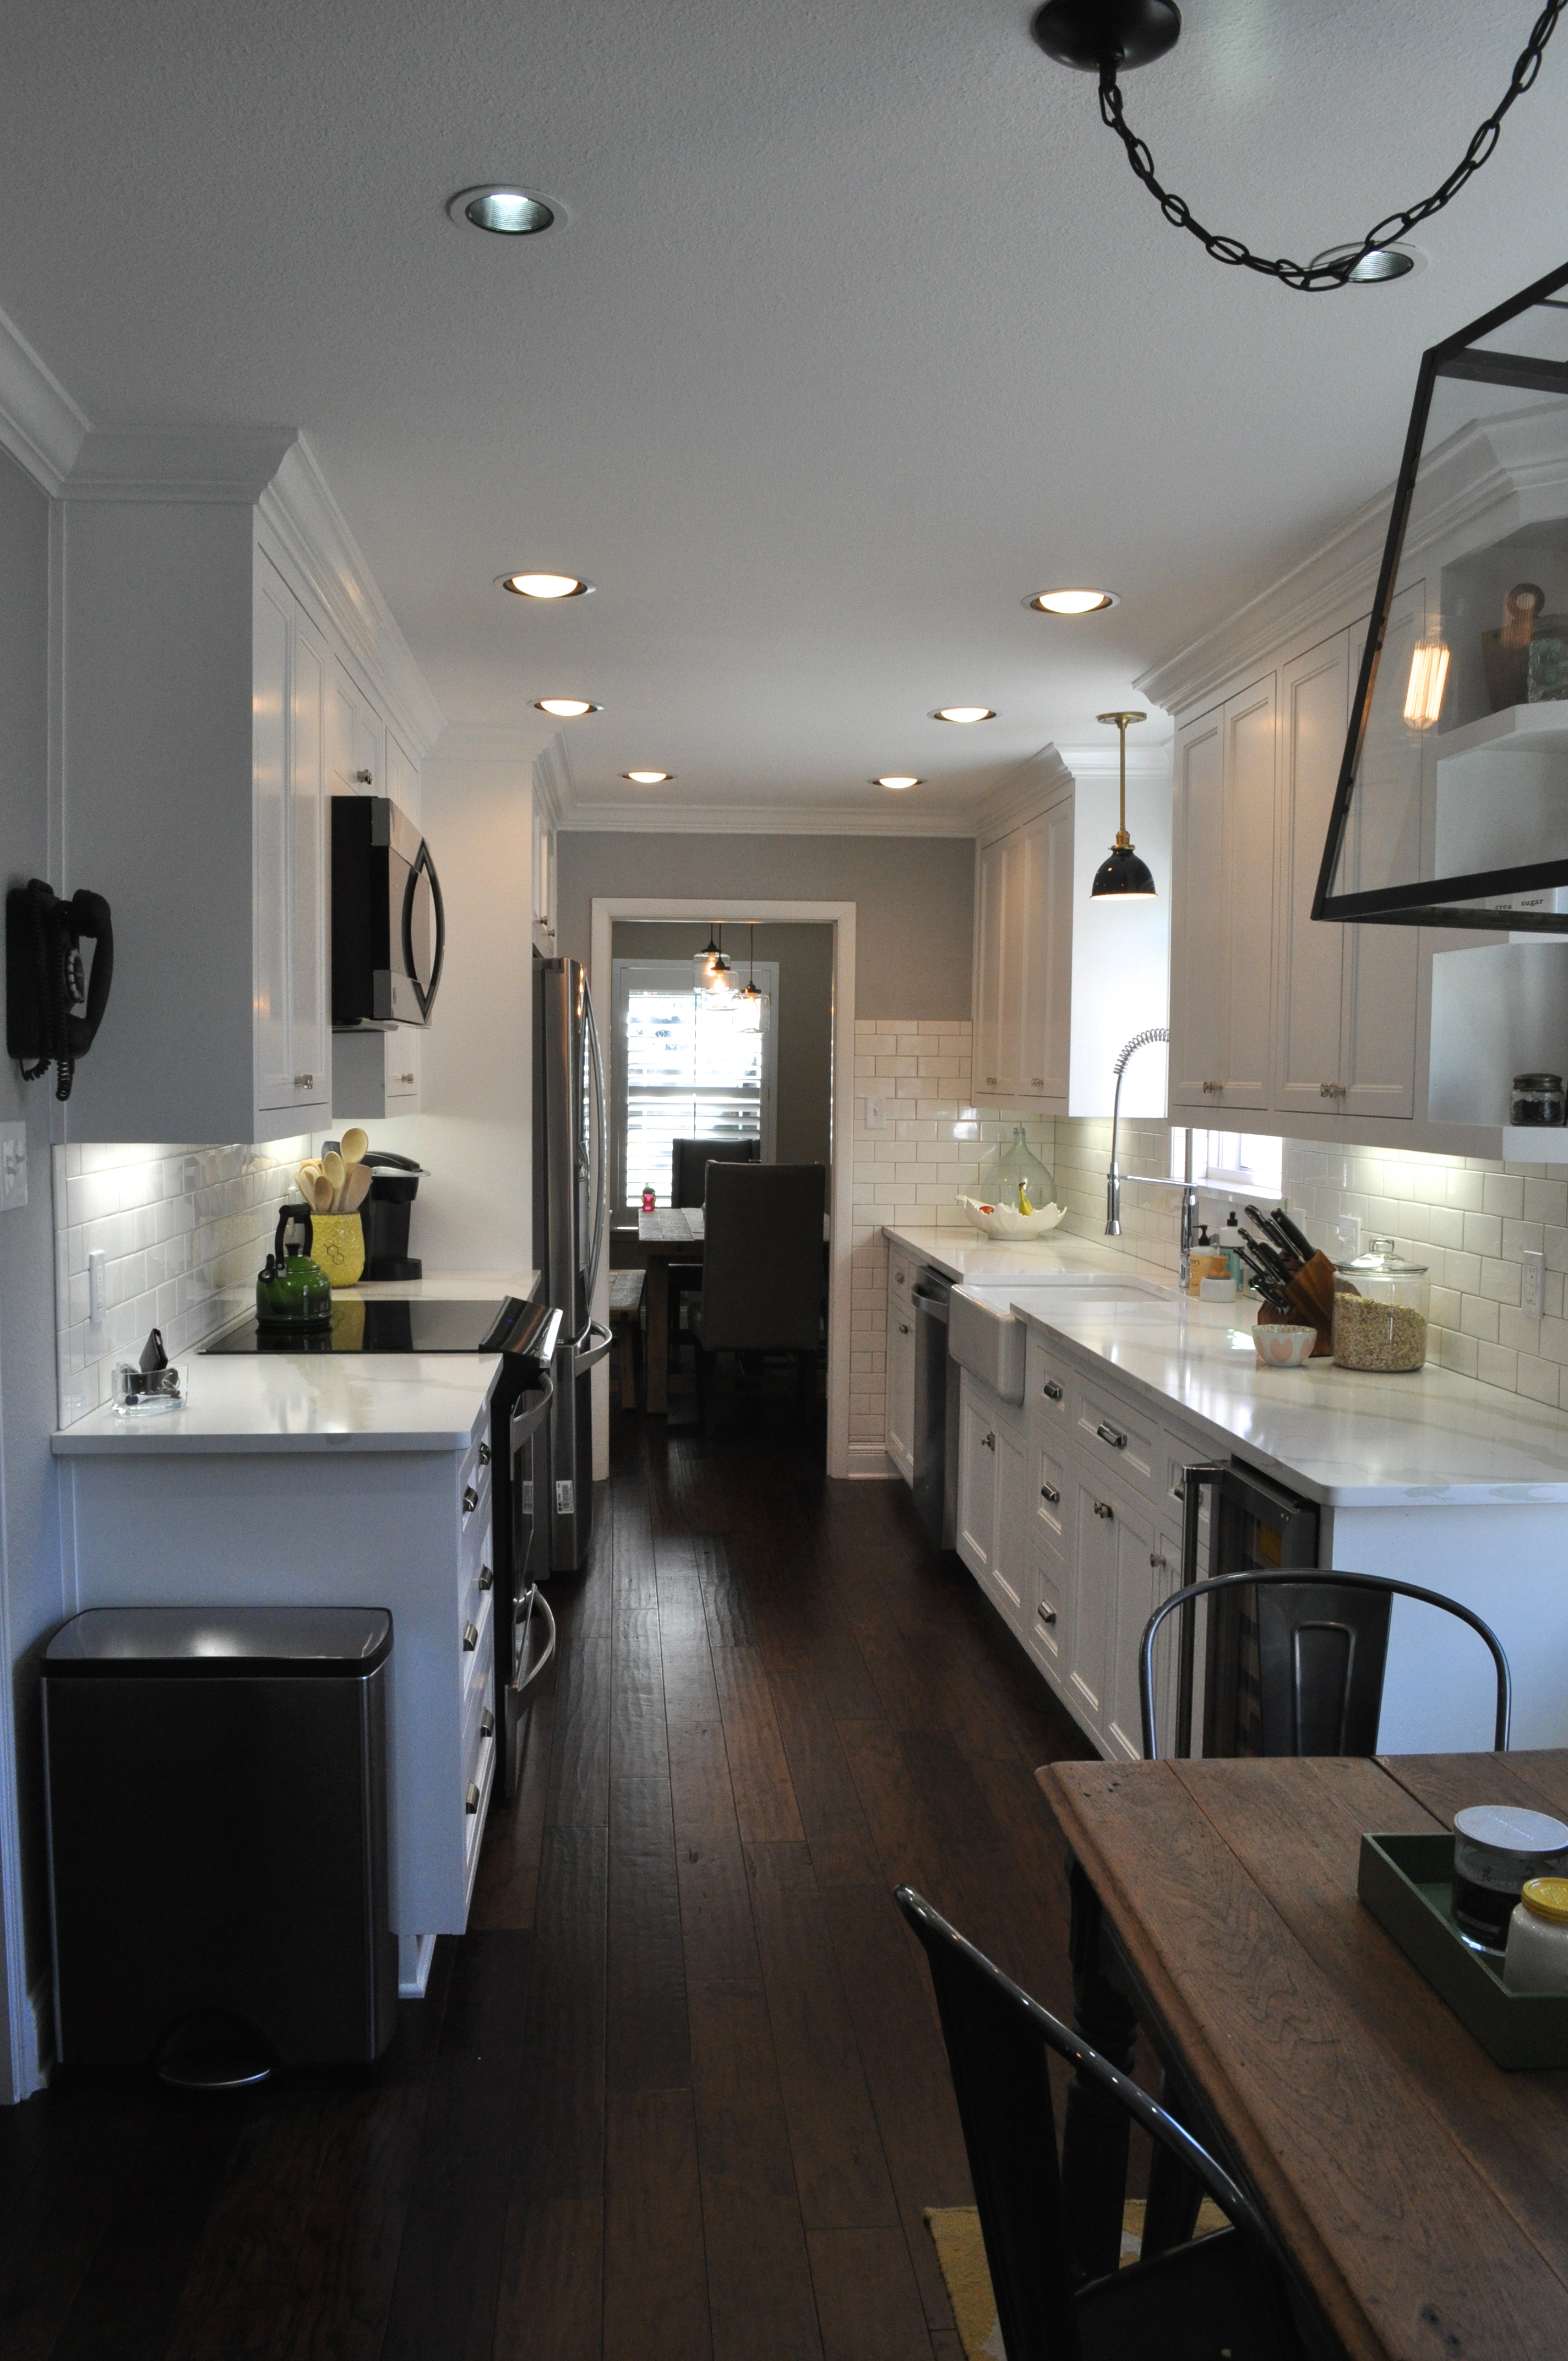
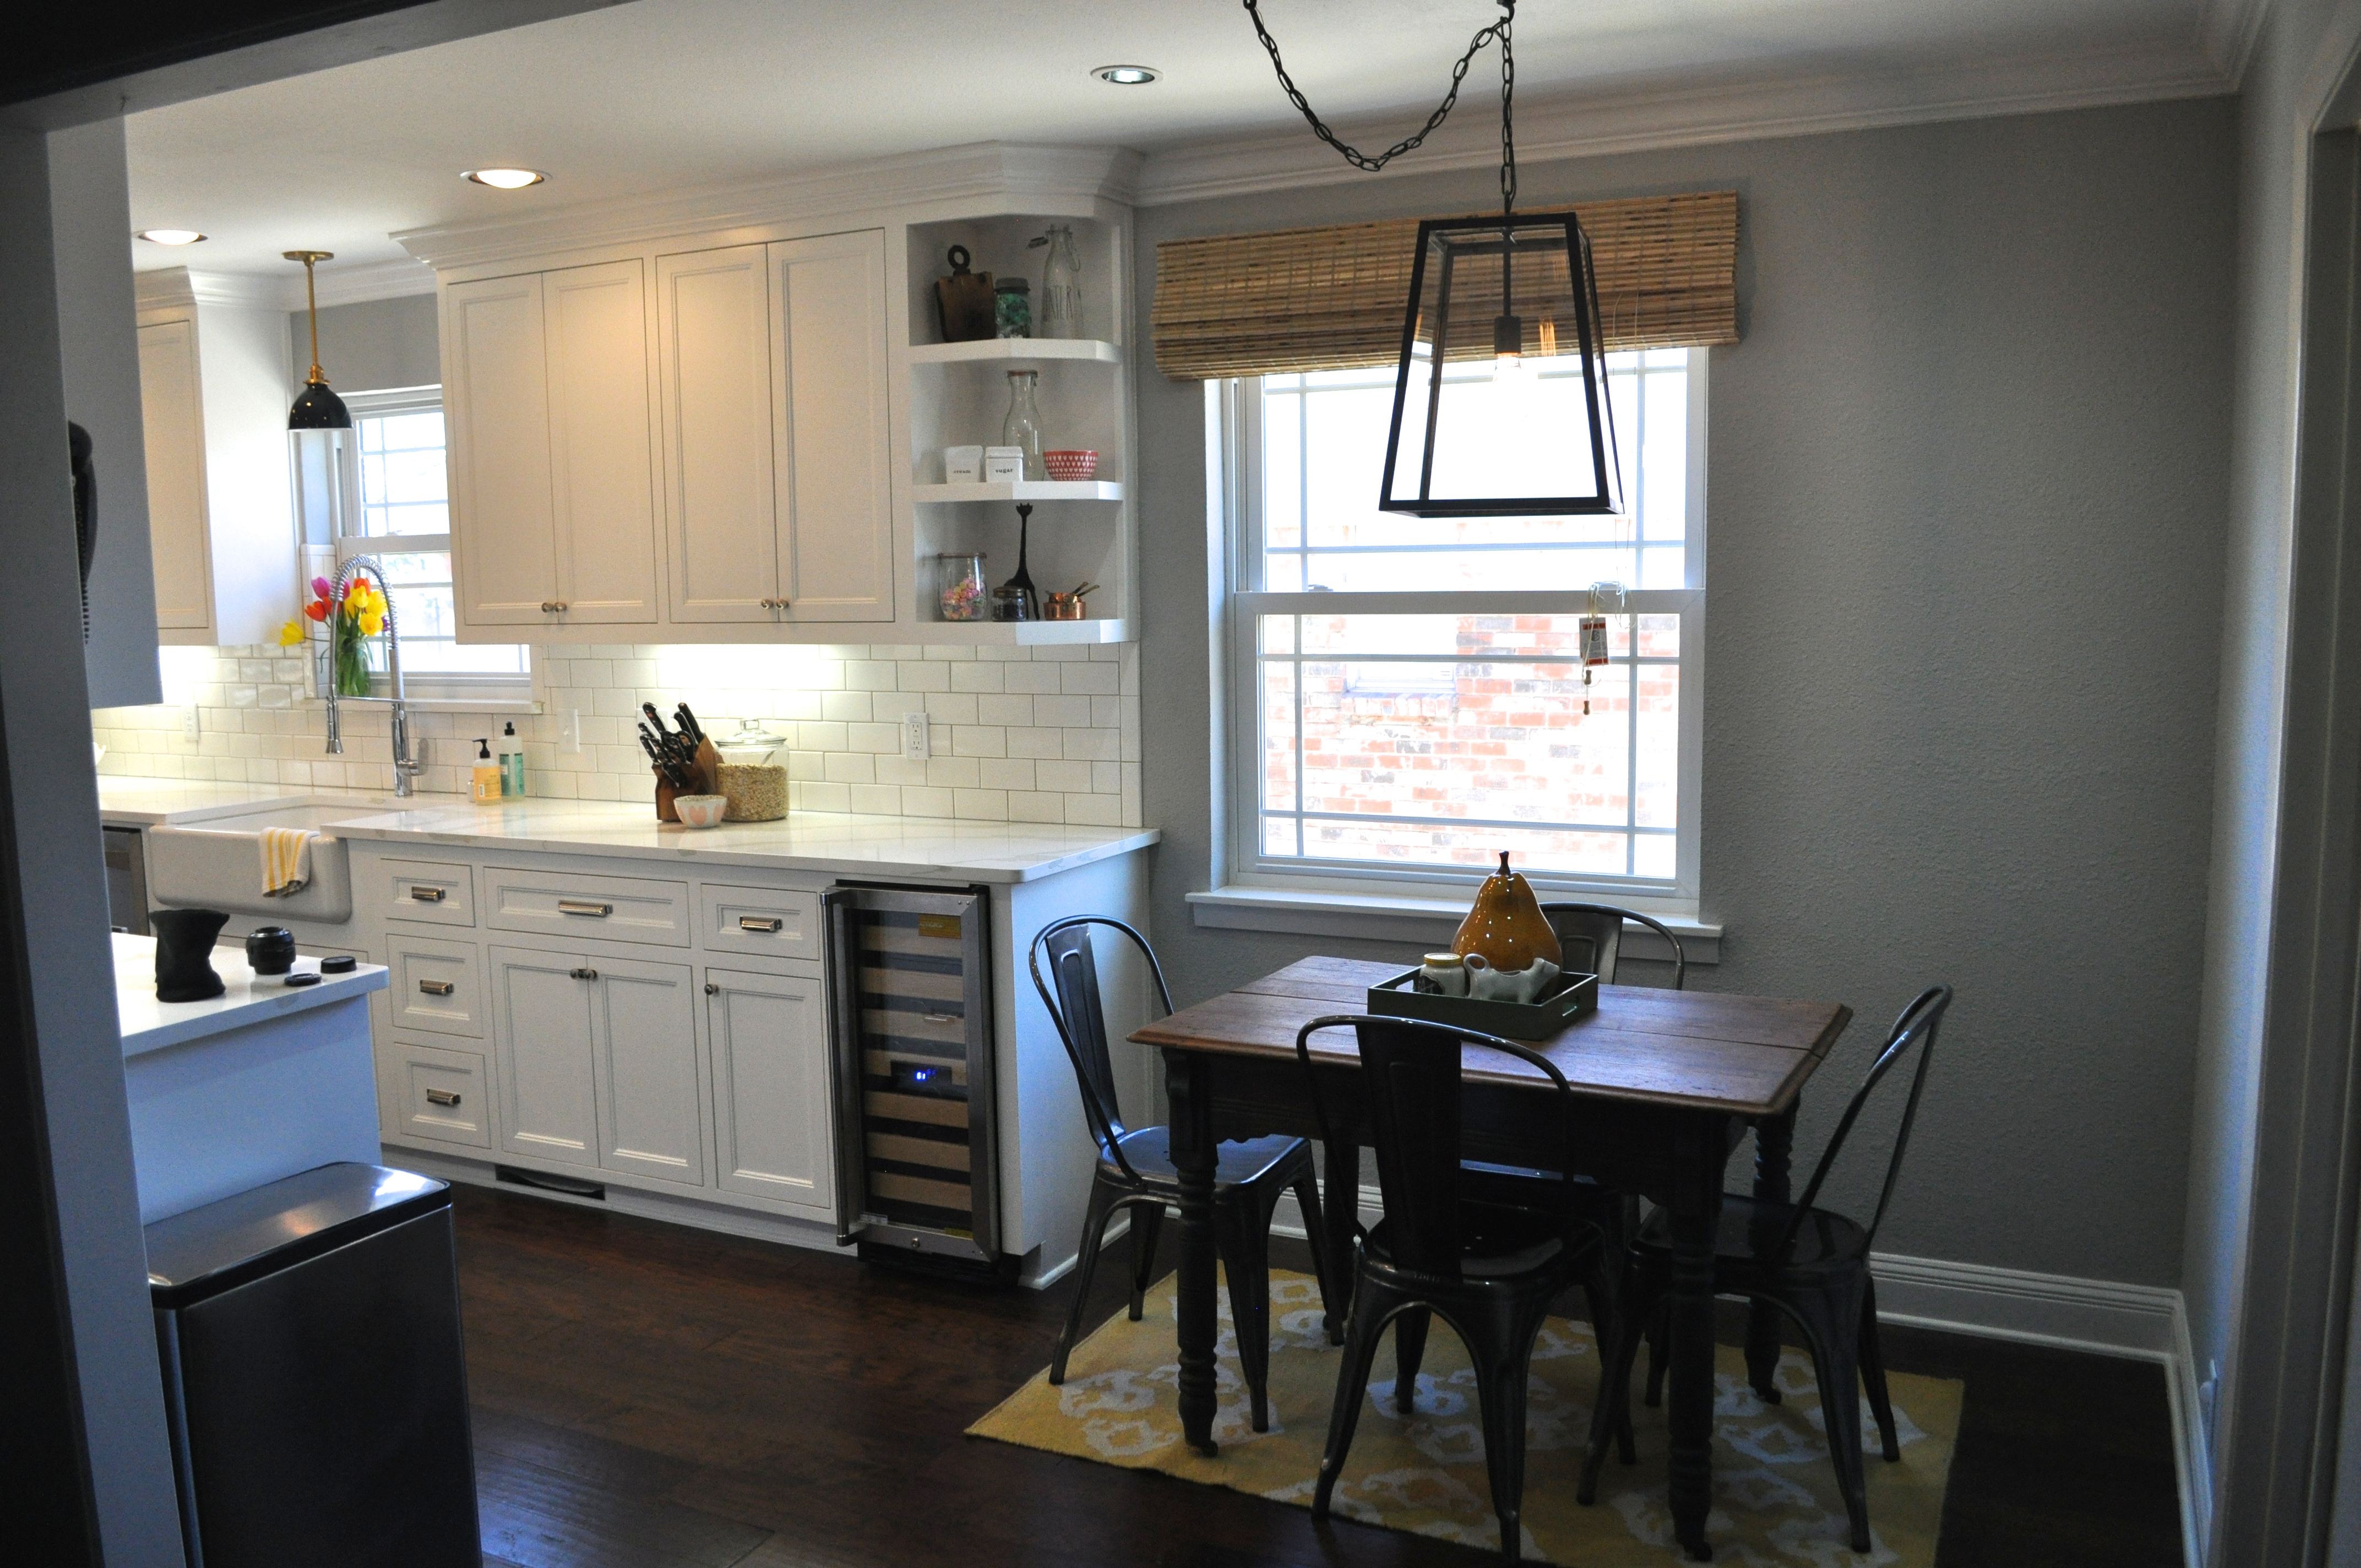
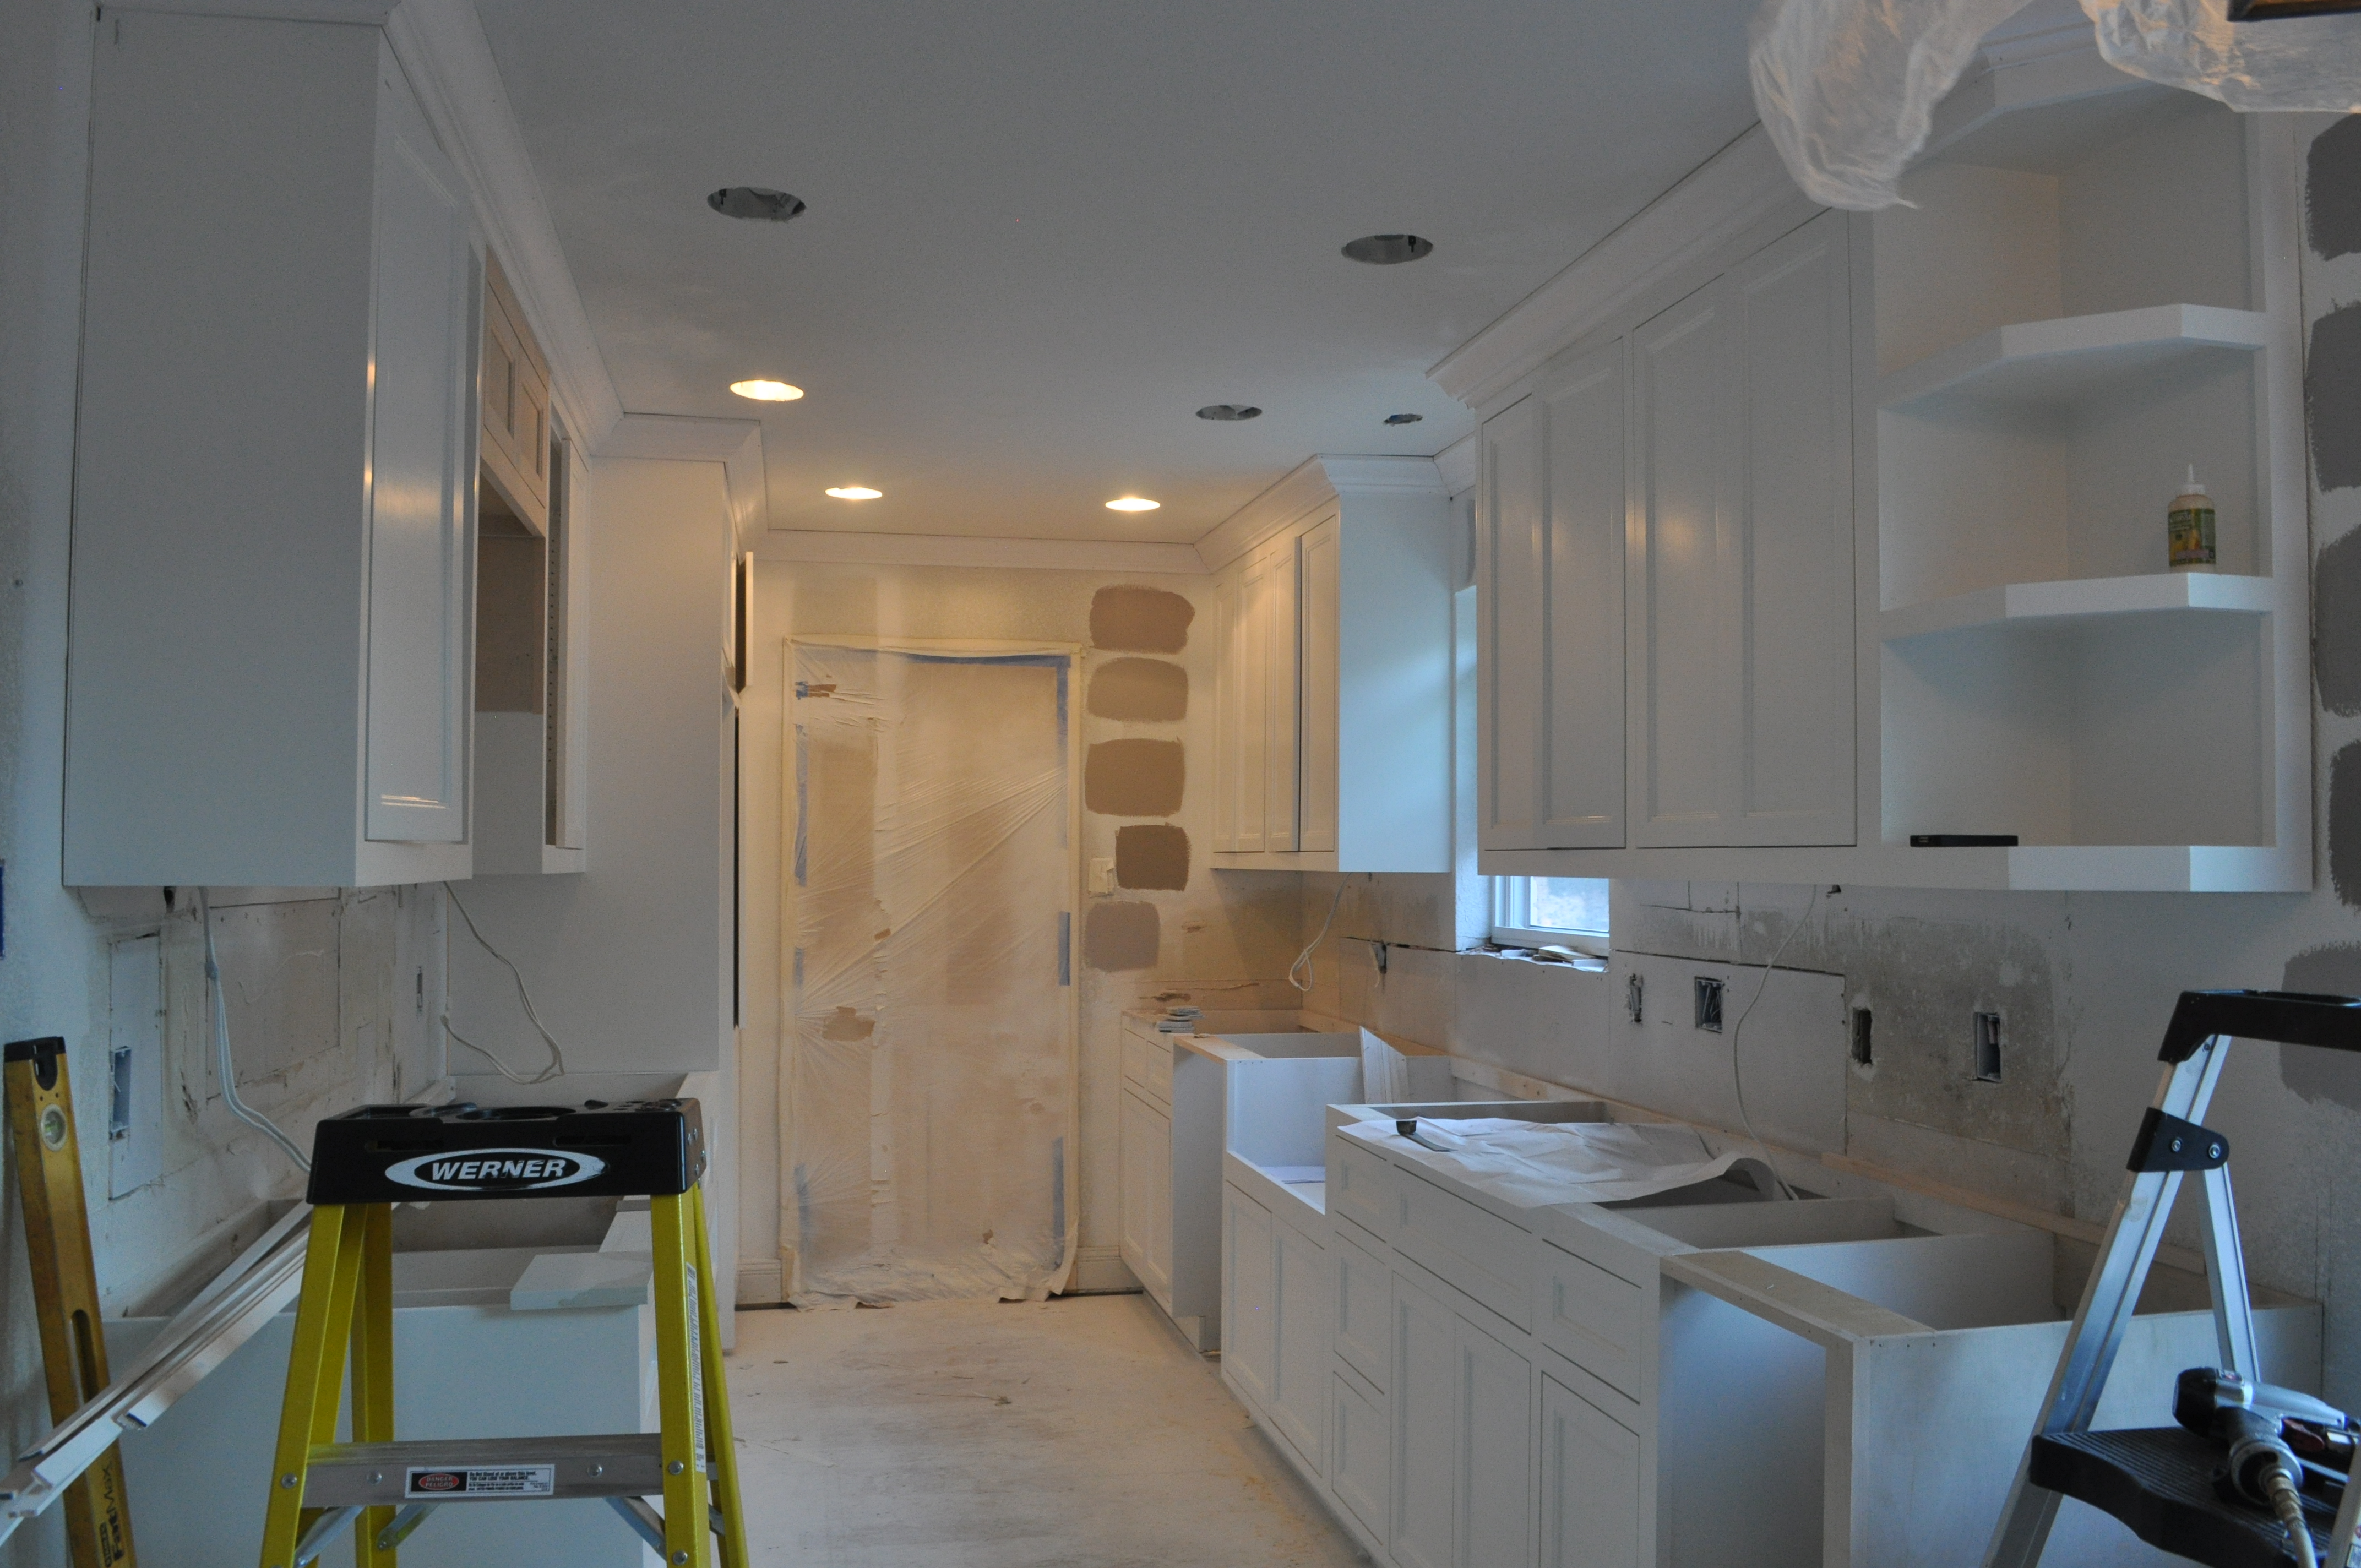
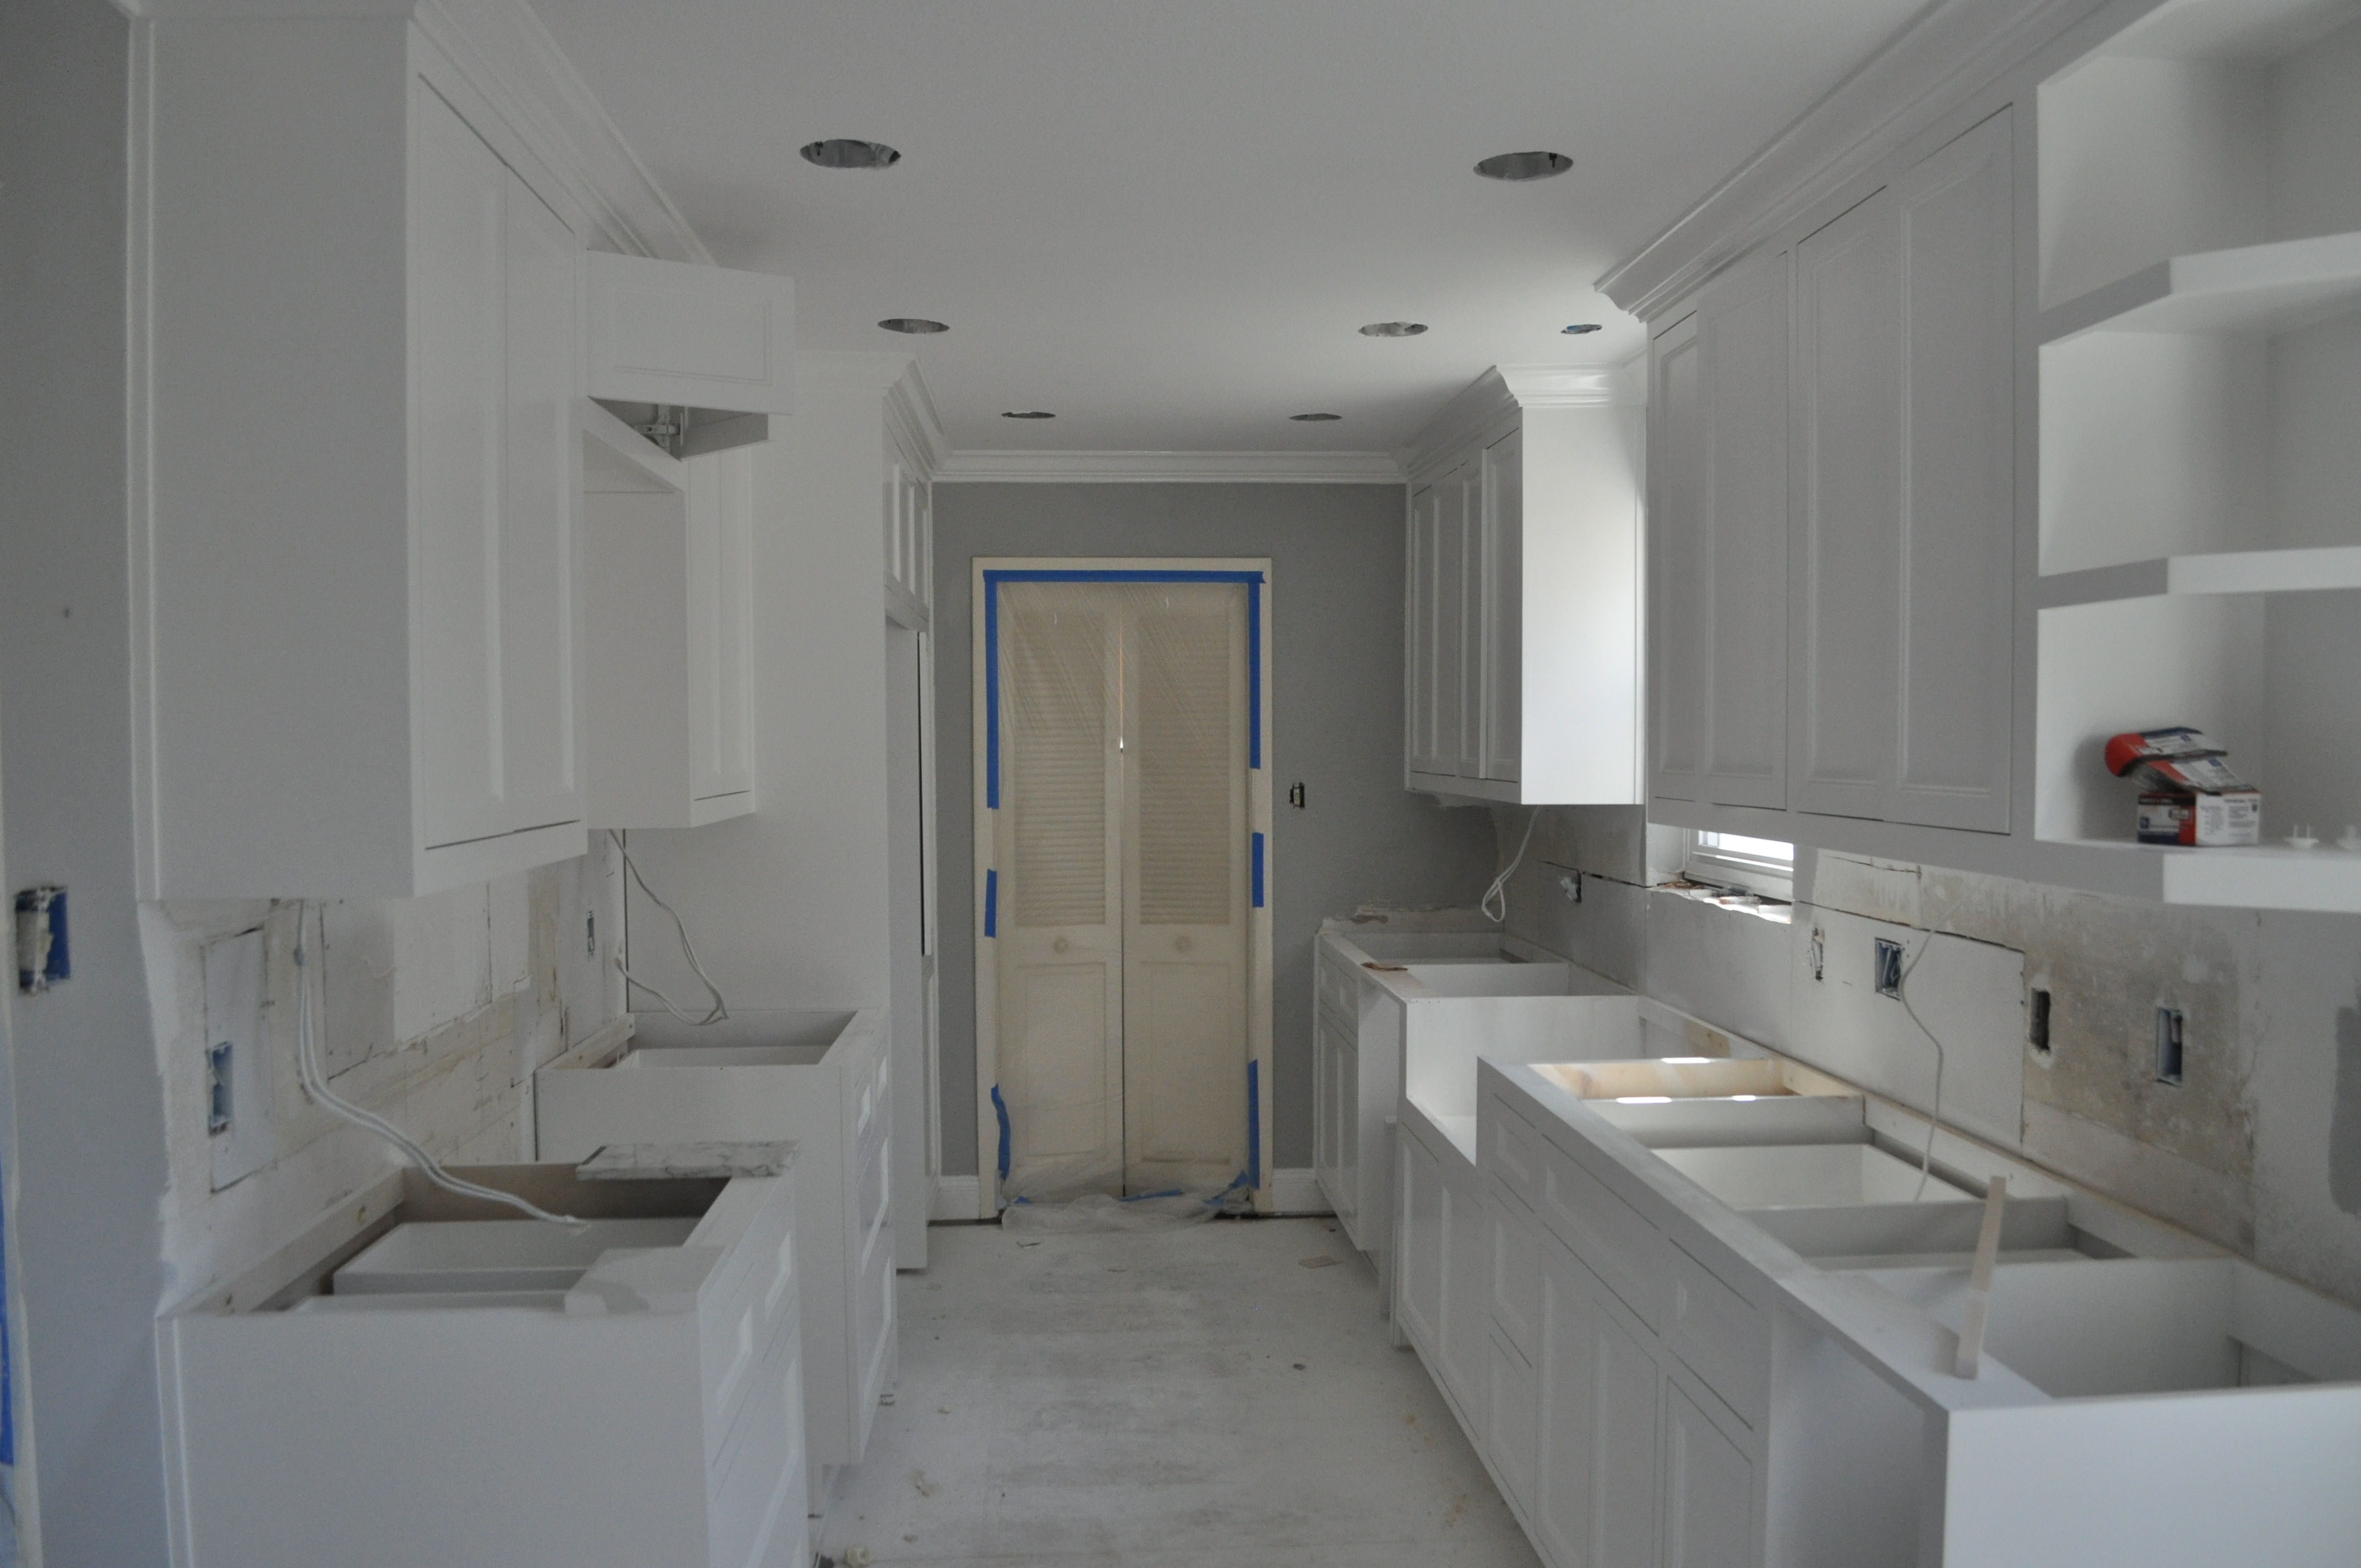
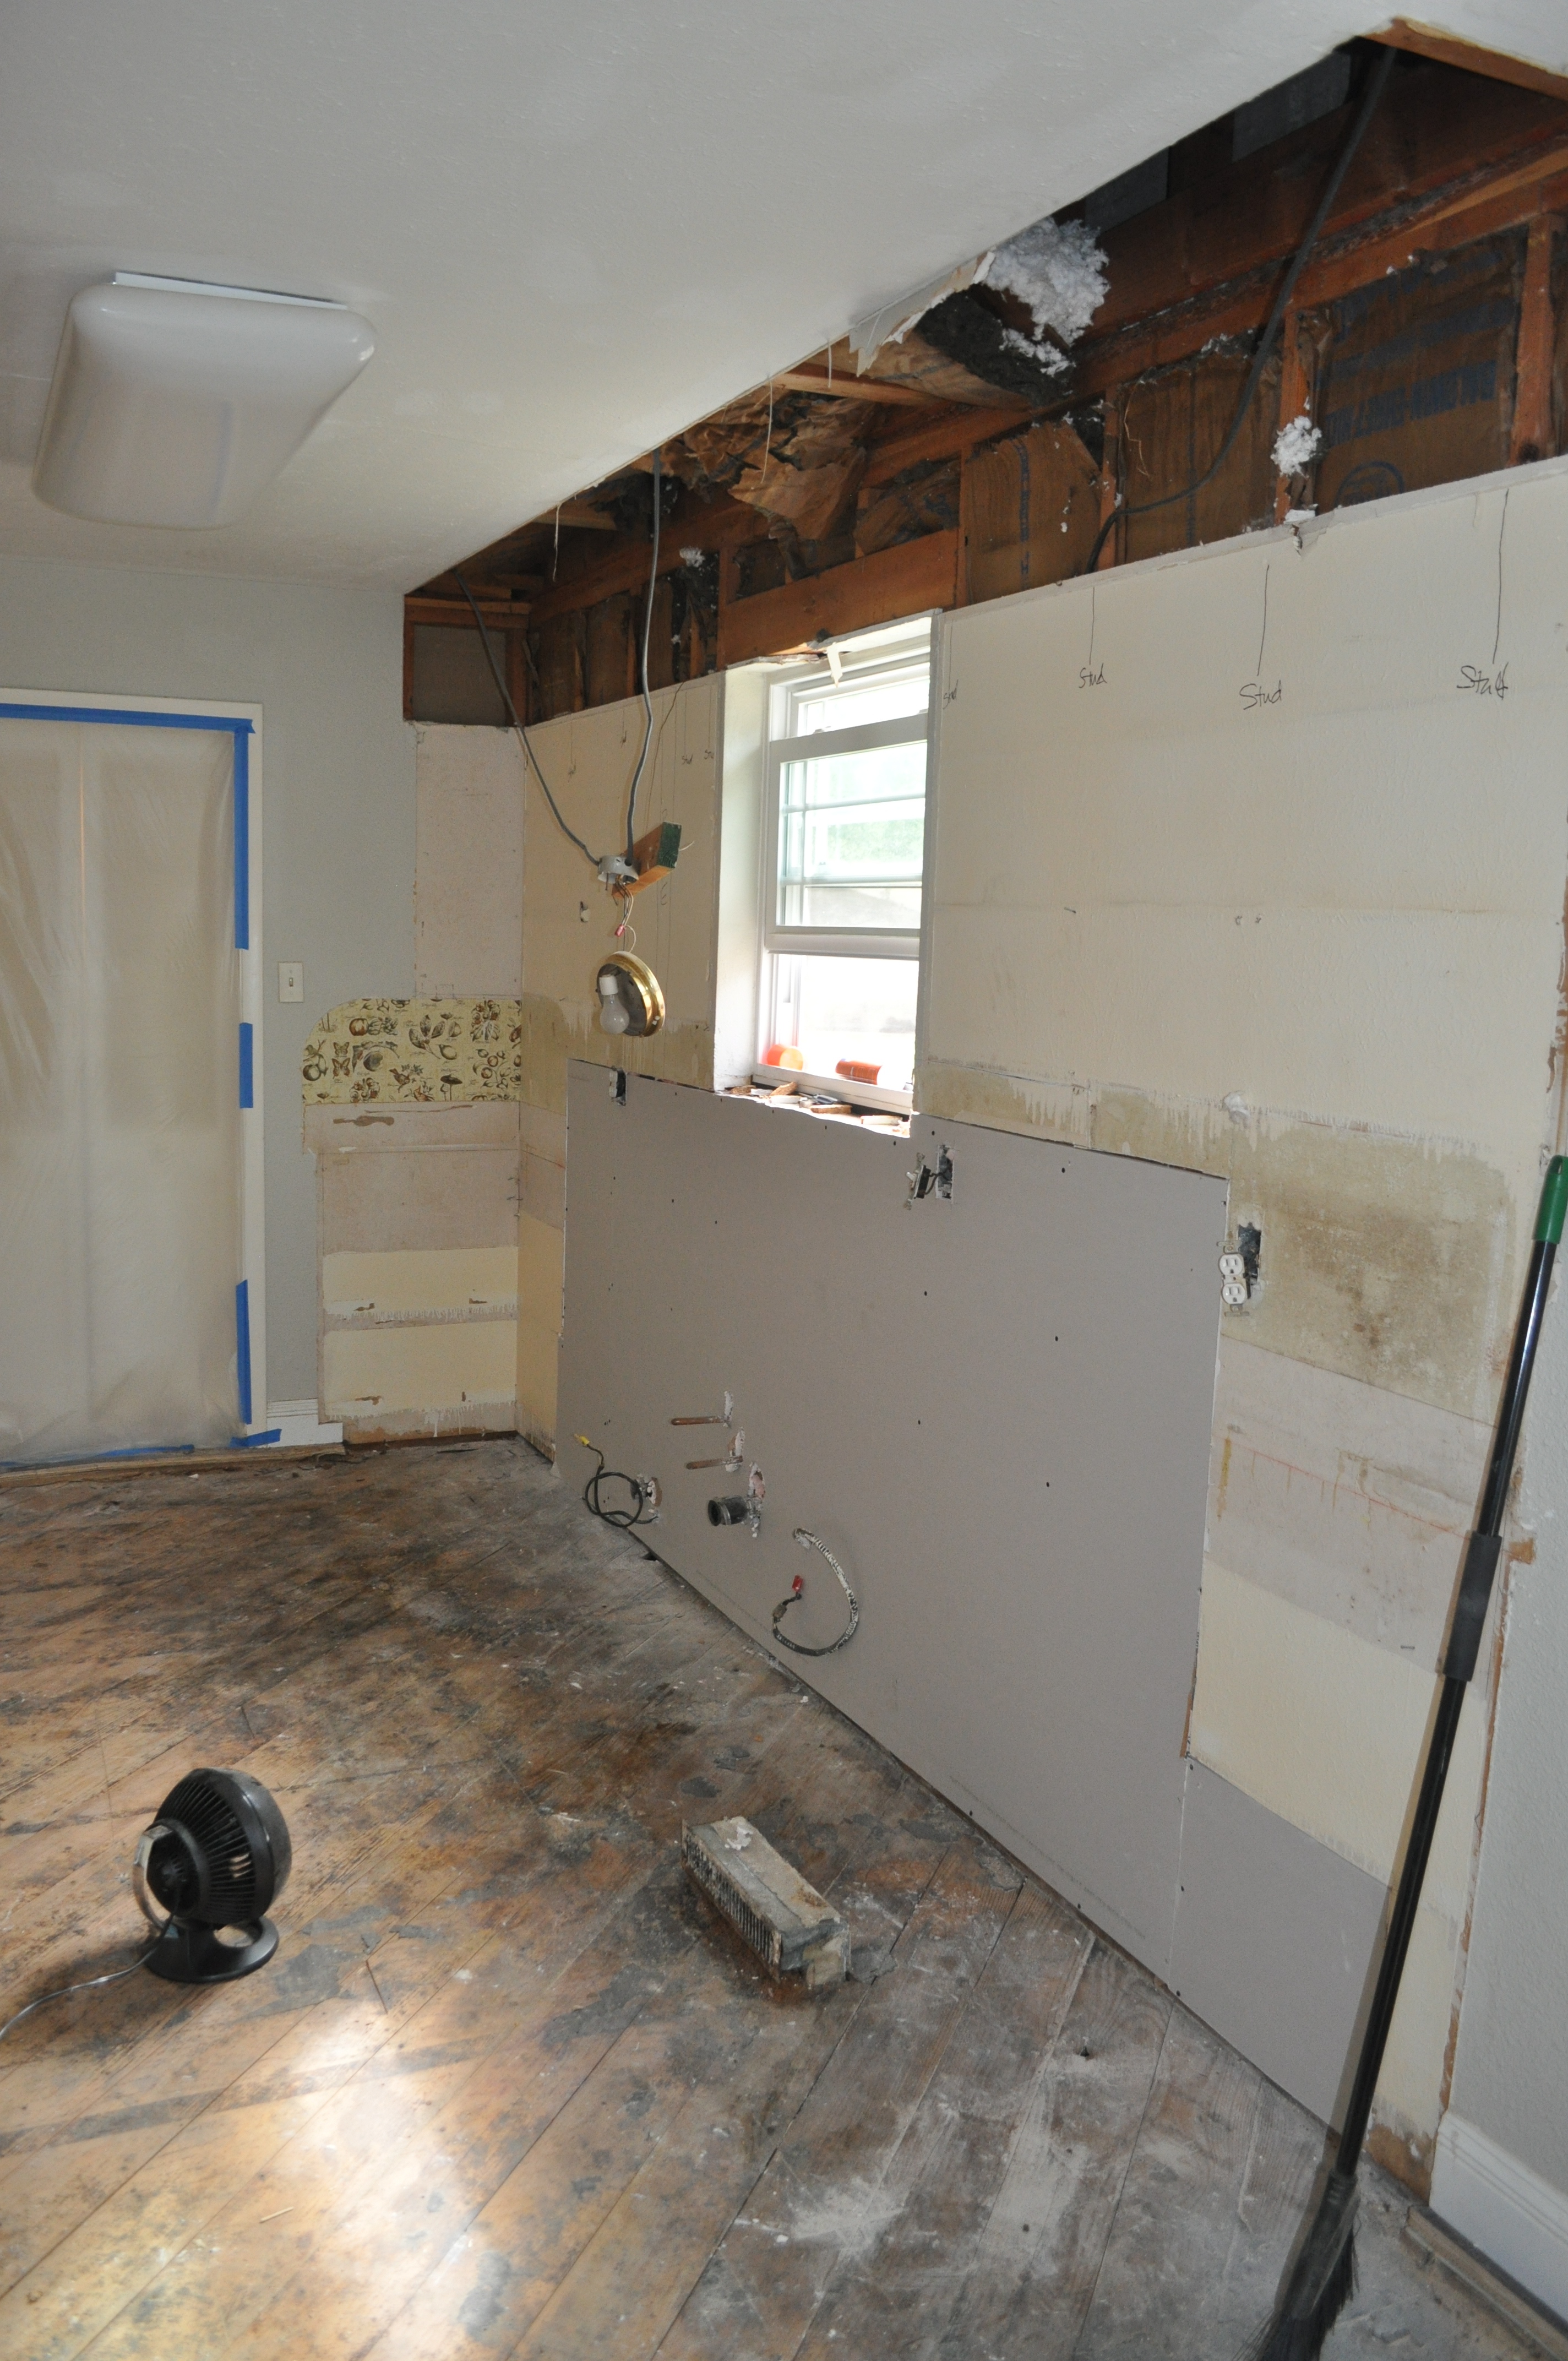
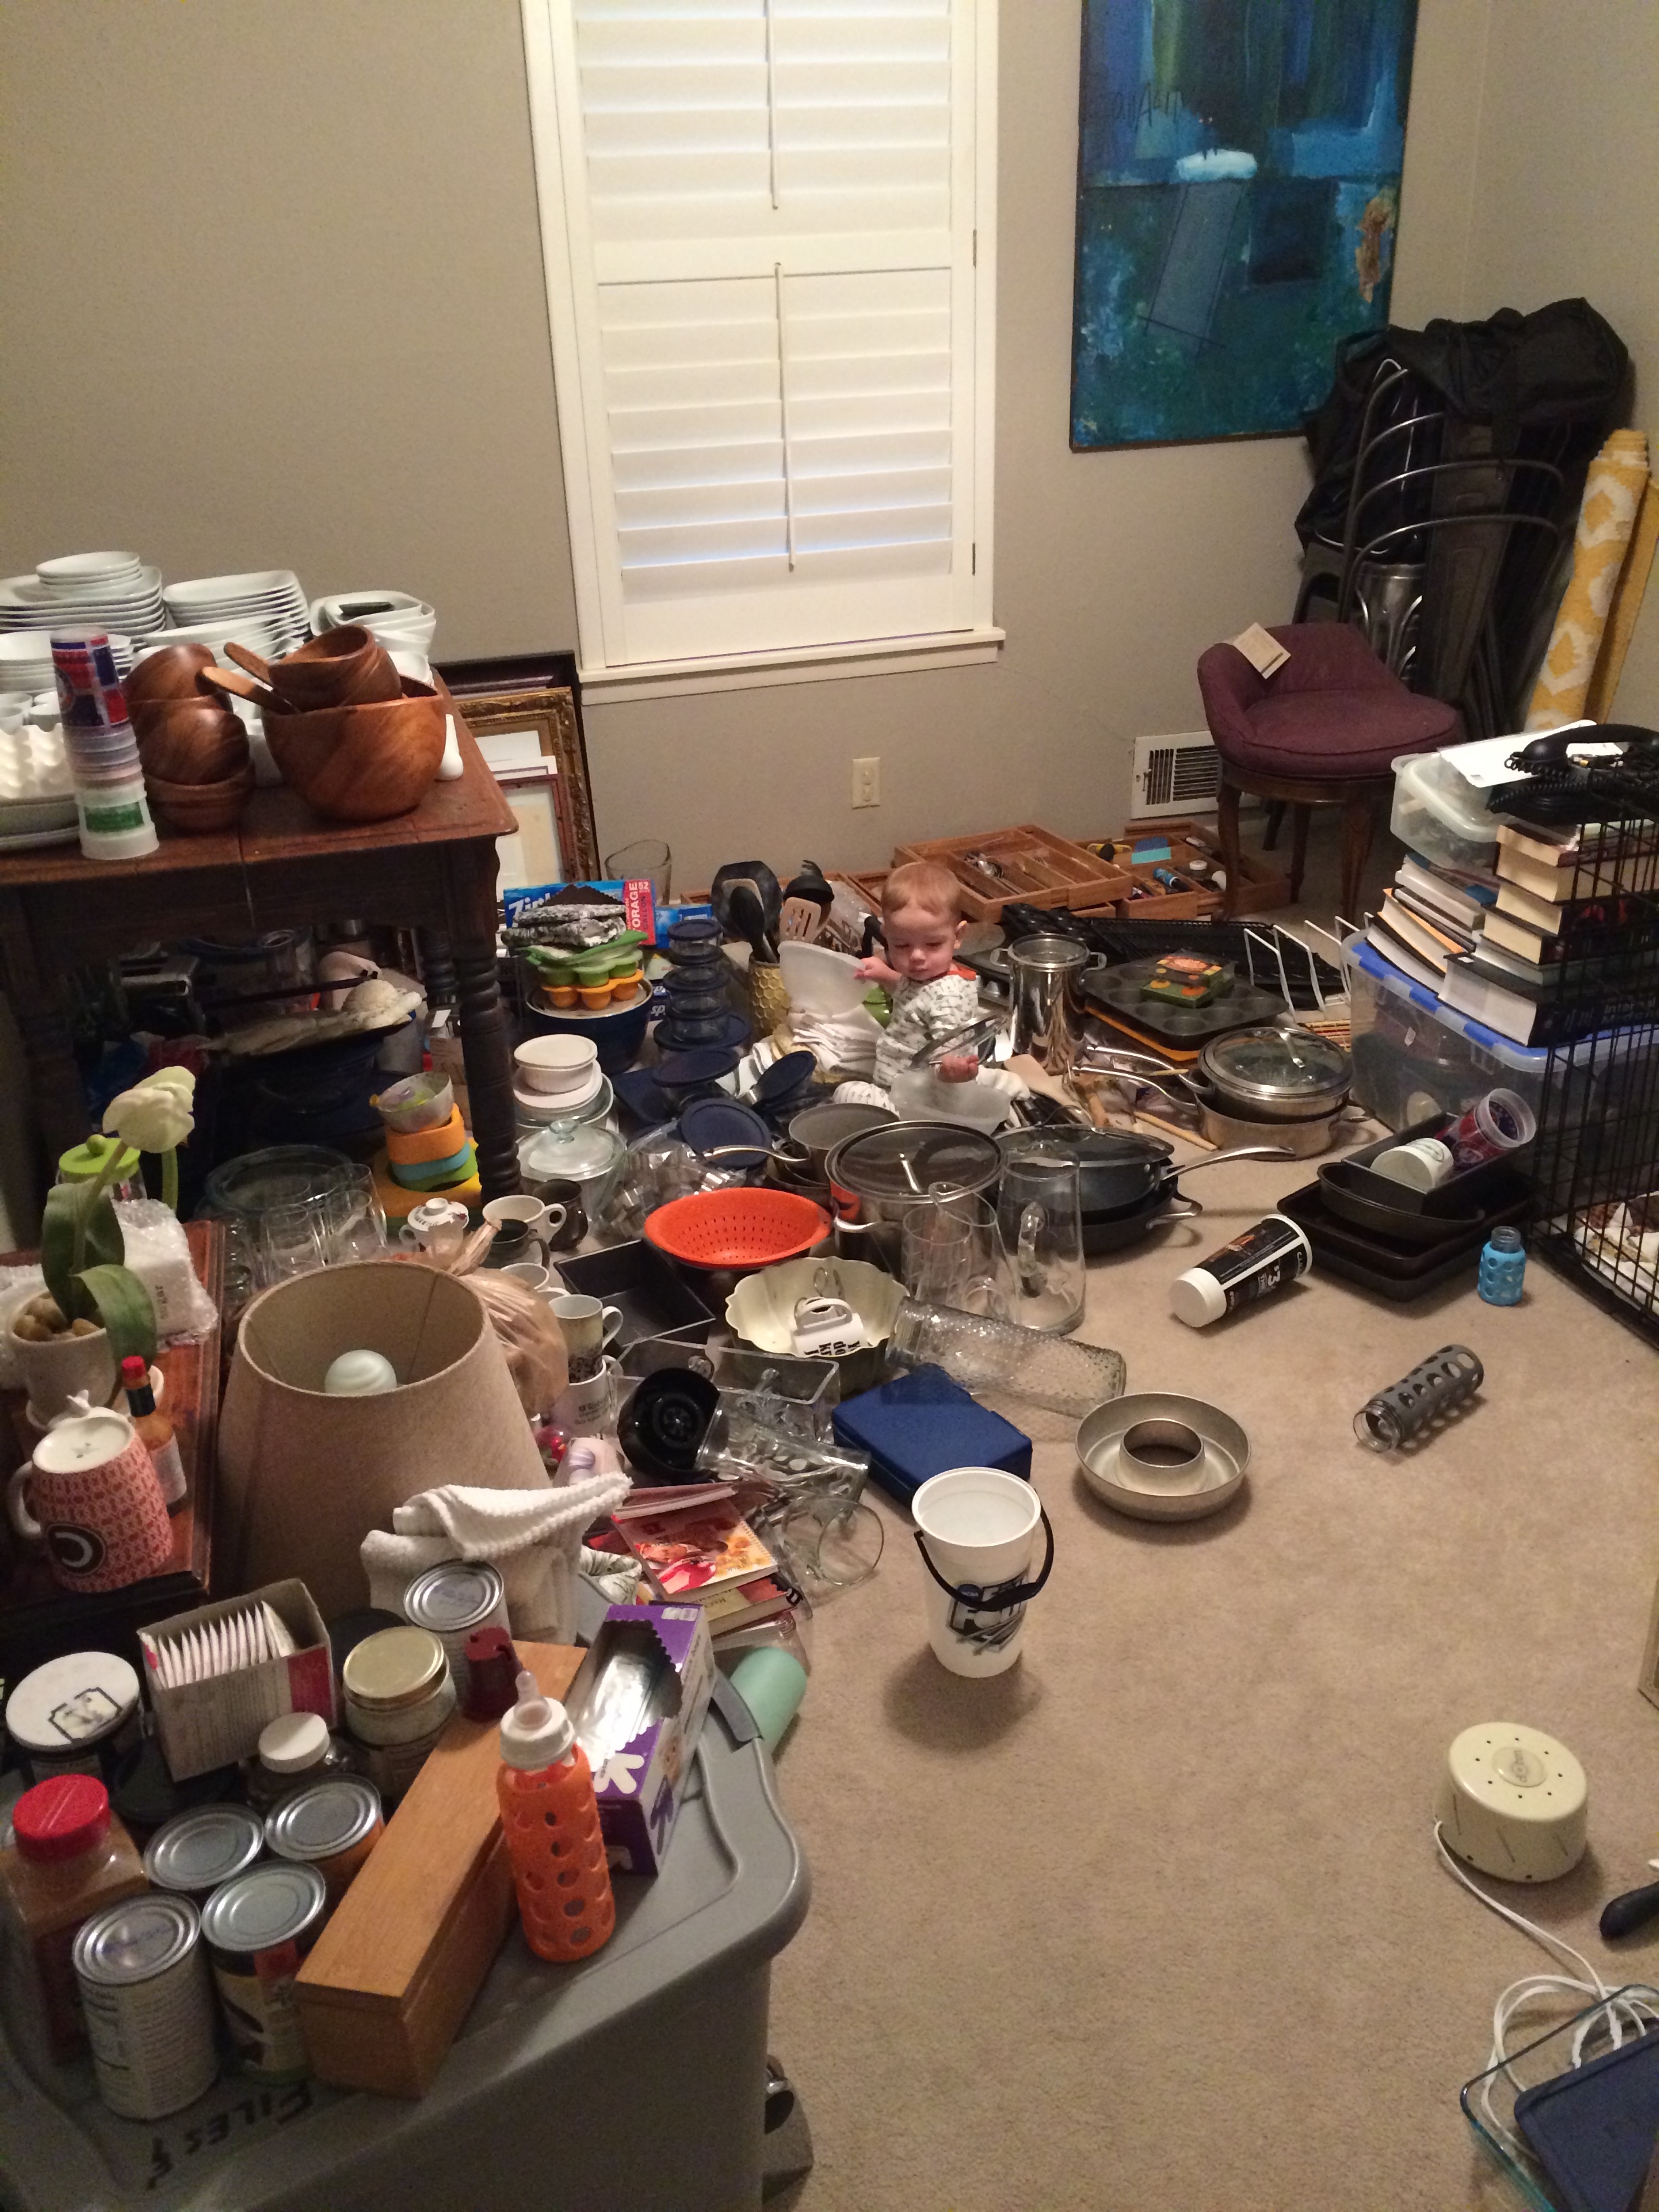
 Fast forward 3 1/2 years, add in a main line water leak, and here’s what it looks like today! ...when it’s clean. It’s so fun walking into this space or peeking around the corner when I’m in the living or dining room. It just looks so pretty… I hope you all like it, too. Here’s my amateur photo shoot!


 If you have been following this journey, you already know just how far we have come. If not, here’s all my kitchen posts:
- kitchen paining and demo
- dry wall and electrical
- cabinets
- painting
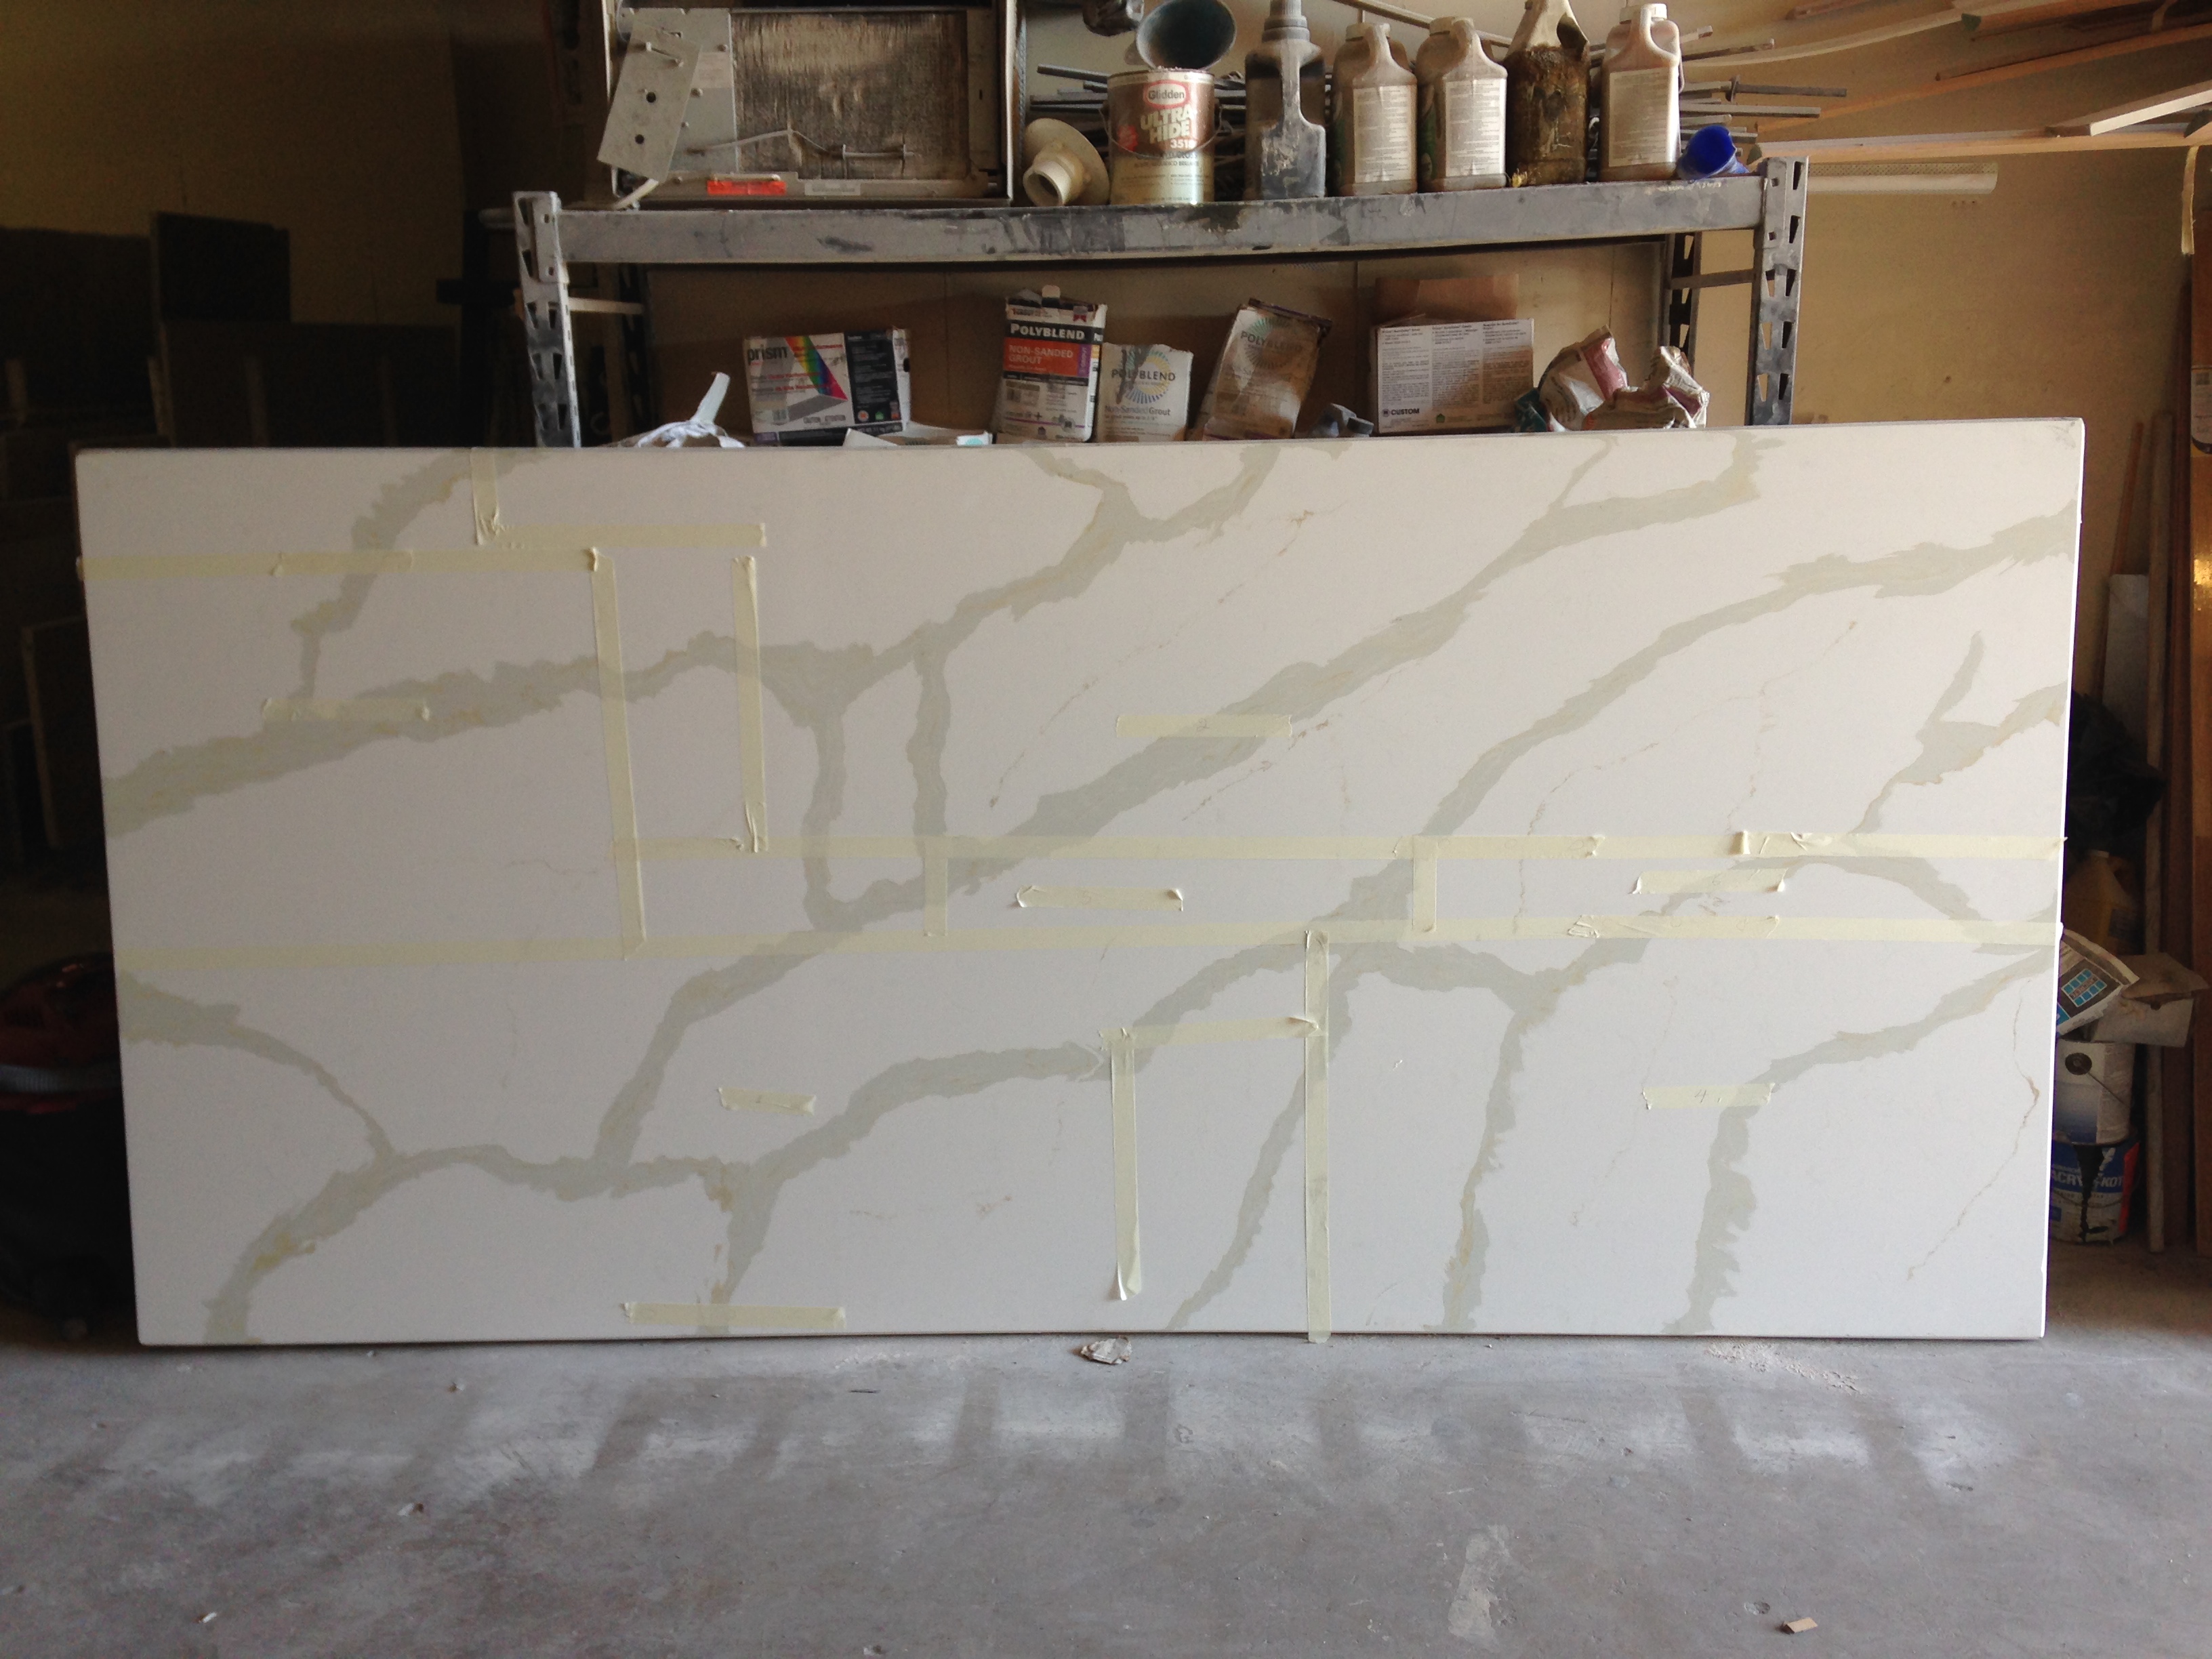
- countertops
- backsplash
- sneak peak pictures
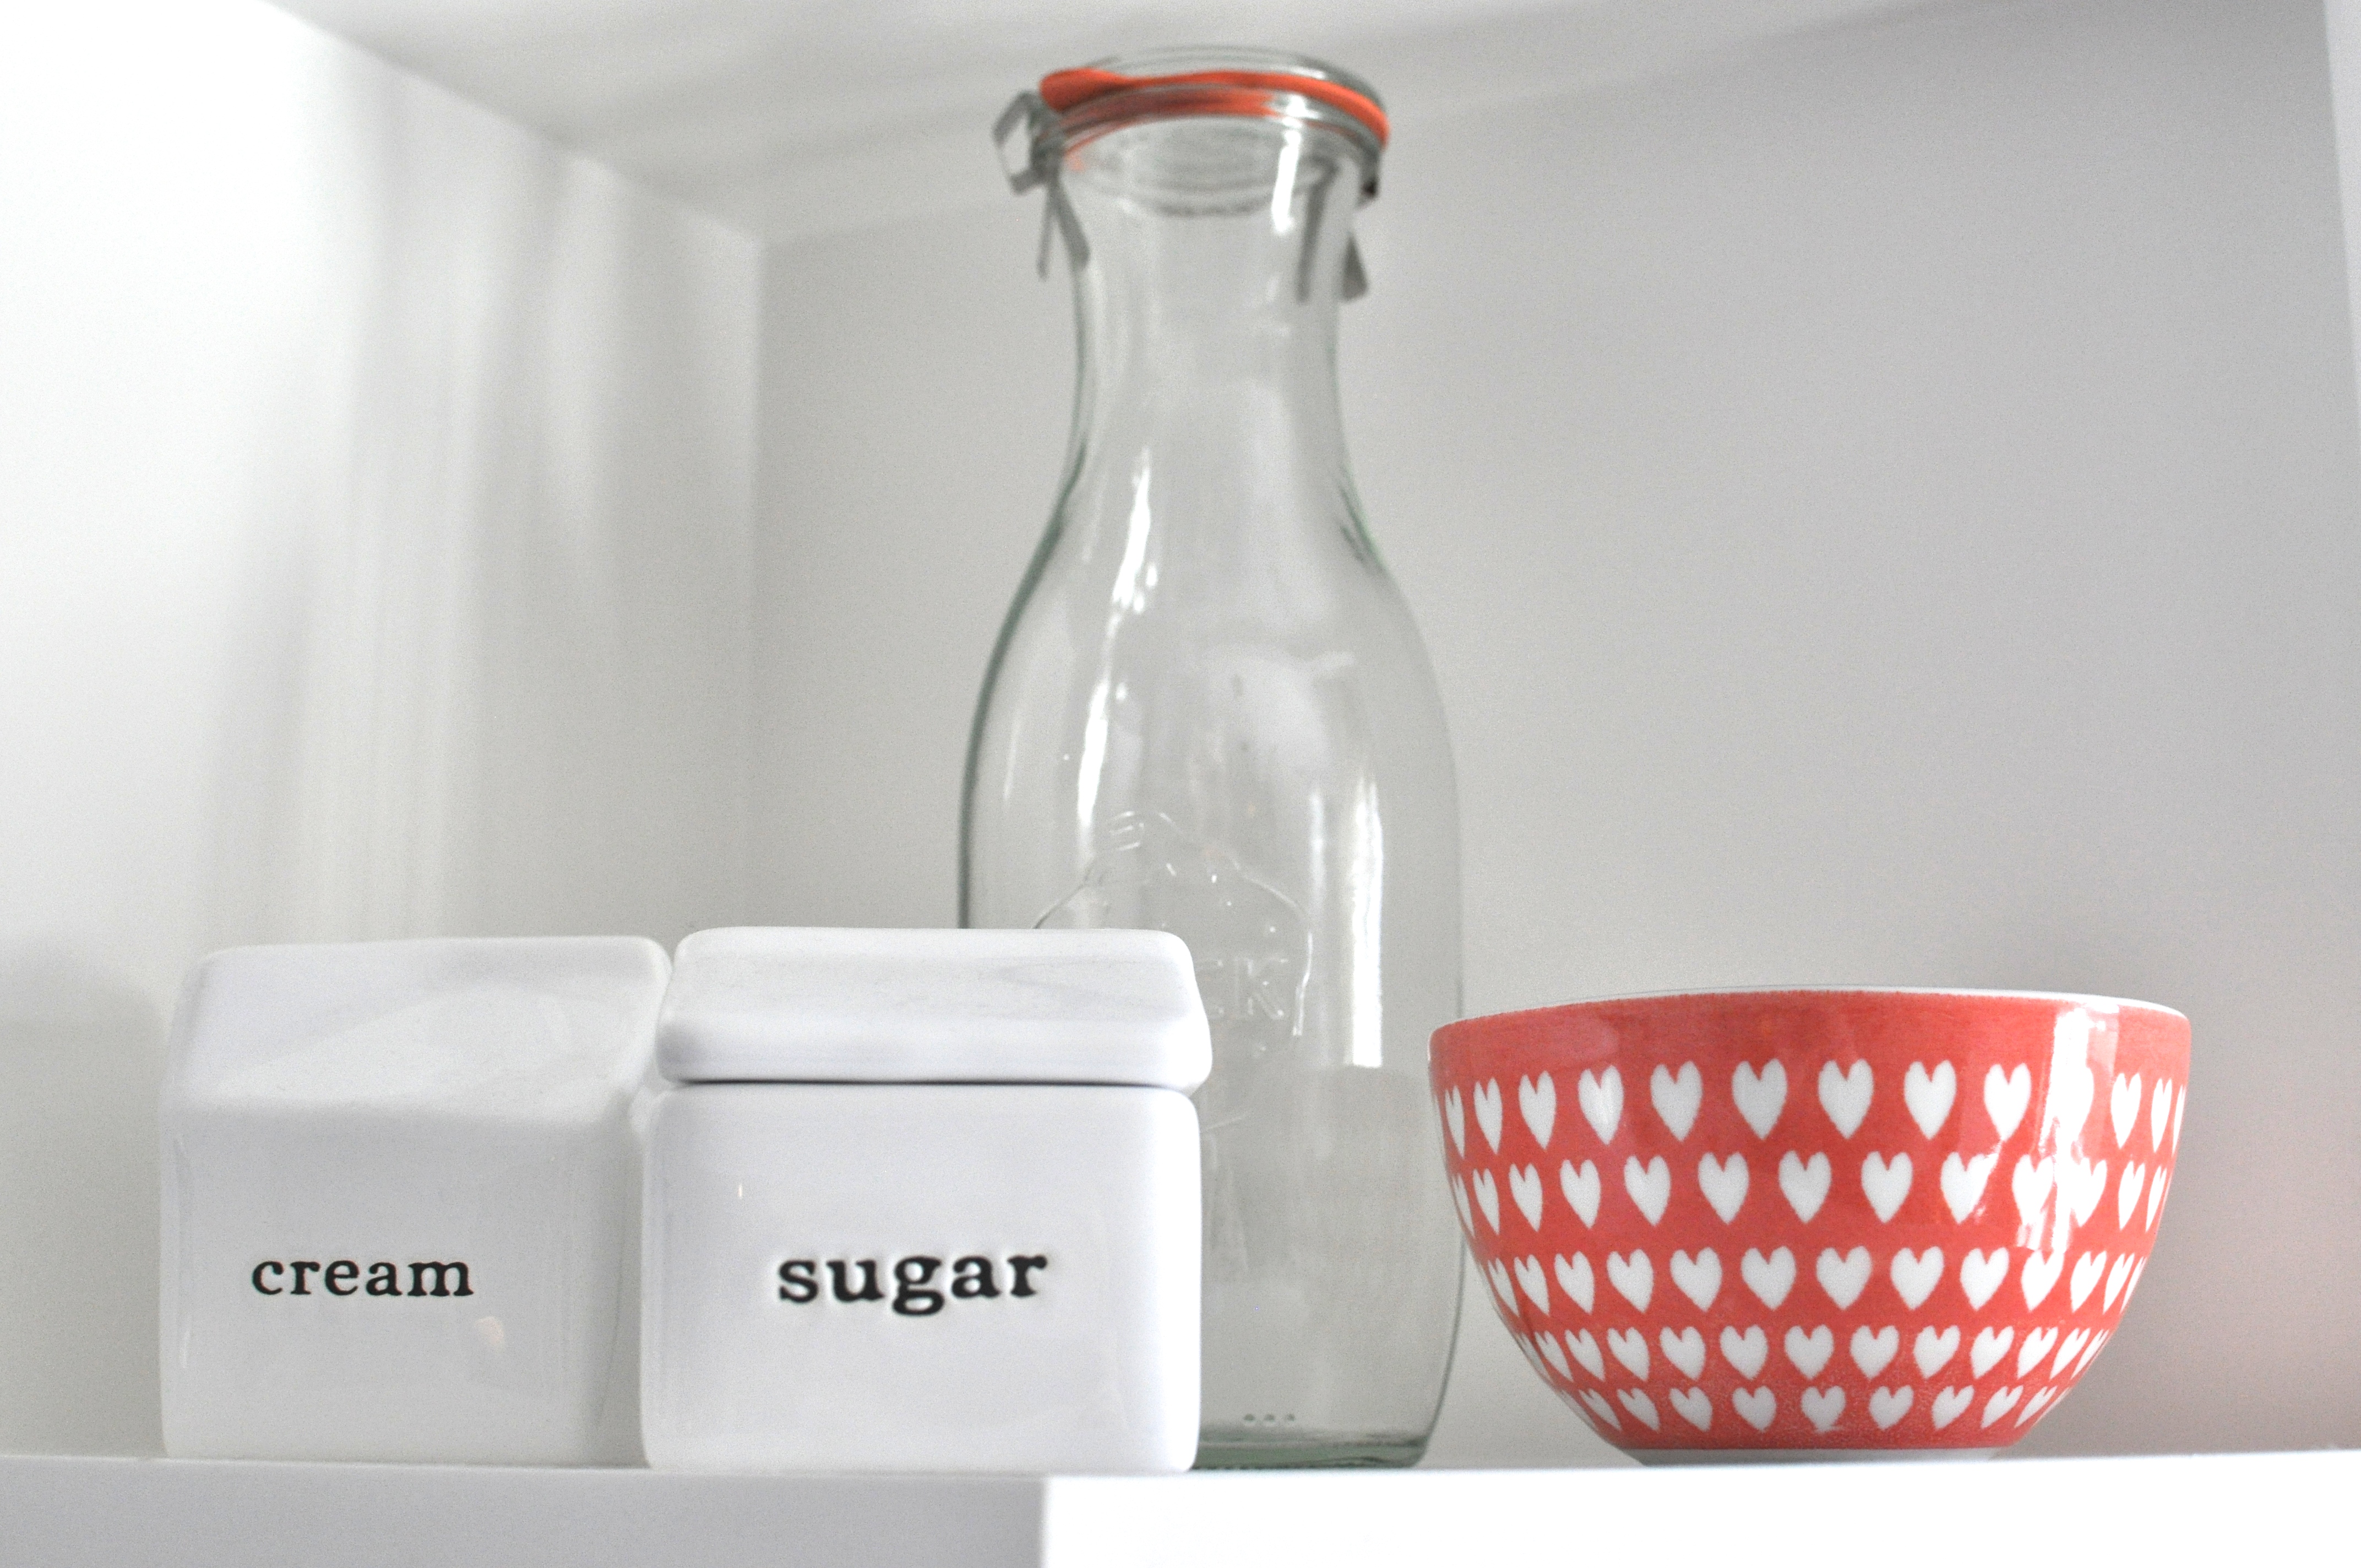
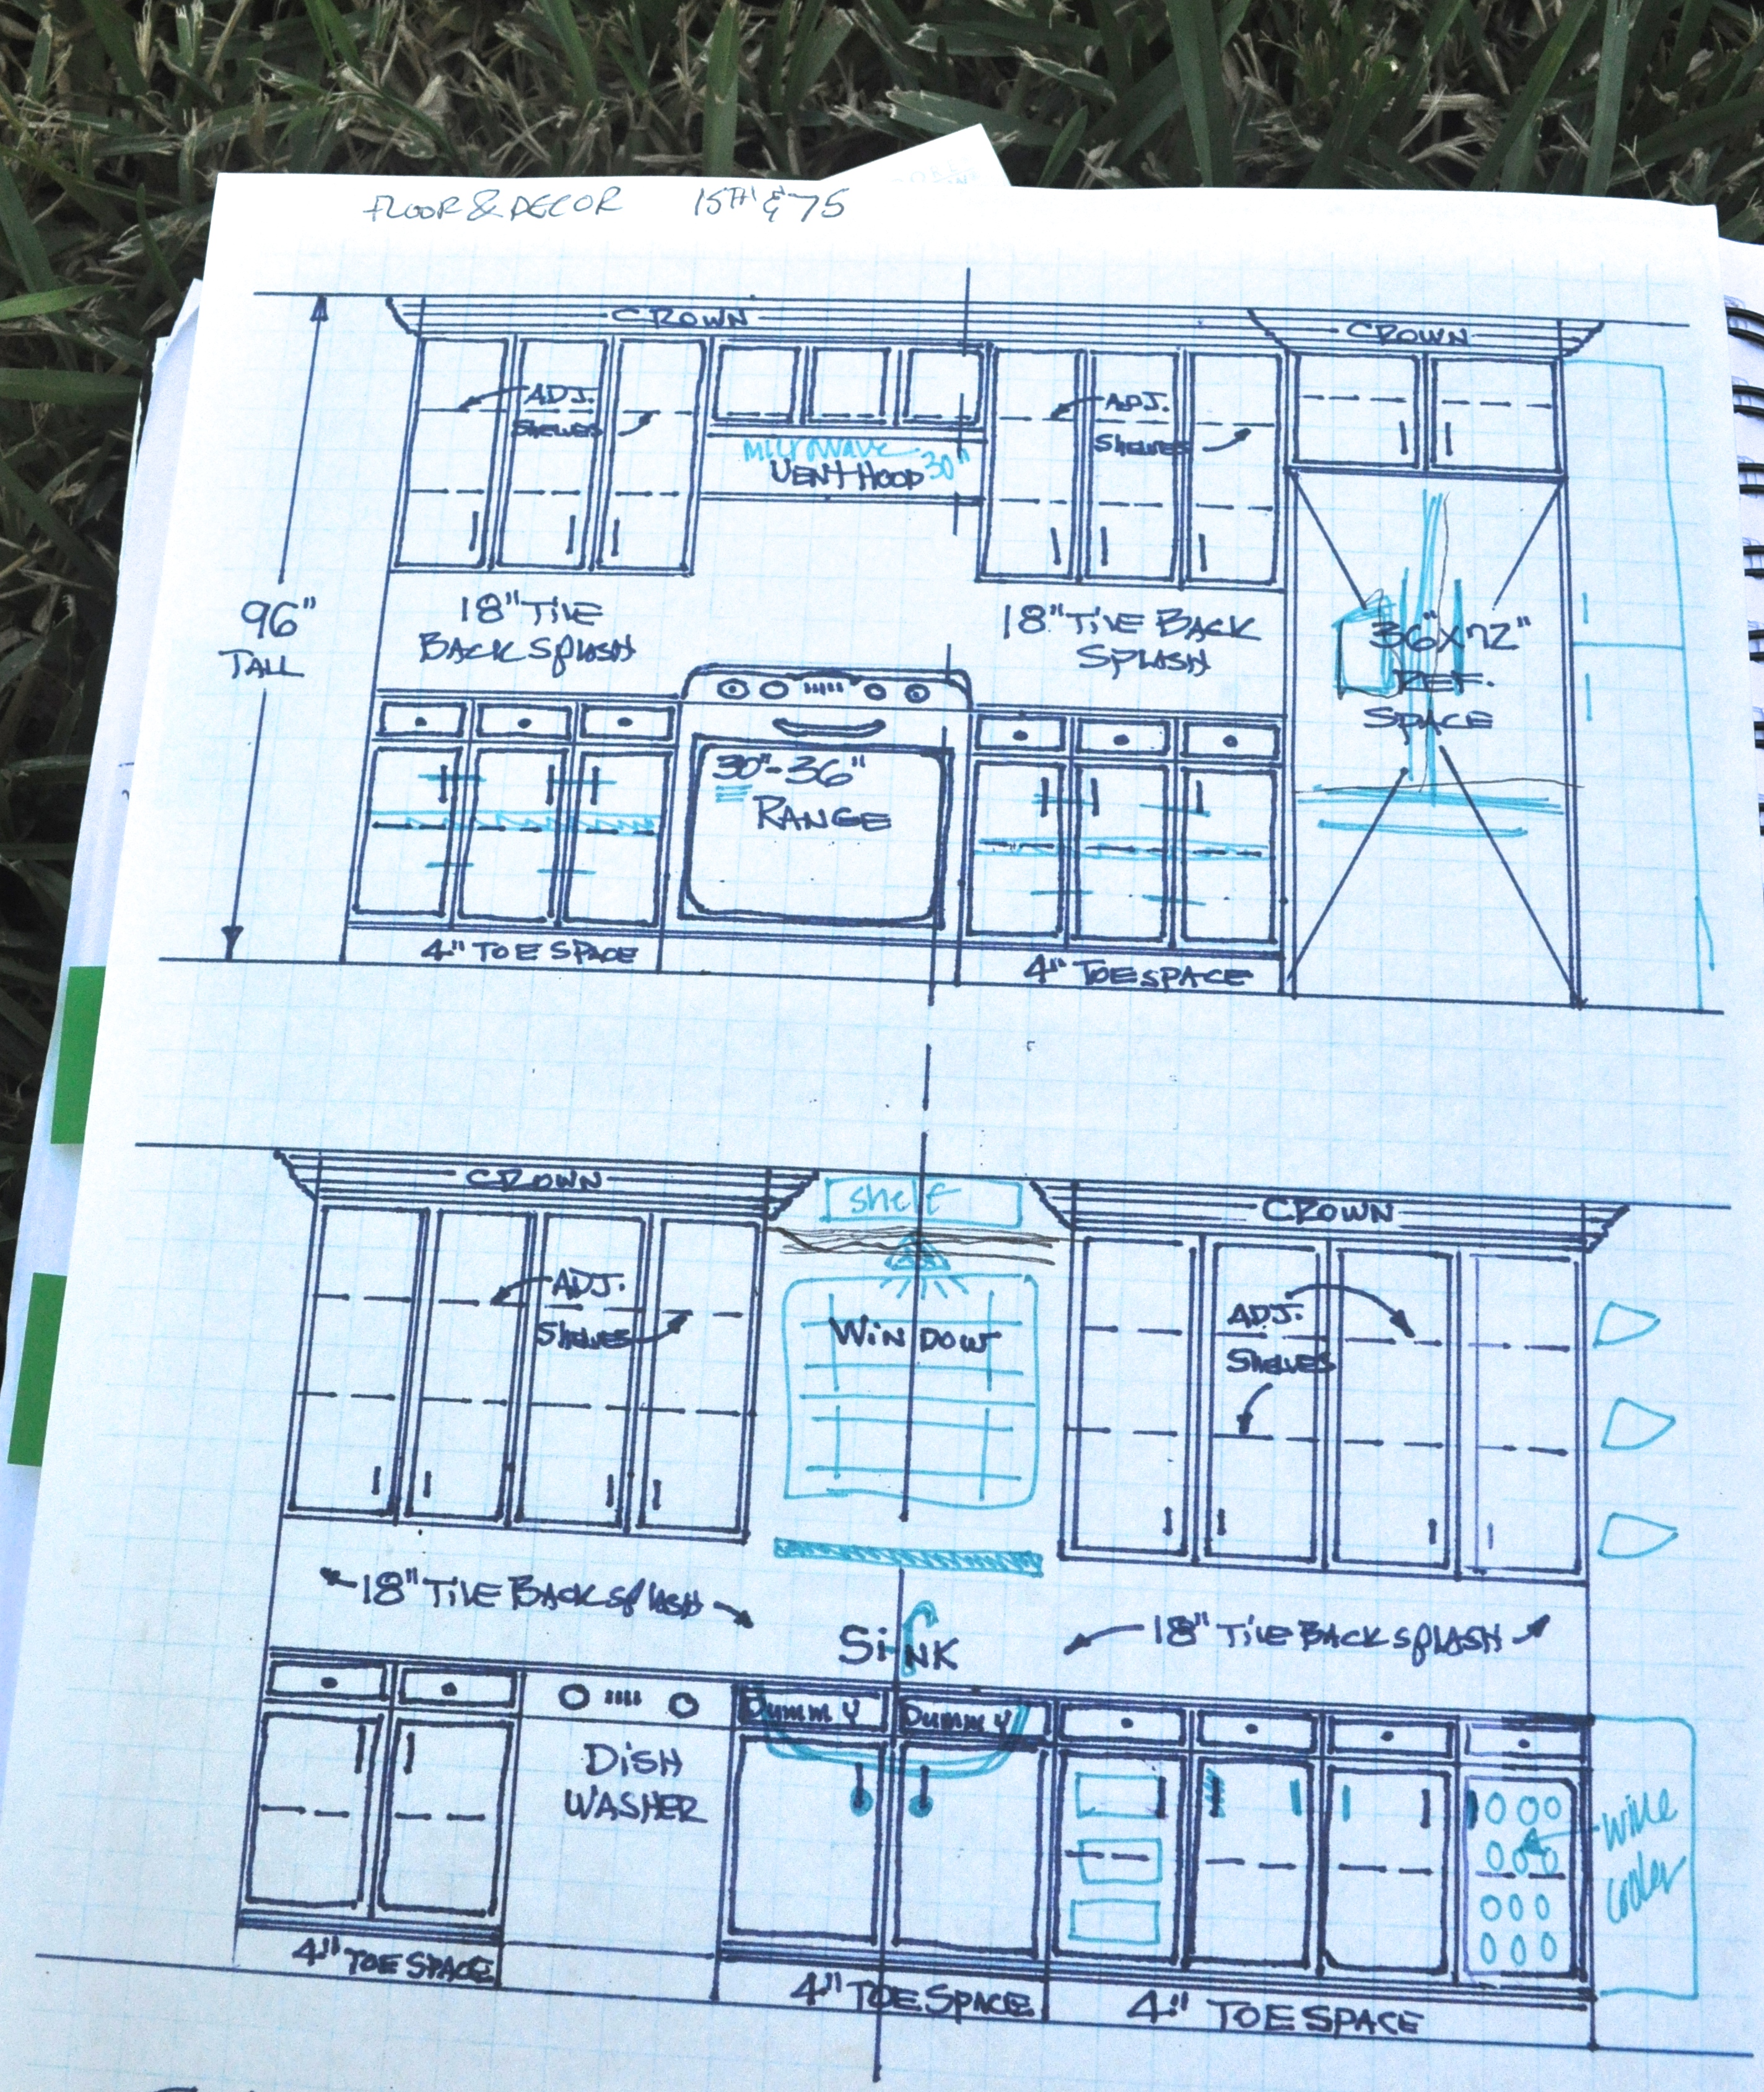
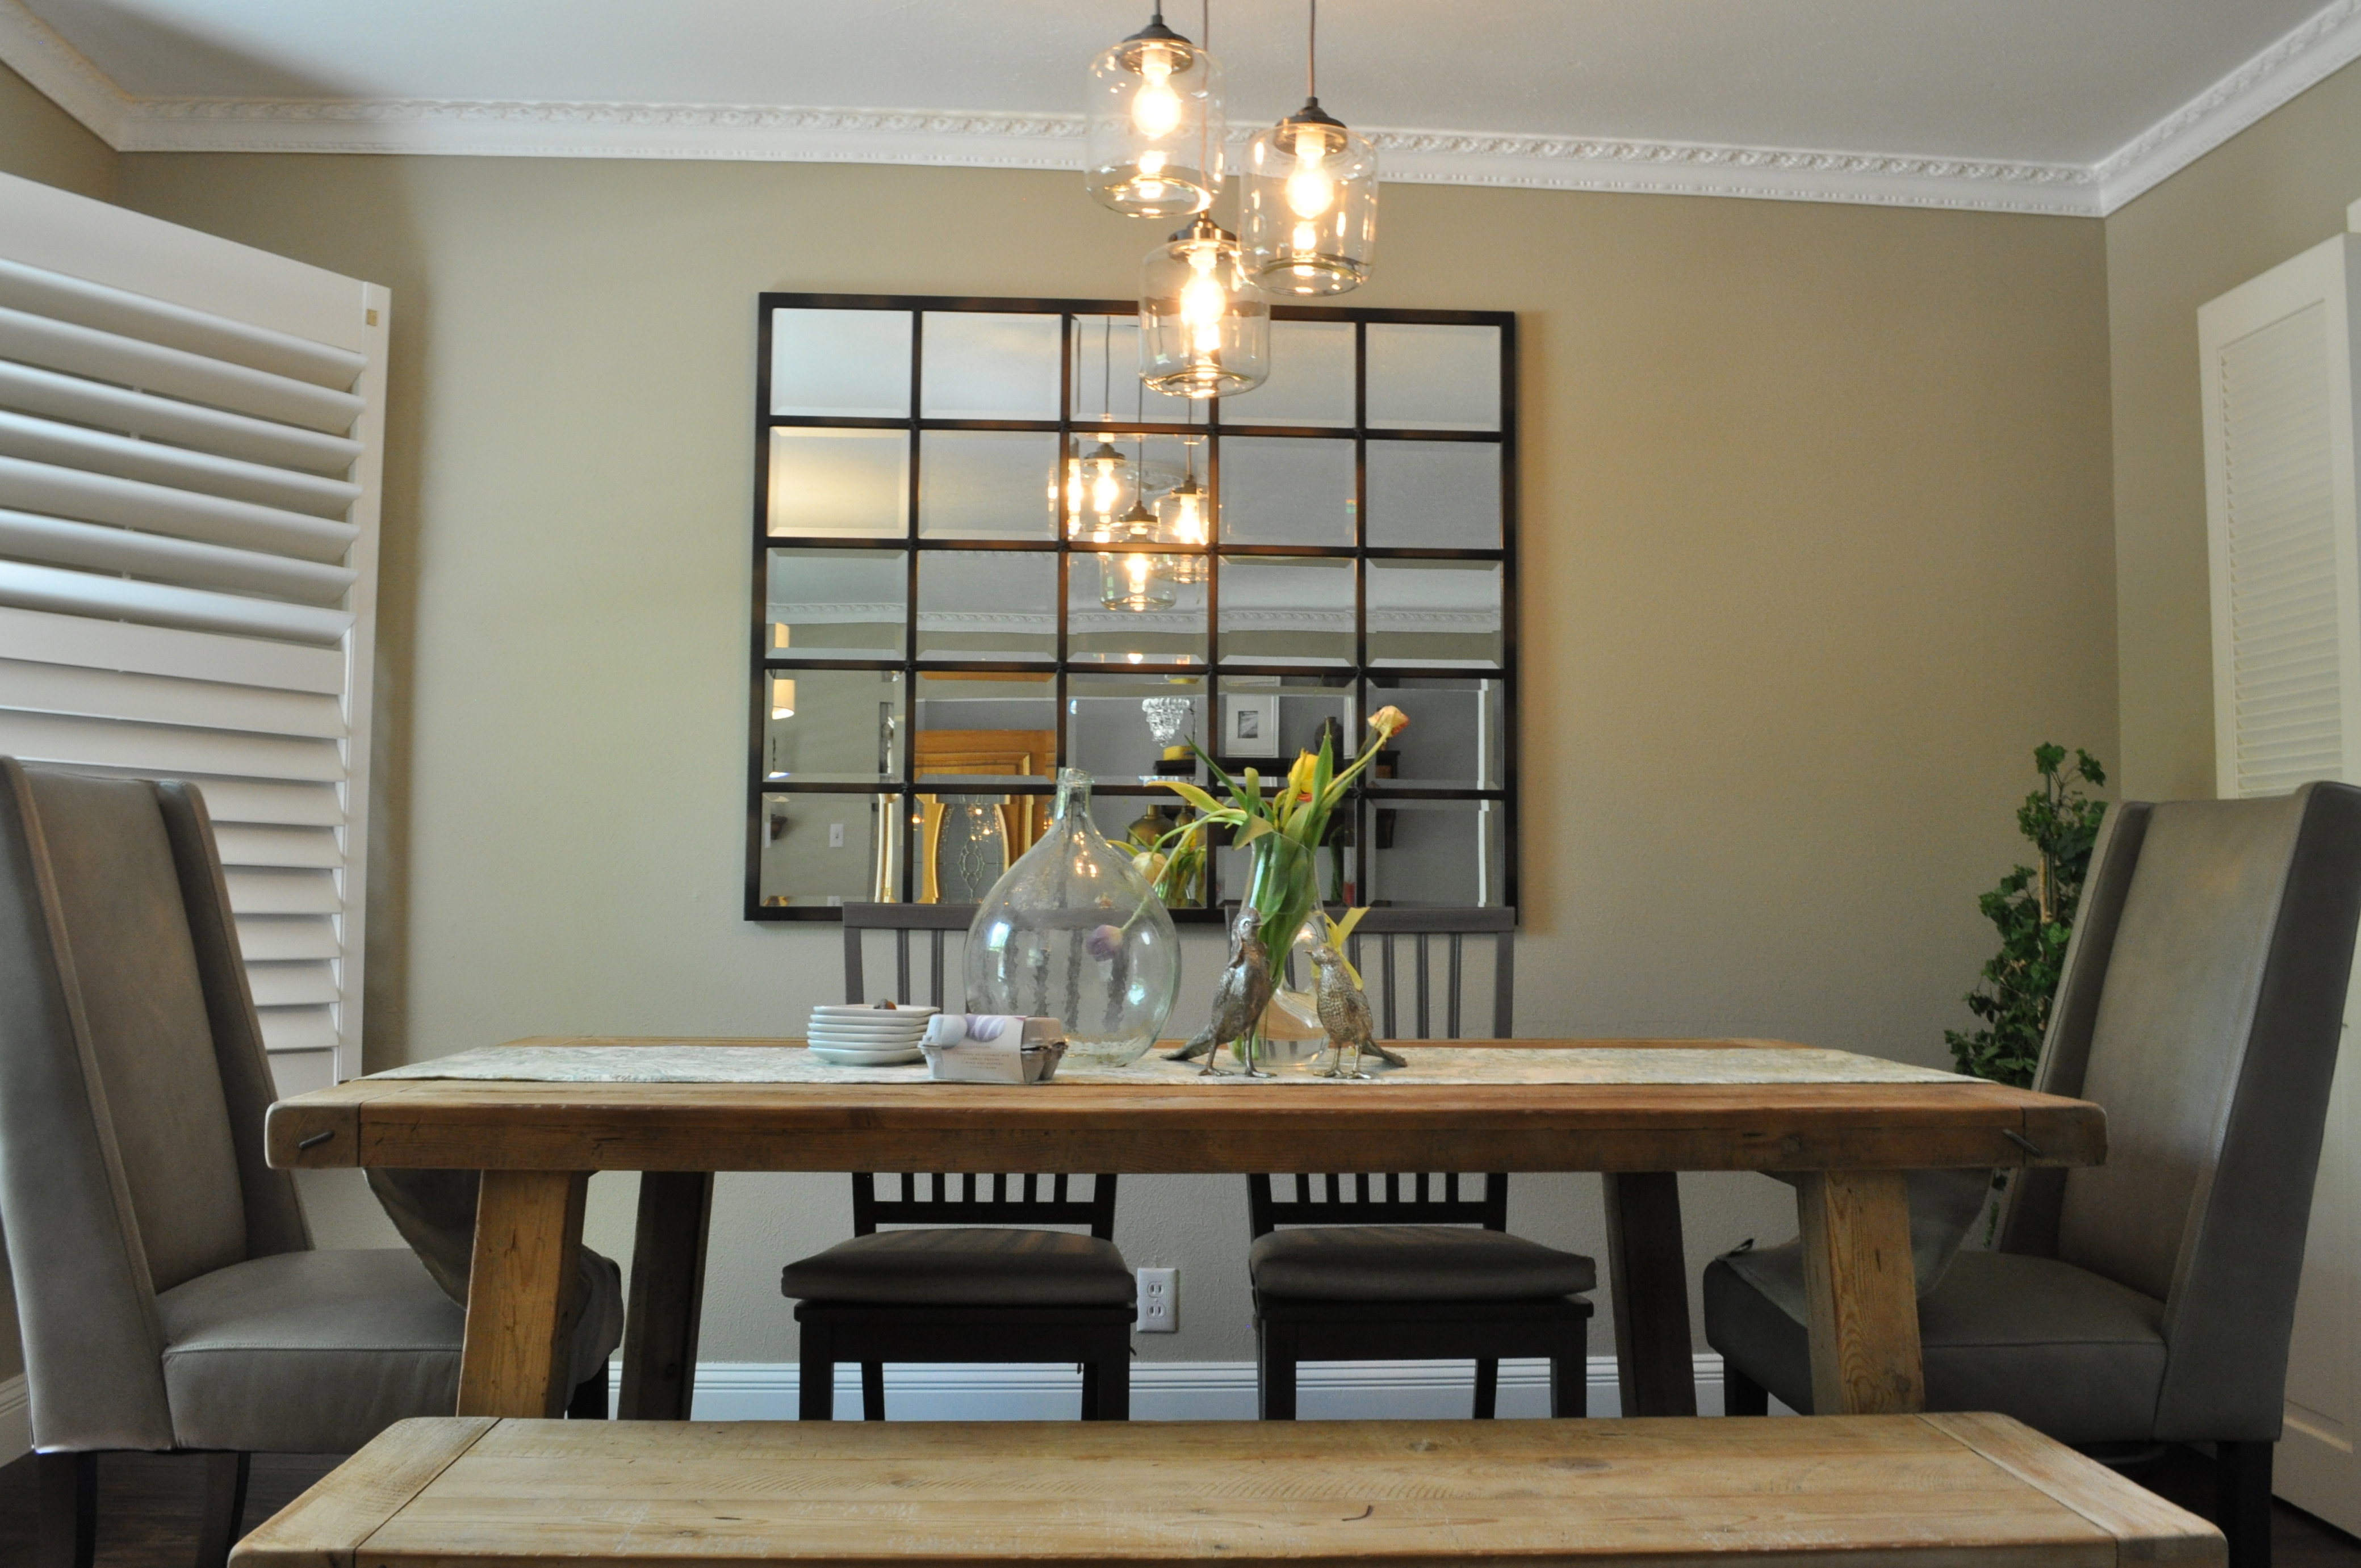
I’m in love with these little corner shelves! I think they bring a little color and personality to the space. It will be fun reinventing them for holiday and season changes.

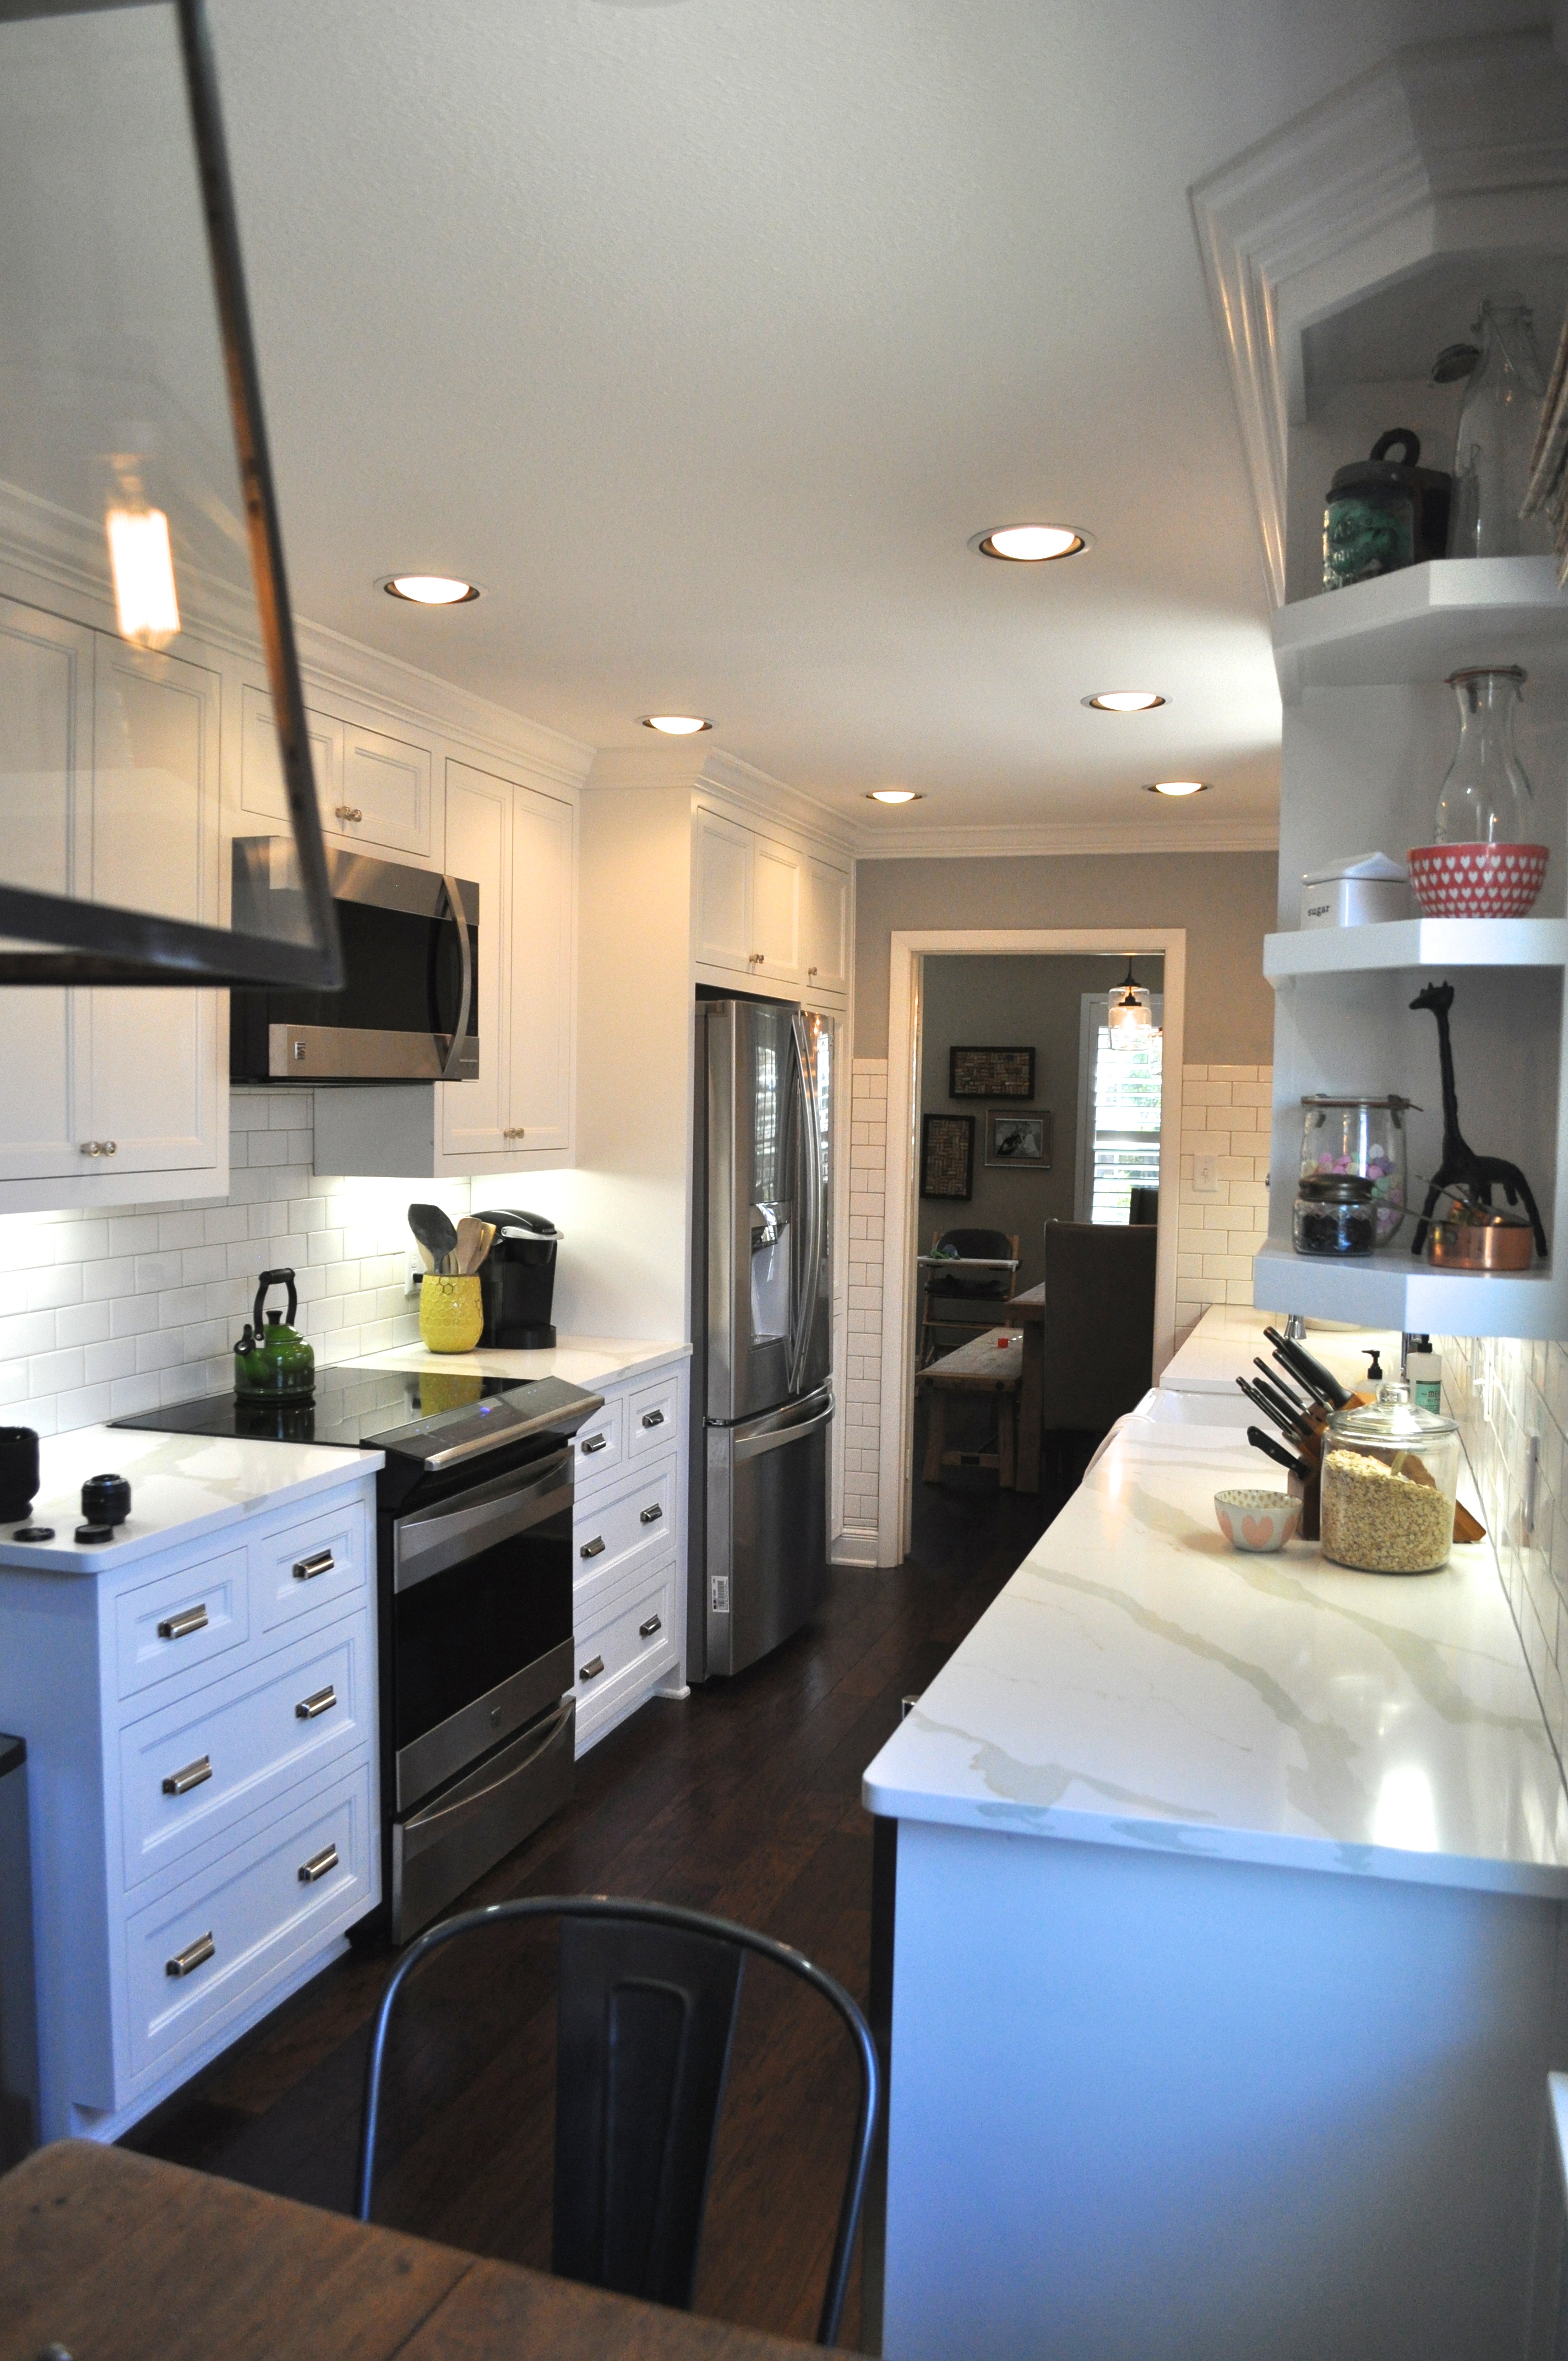
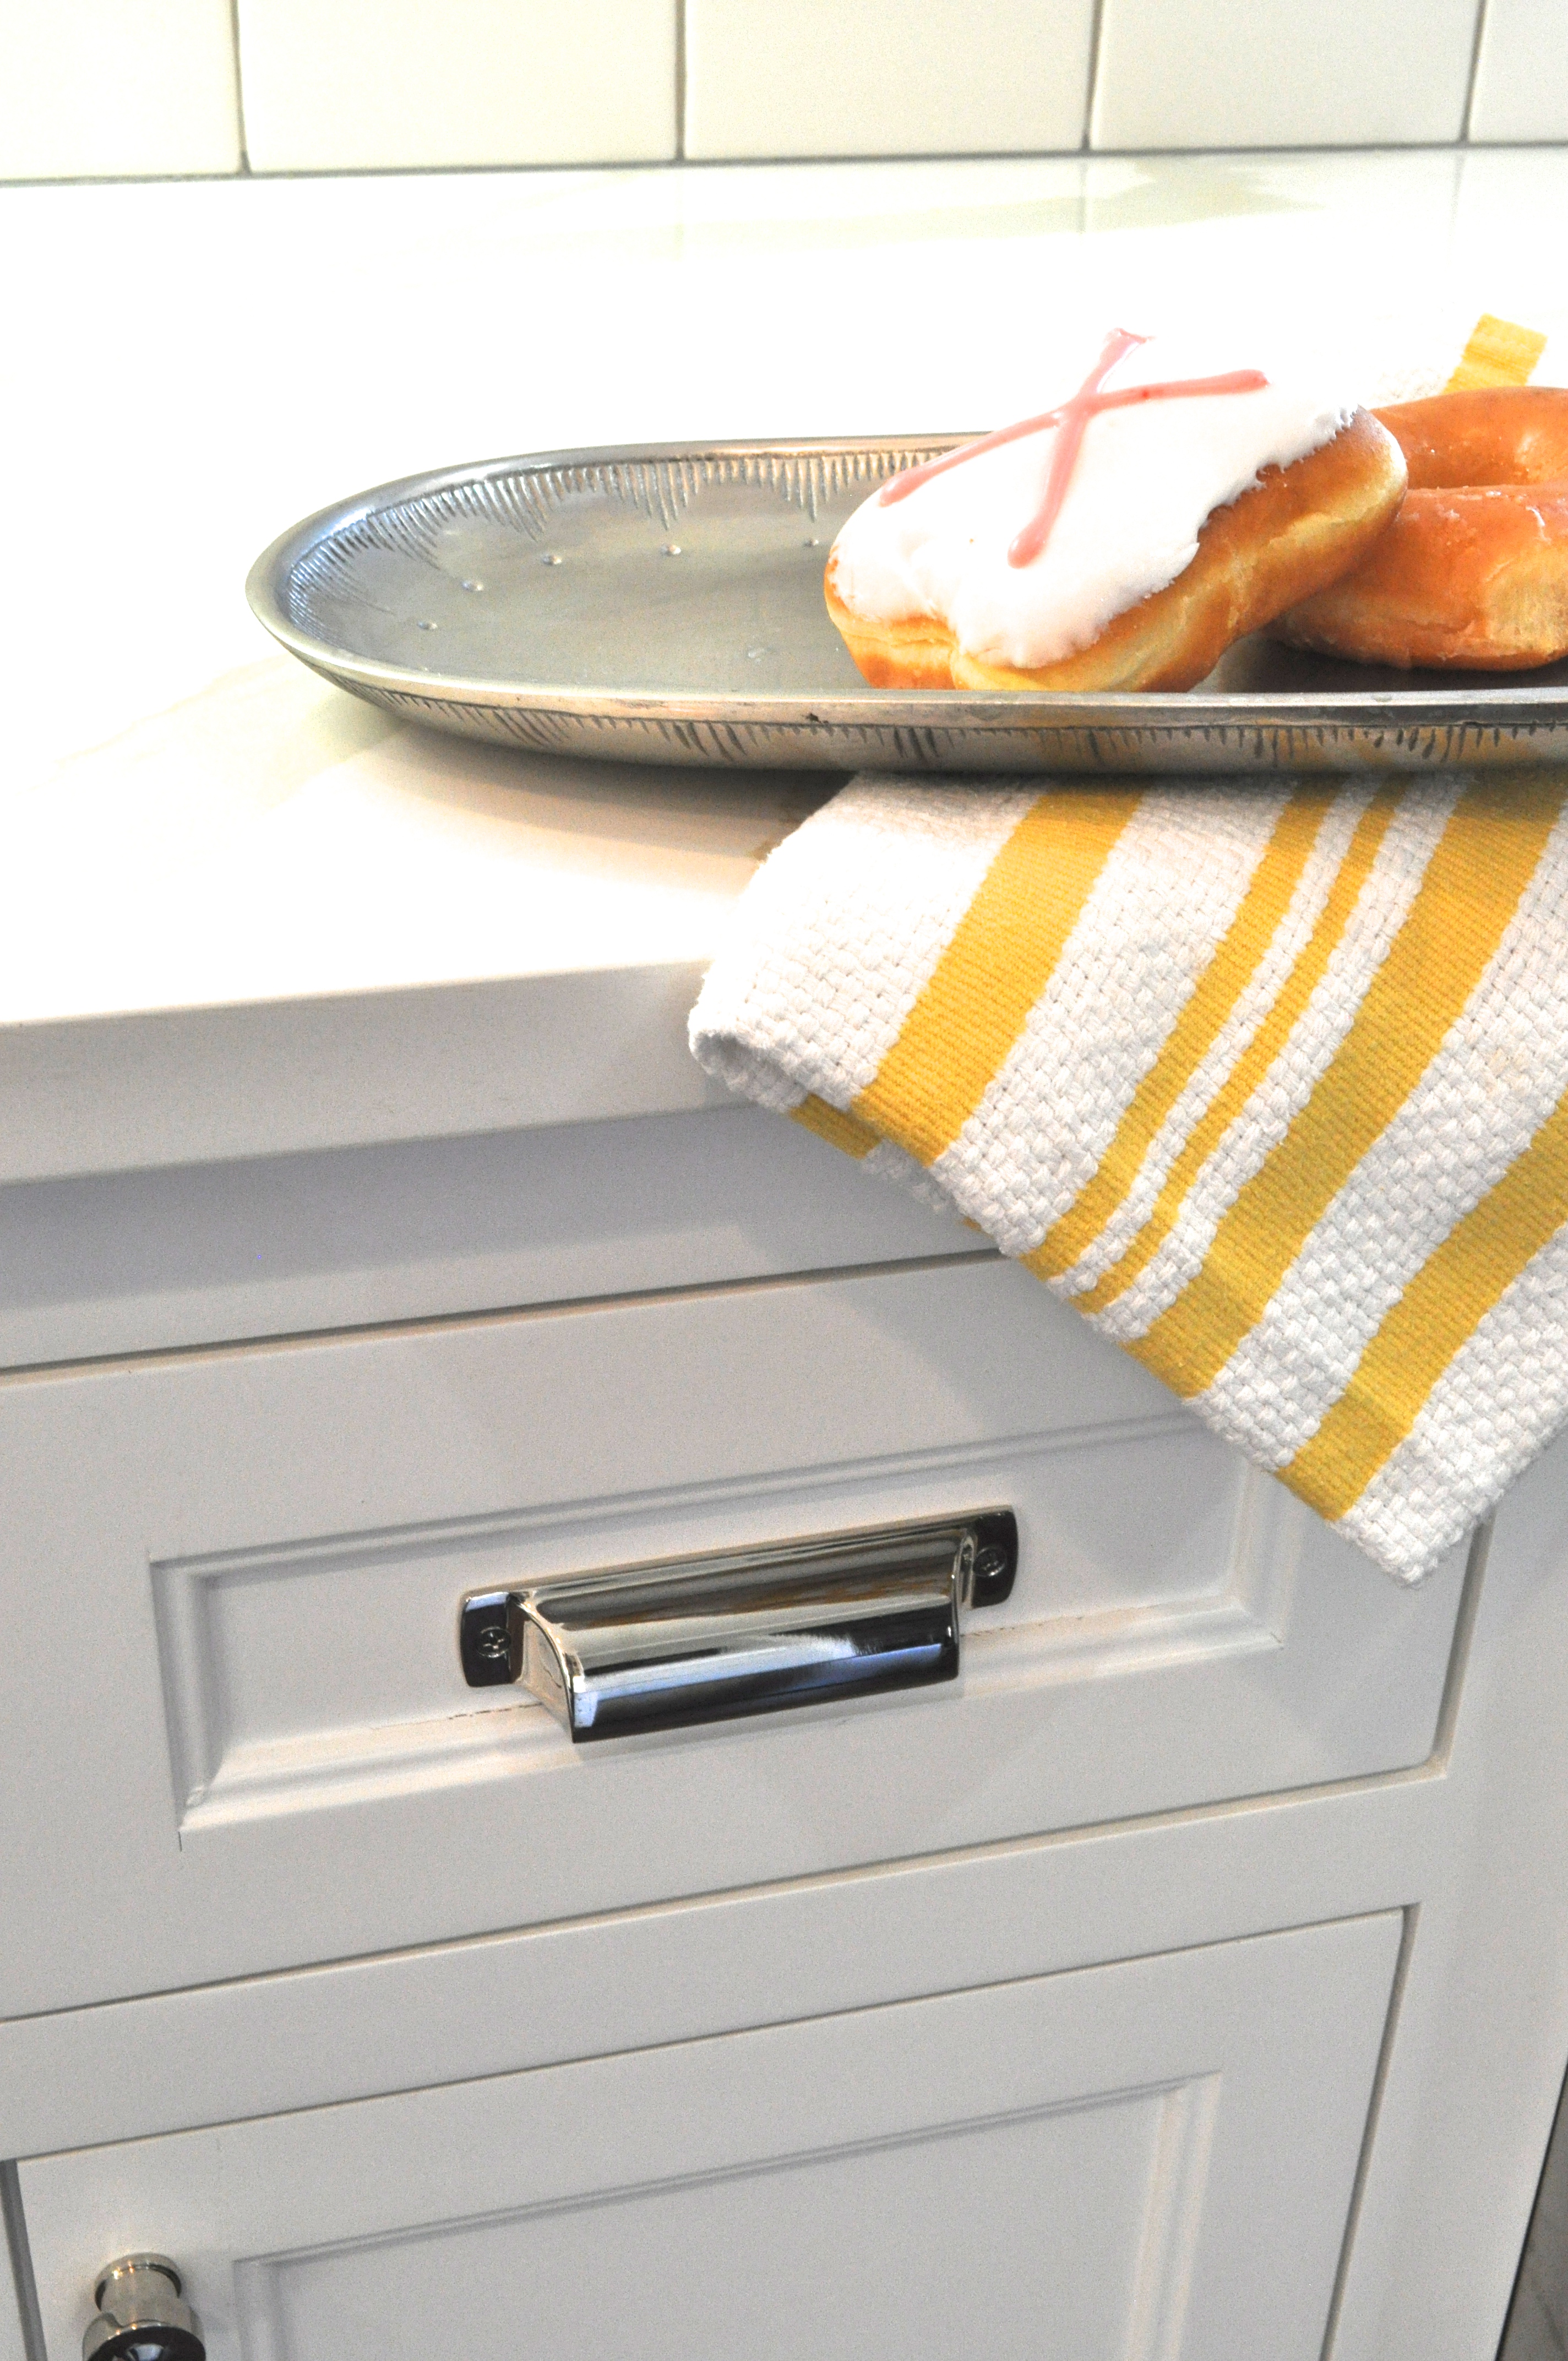
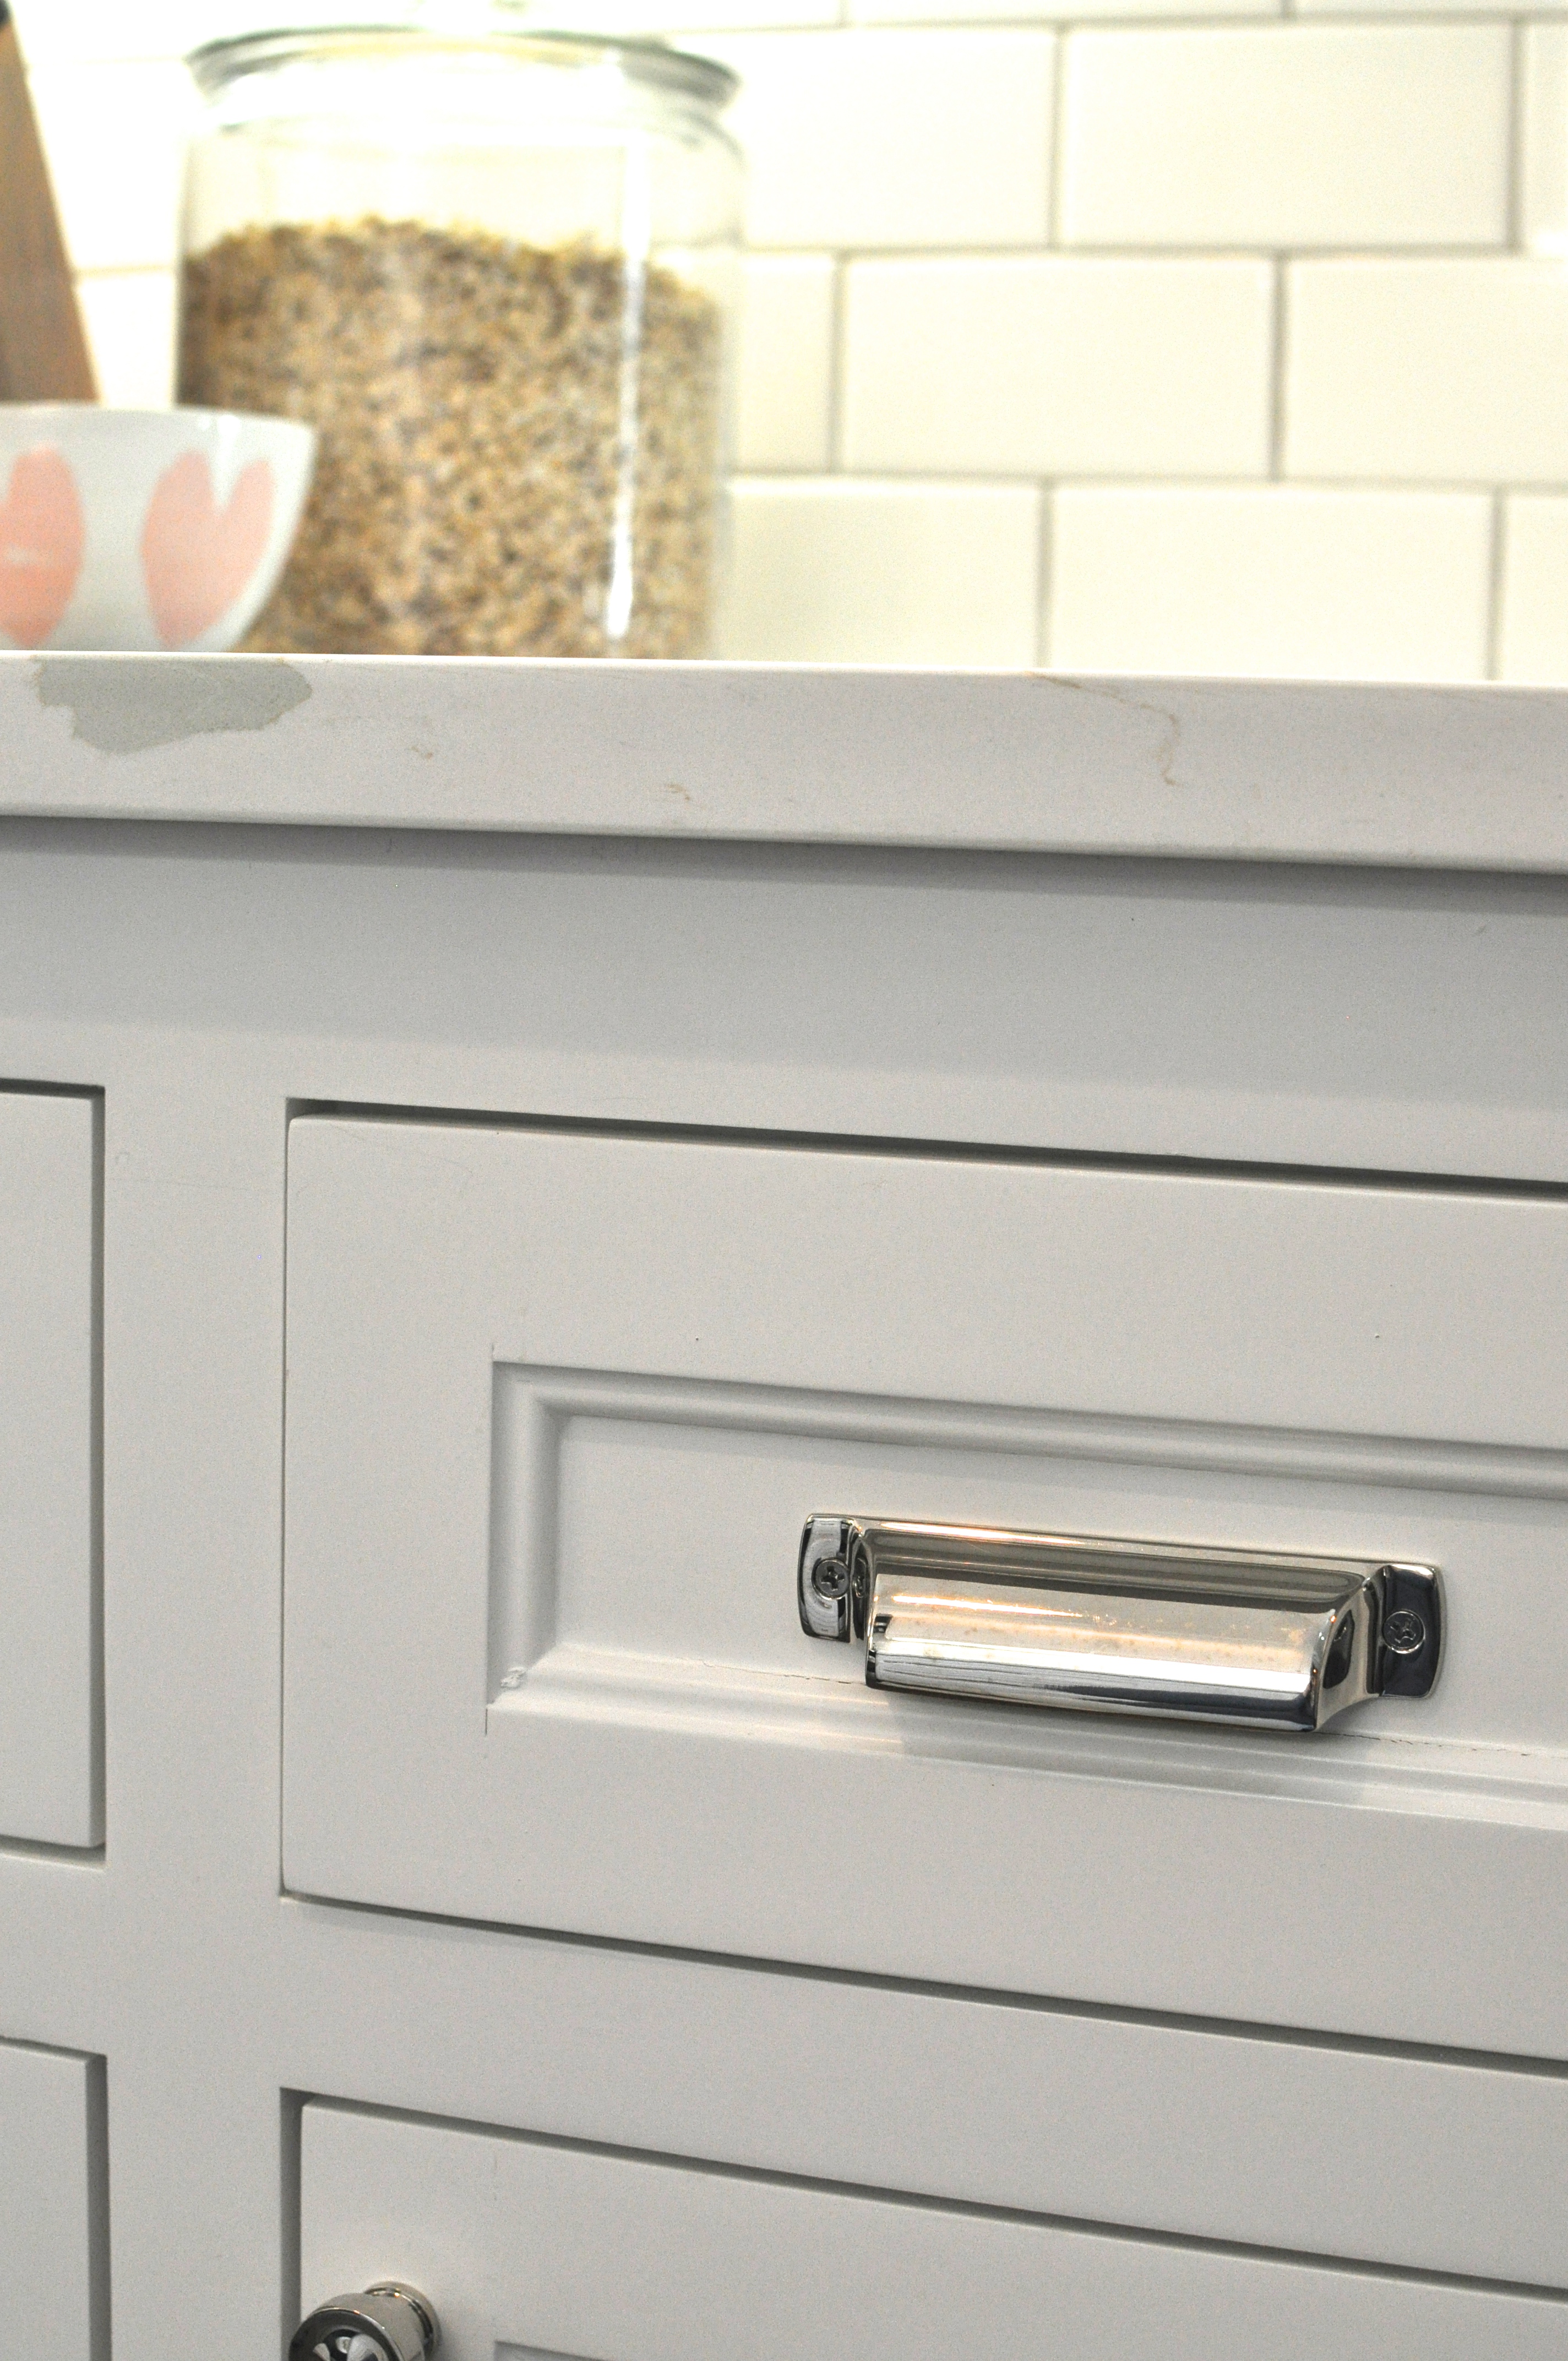
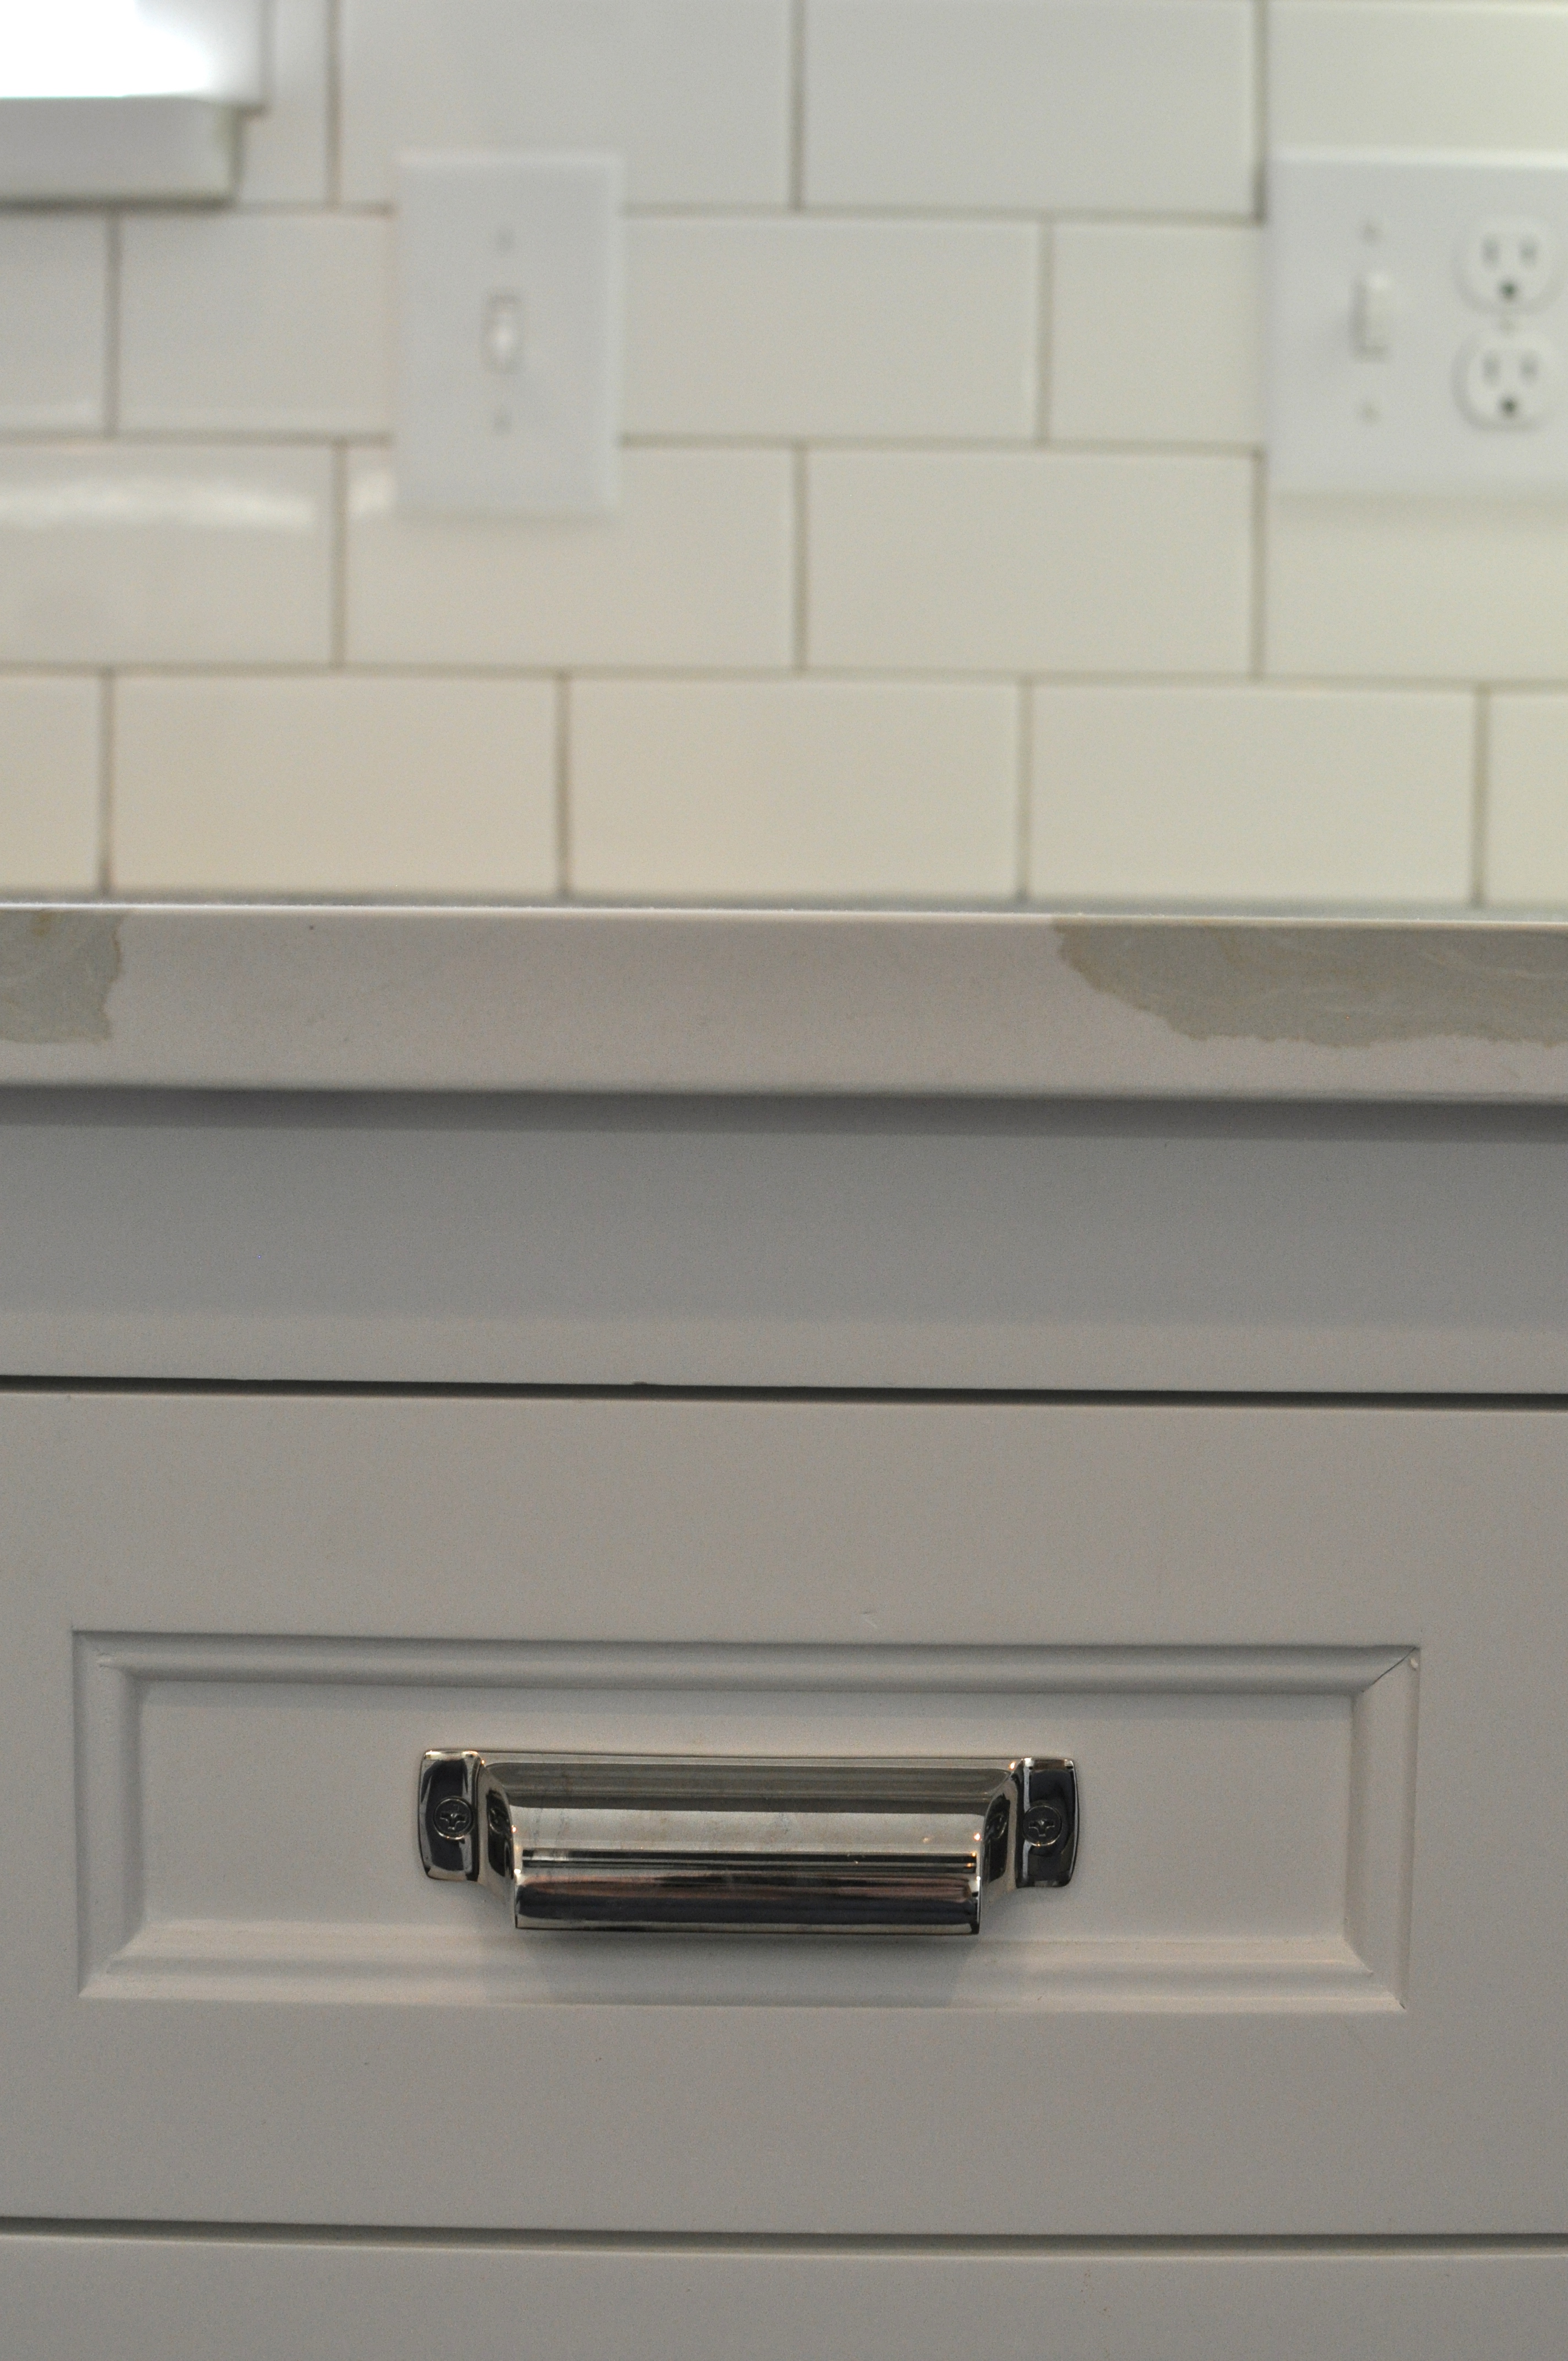
 Our cabinetry knobs and pulls are from Restoration Hardware and a little bit of a splurge, but I tried to find something similar at Lowe’s, Home Depot
![]() , and even online in the right finish/style, but I just couldn’t… We both kept coming back to these beauties.
, and even online in the right finish/style, but I just couldn’t… We both kept coming back to these beauties.

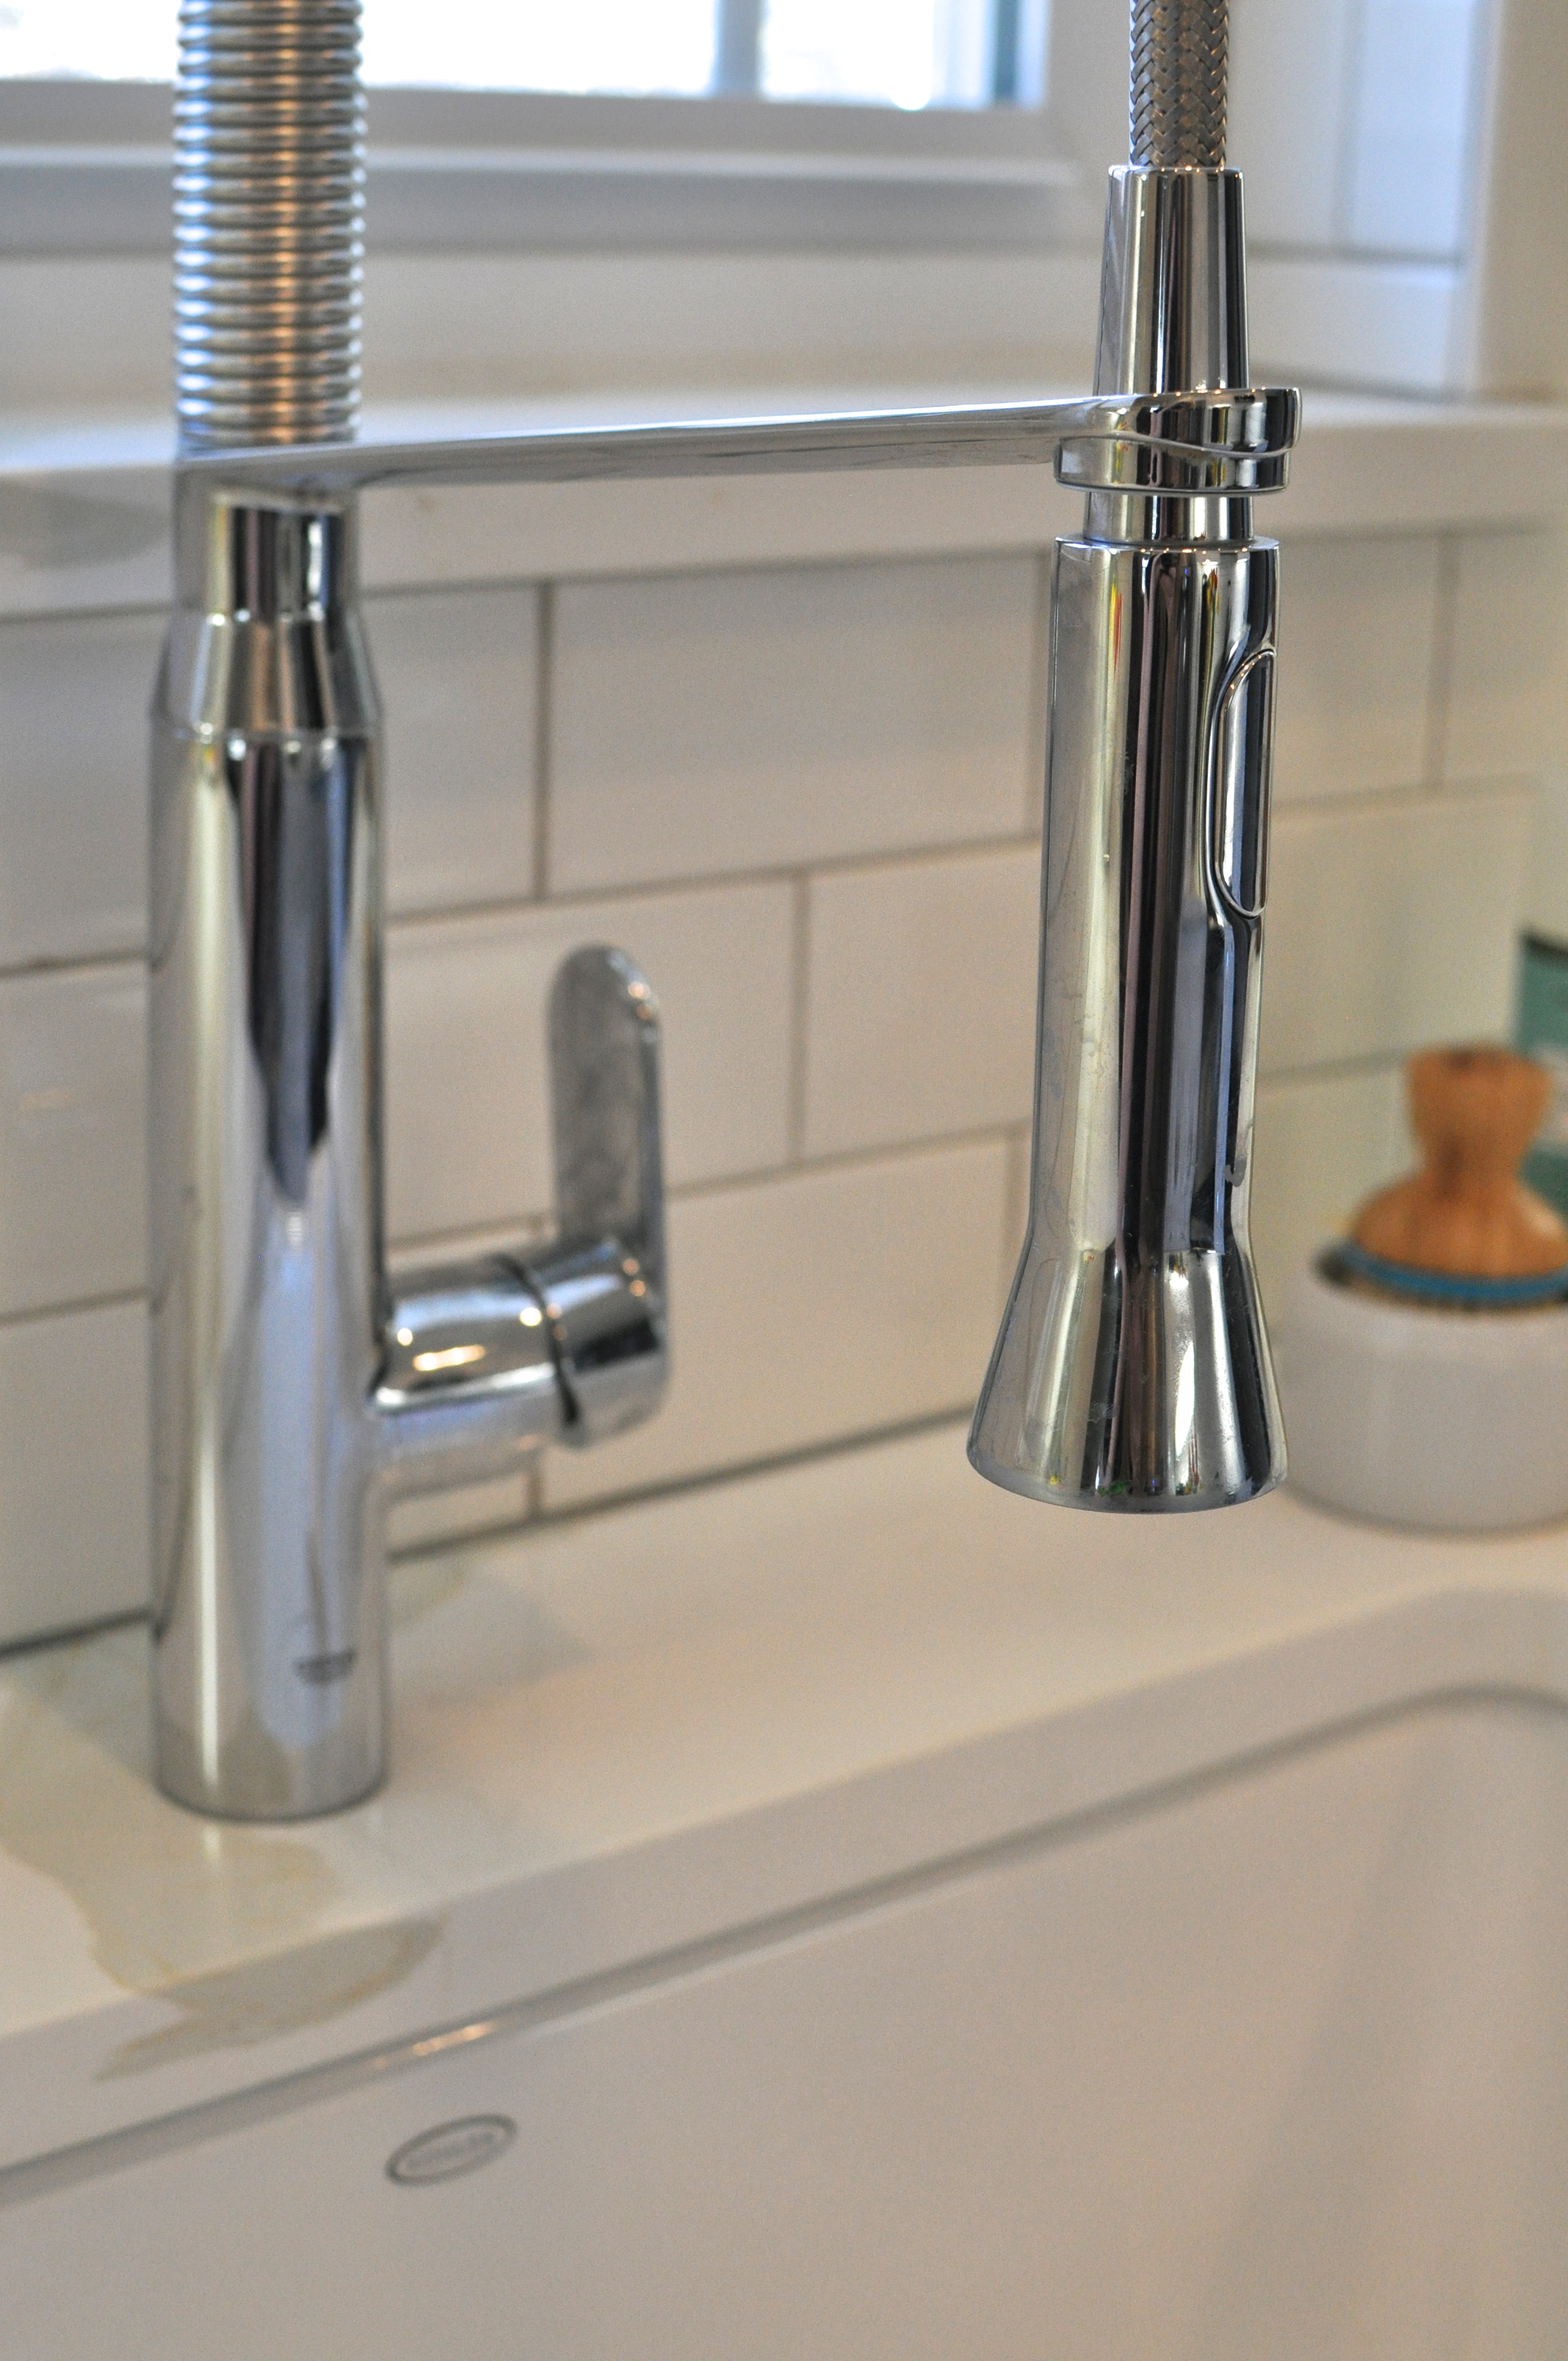
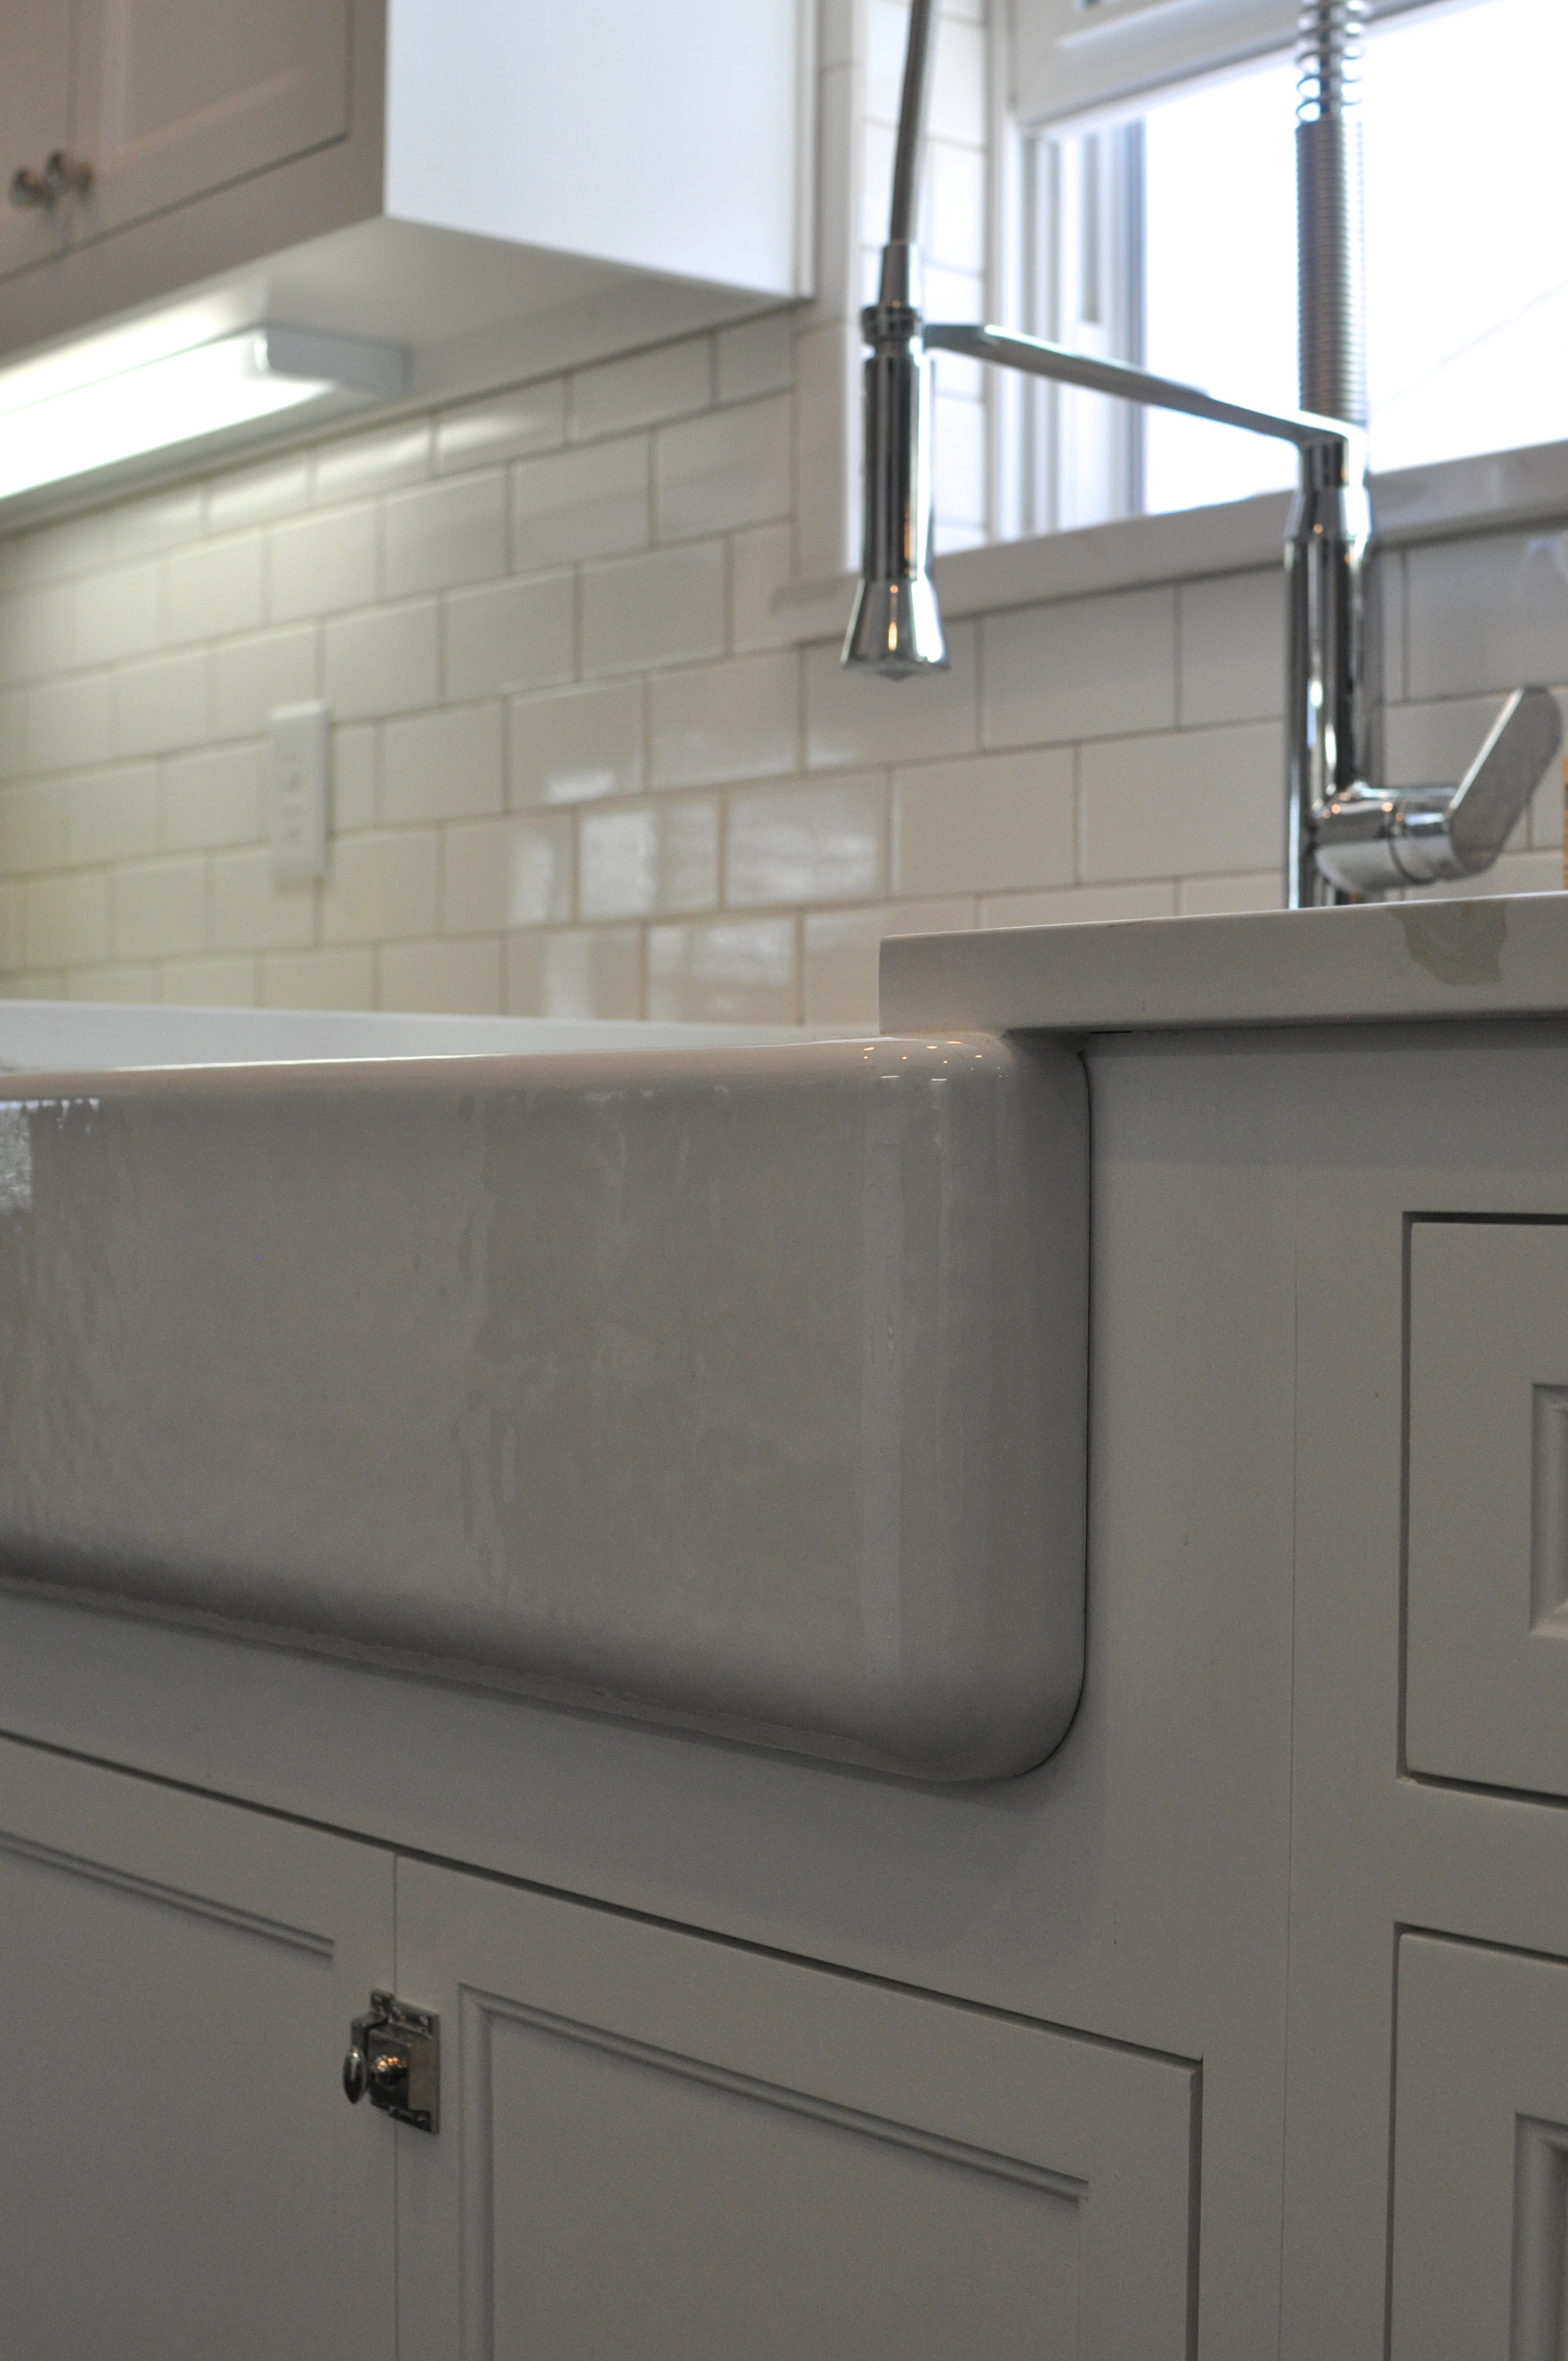
 Our faucet is a Grohe K7 Single-Lever main kitchen faucet in chrome. We love the modern look with a more country/traditional apron sink from Kohler.
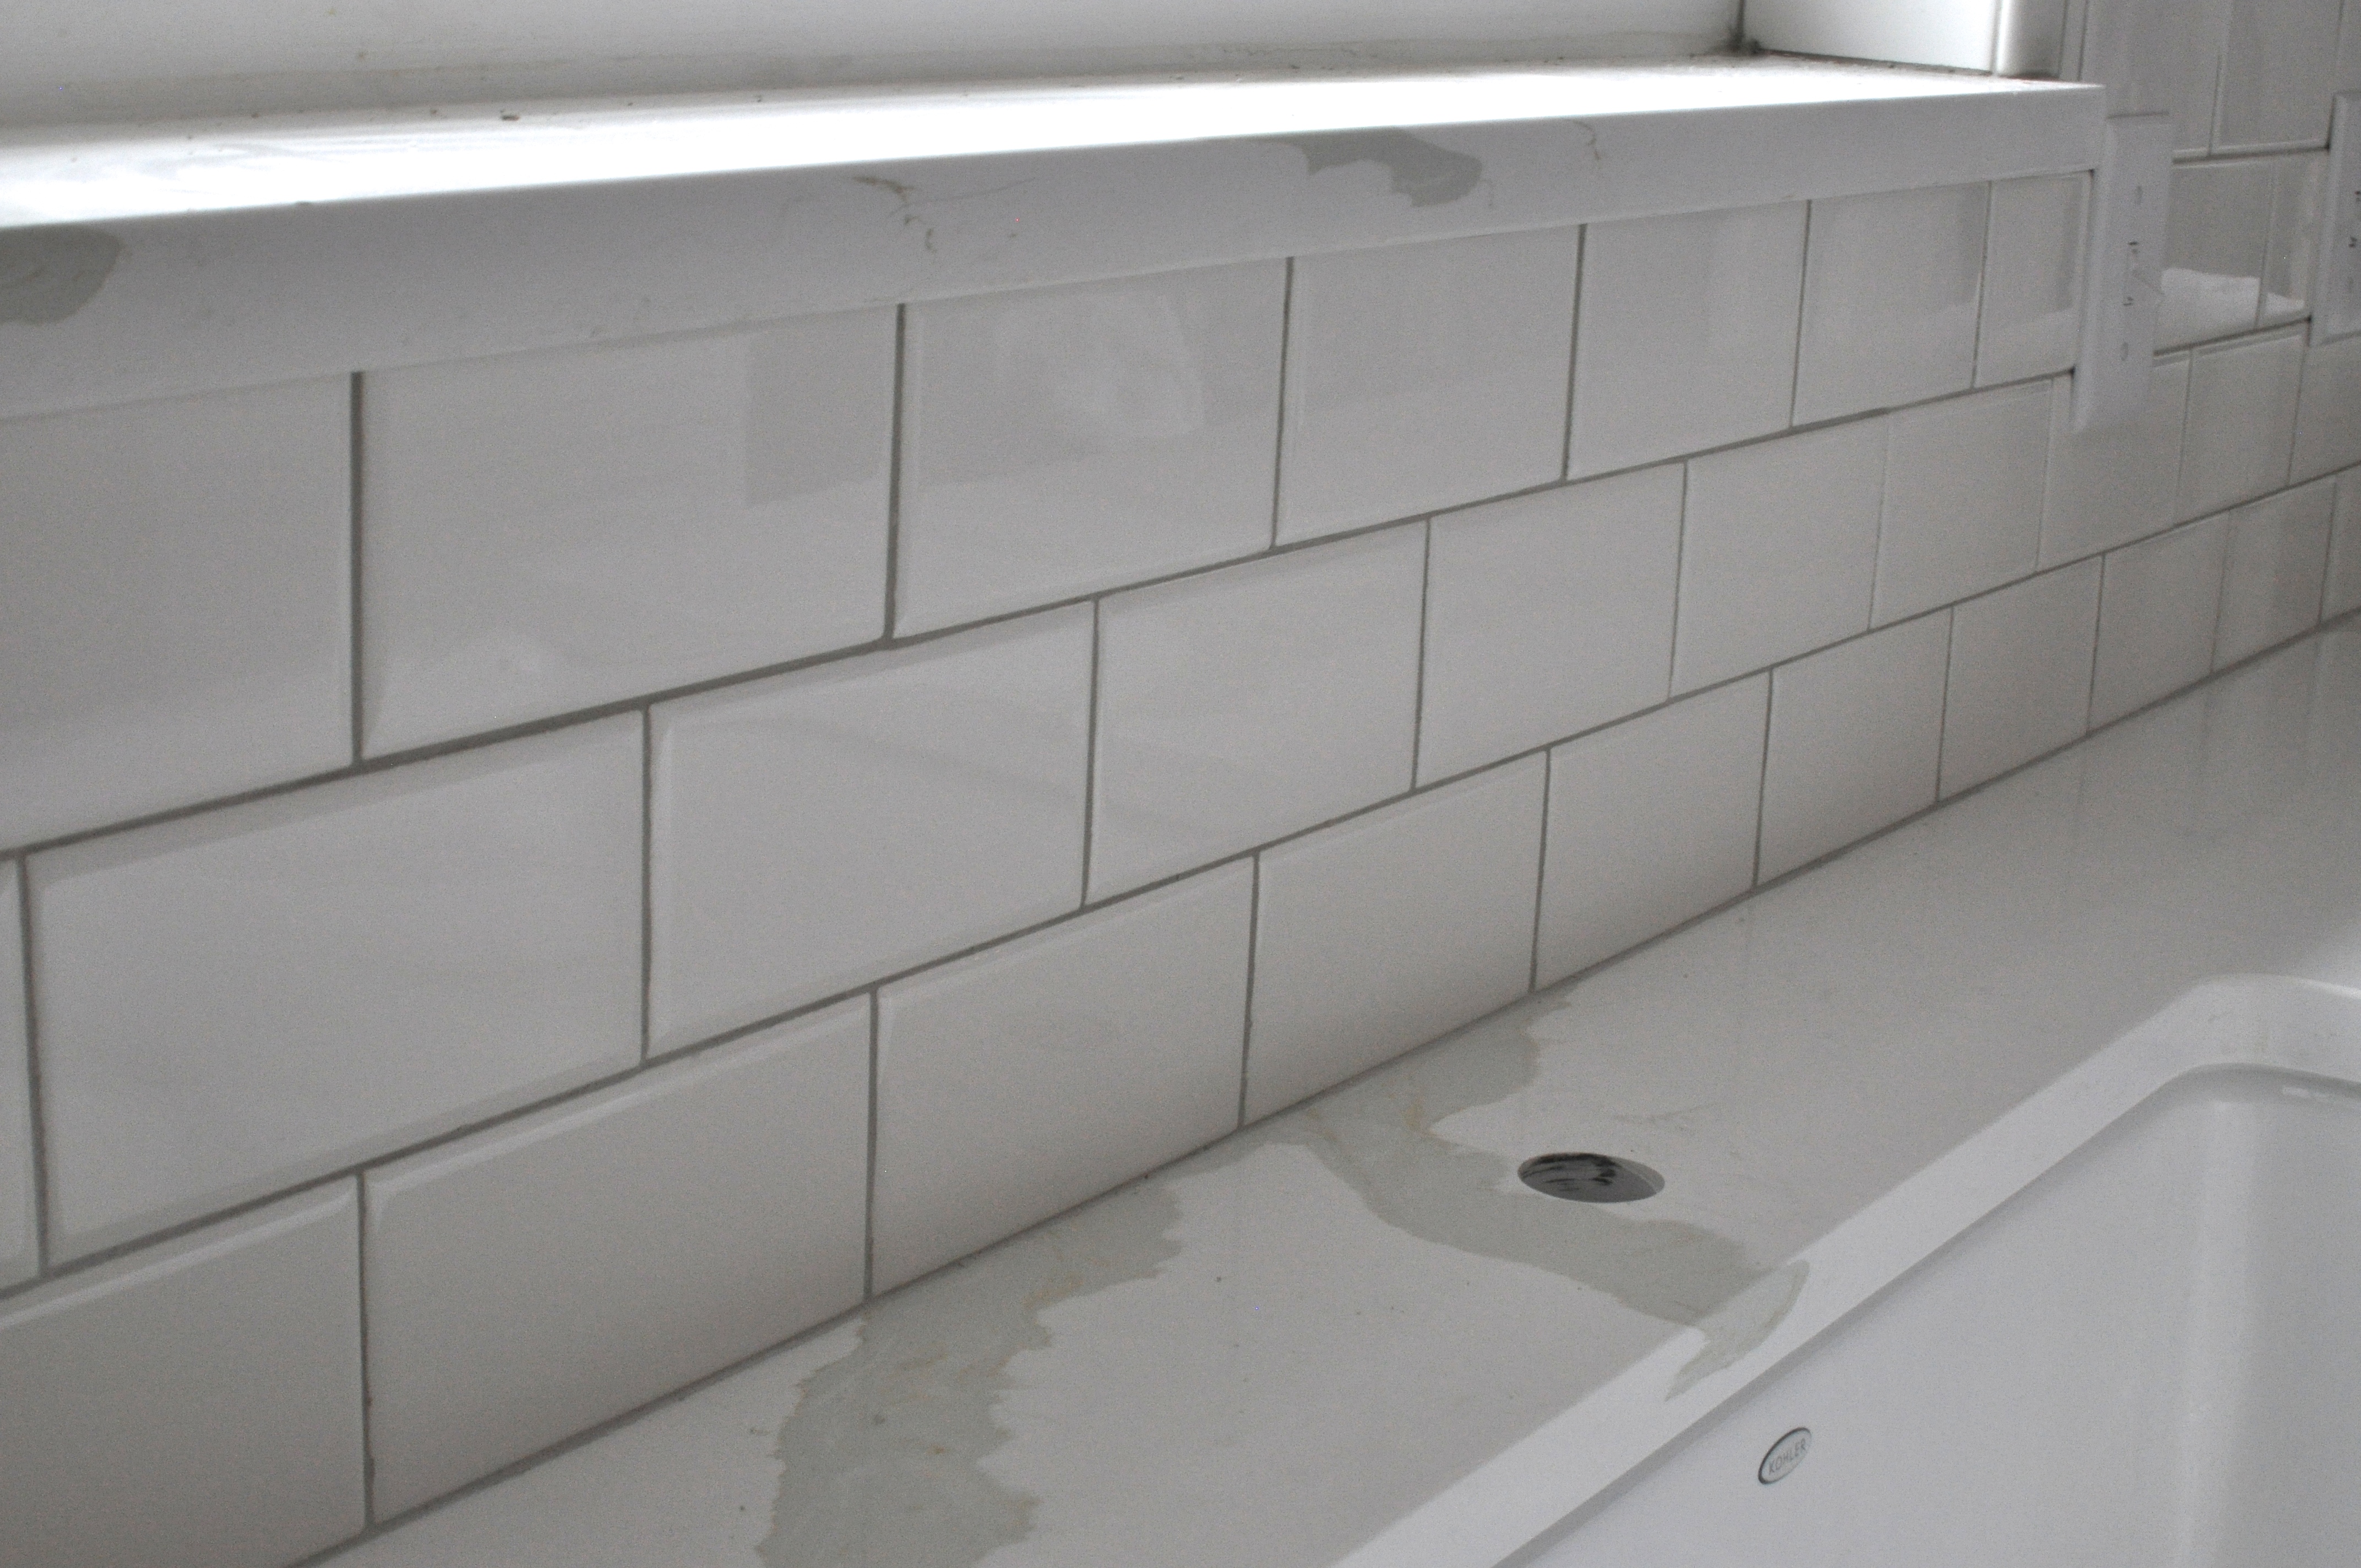
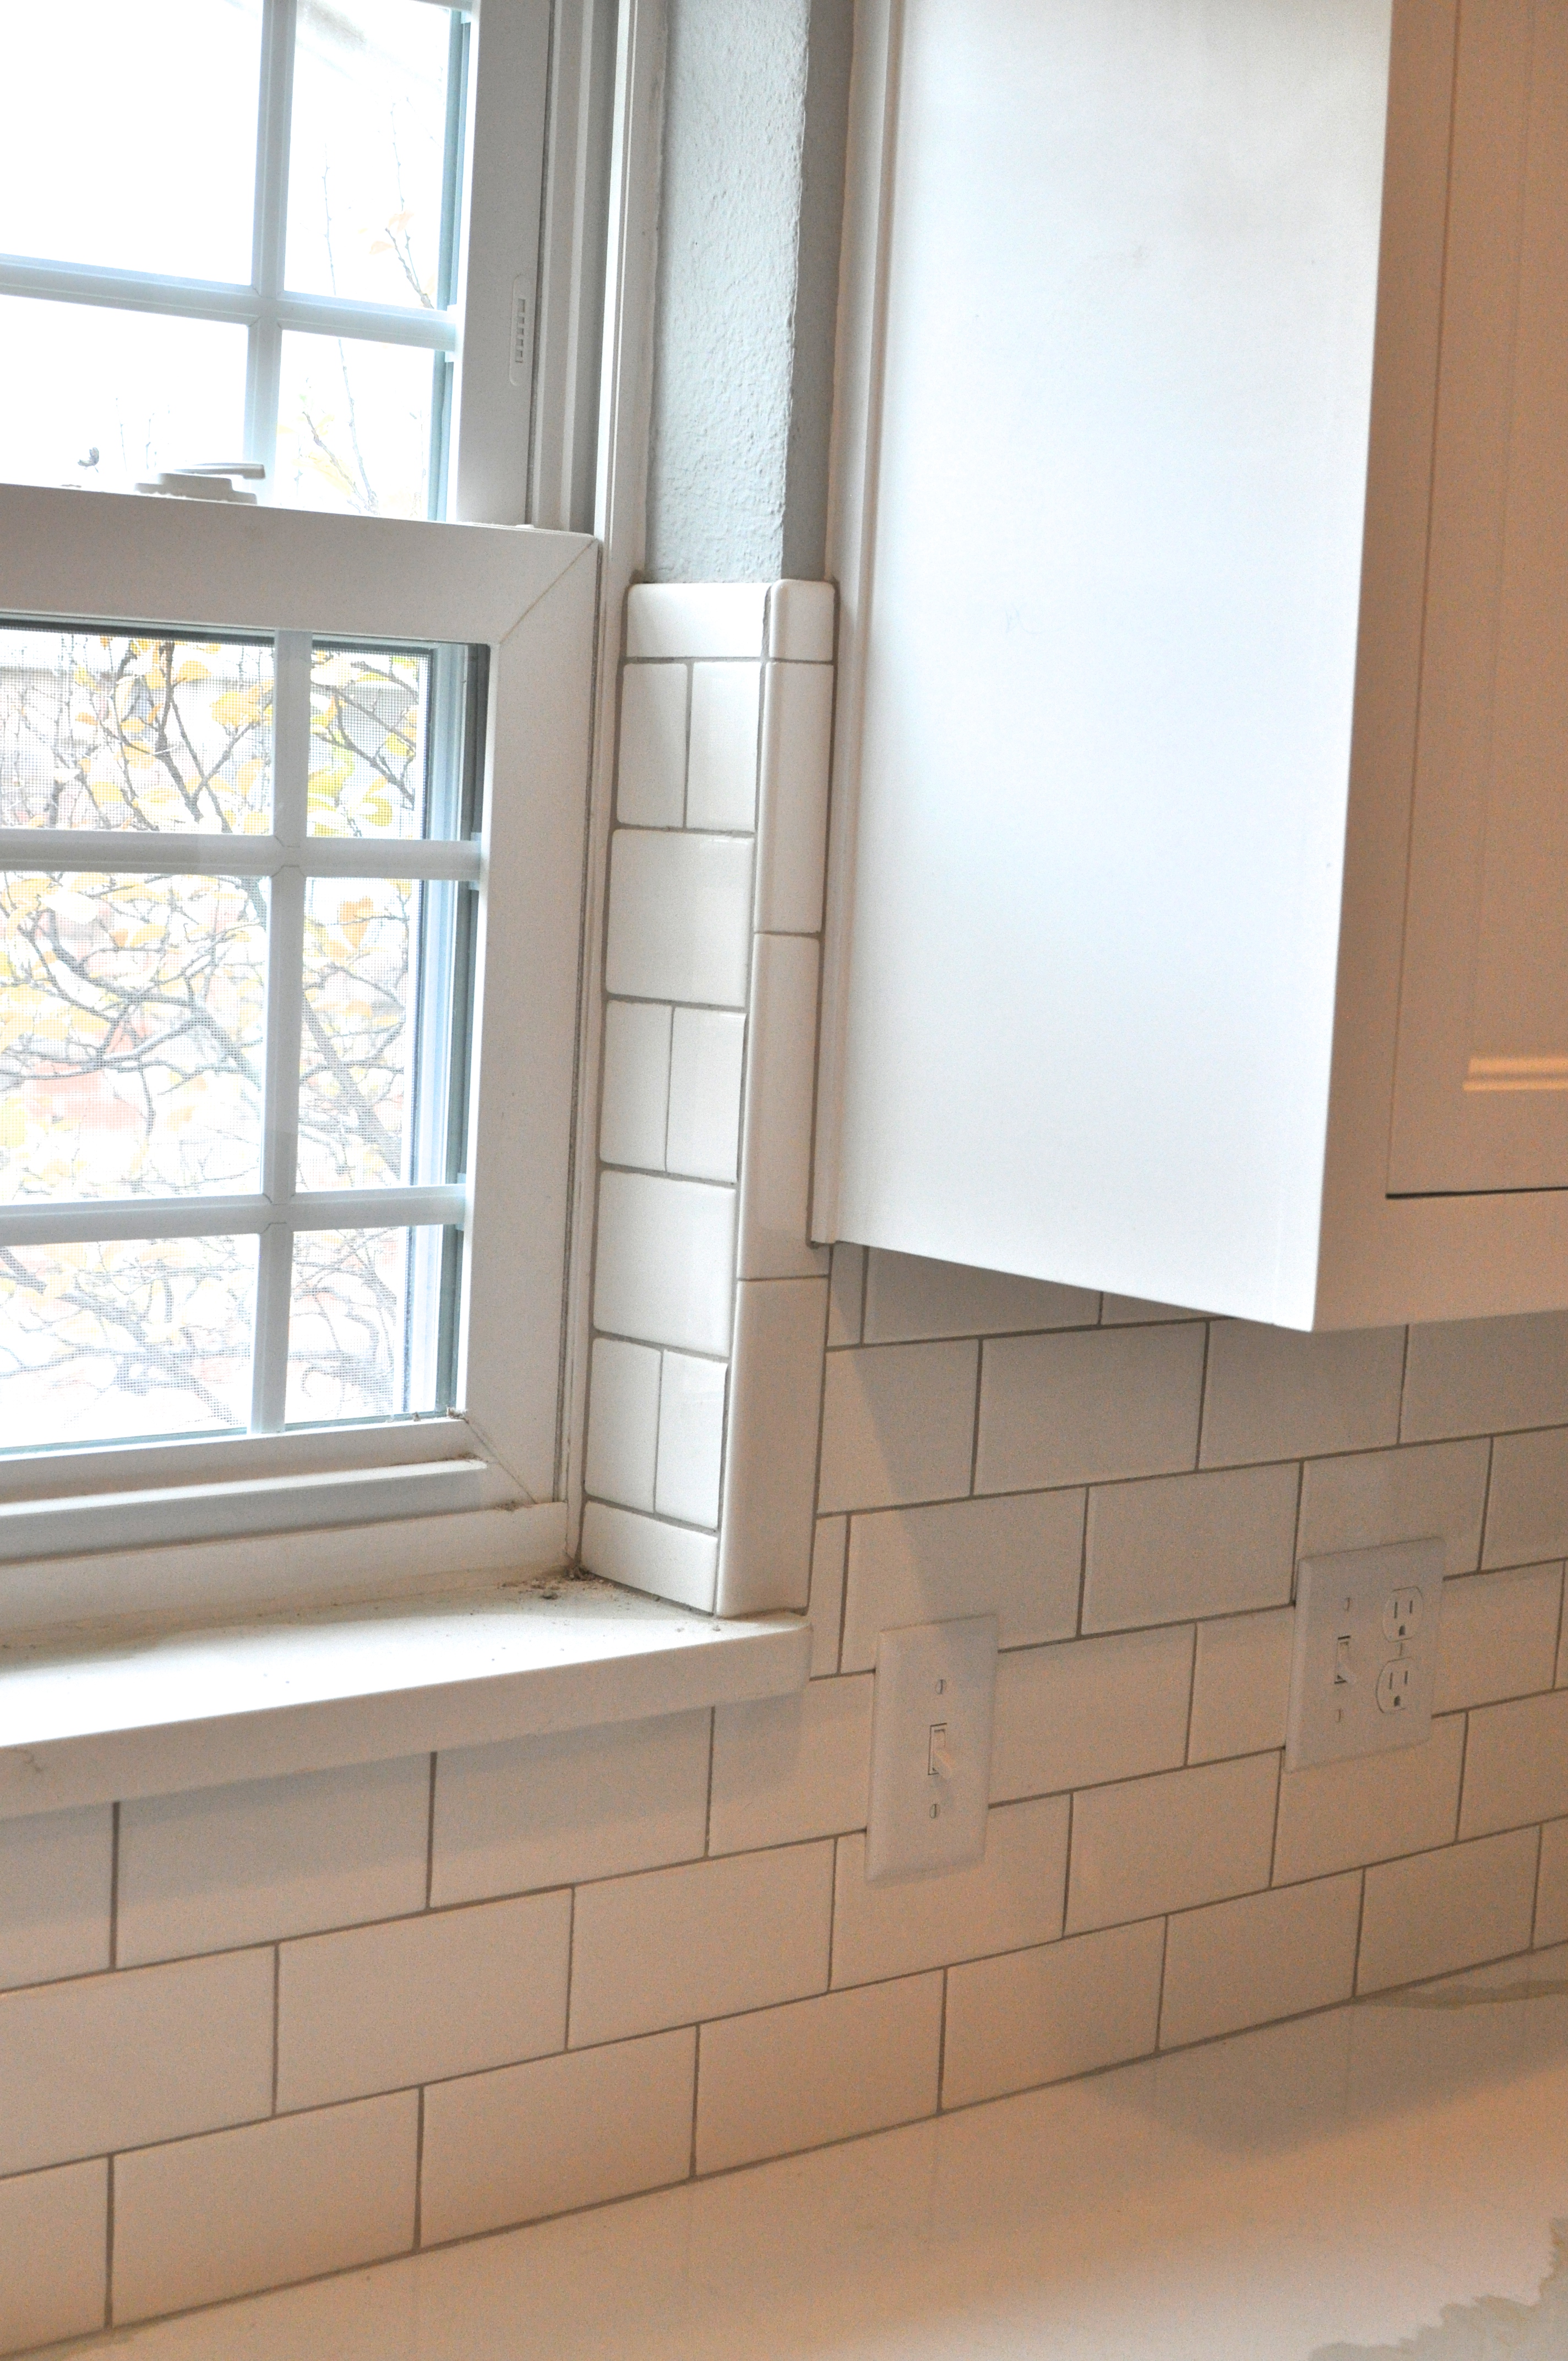
 The subway tiles are such a great look for bathrooms and kitchens, at a lower price point than many other options. I’m so glad we went ahead with that look here. And the marble-looking quartz countertops are a perfect mix of beauty and durability, too!

 Here’s one more before and after picture. Wow, it’s come so far!
 I hope all your curiosity is satisfied with this kitchen photo shoot!! I know I love the space… and tulips, too! Anyone in the area is always welcome to stop on by and take a look! It’s more beautiful in person! Plus, we actually cook in this kitchen, so I love dinner guests! Ha!
Happy week, Friends. I’ll try to make a source list in the next couple weeks to help with your inquiries. If you have any questions, don’t hesitate to comment below!


