

Our crib has this weird in-between space while the crib is set high for an infant; I felt it needed a more finished look with a crib skirt. Standard crib skirts were too long for this crib, so I had to find an alternative approach. Luckily, my favorite blogger also went with this crib for their wee-one here, so I followed some of their recommendations for crib skirting and mixed a few in of my own.
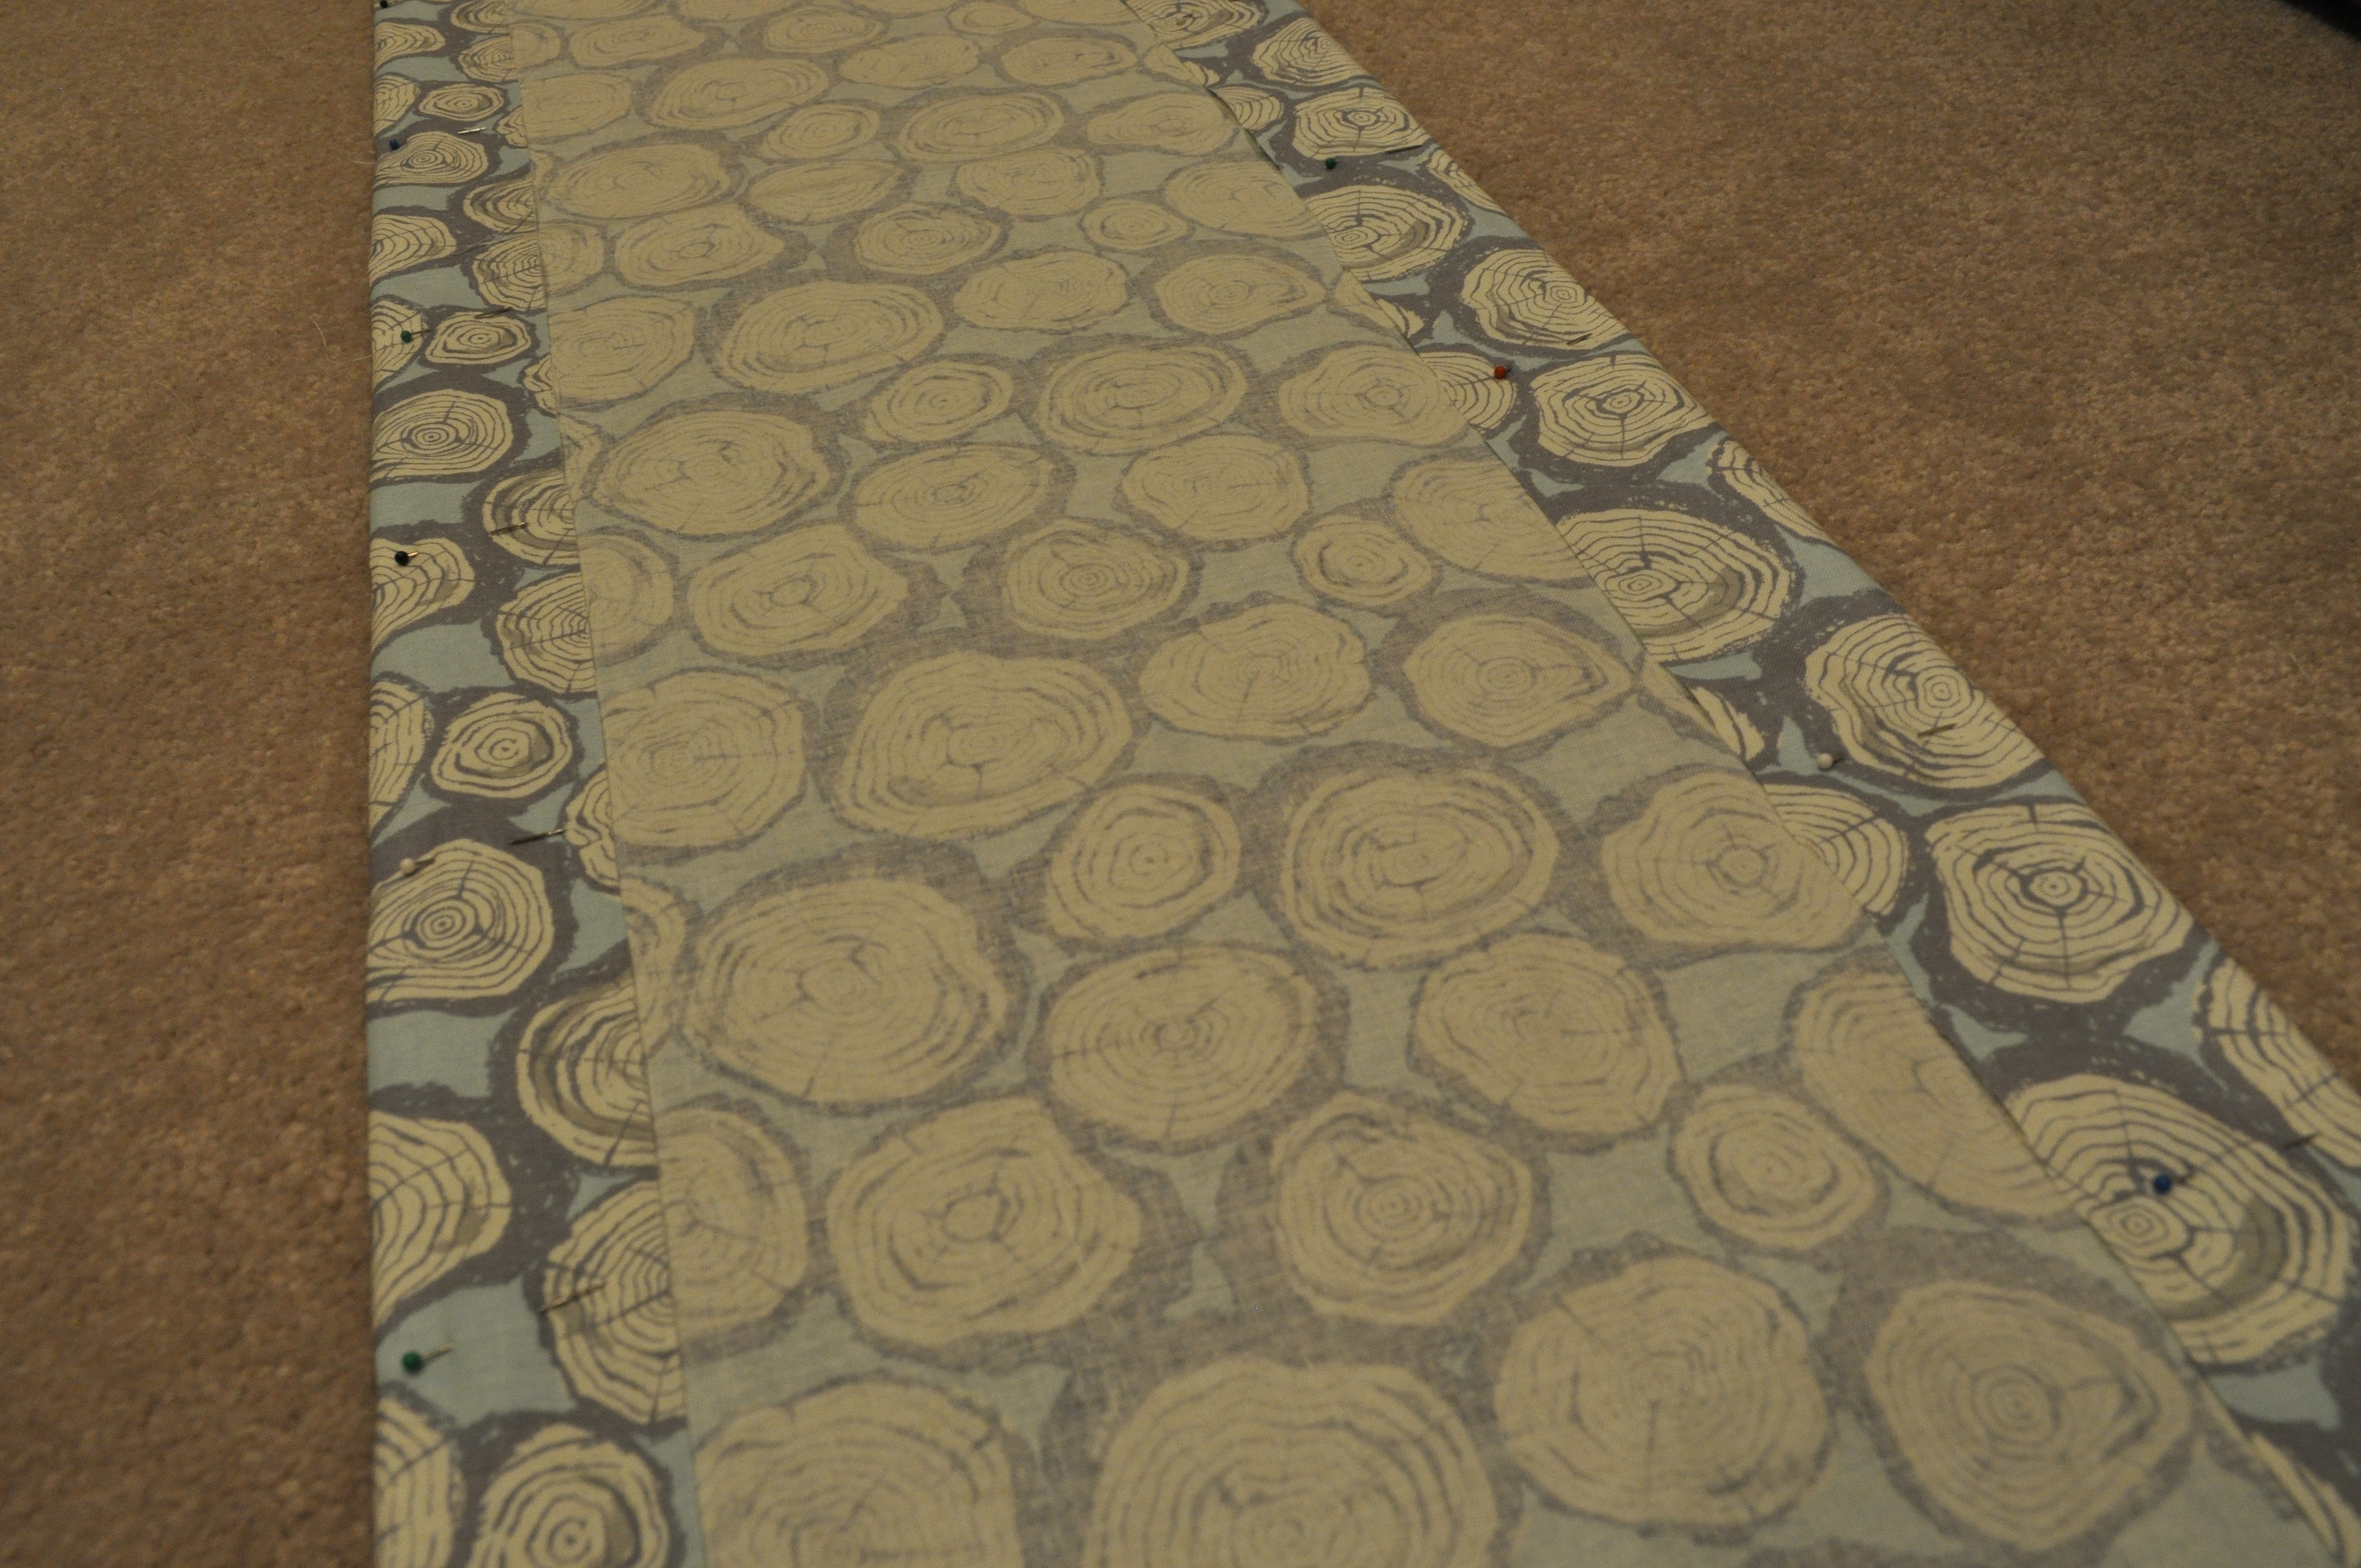
I started by cutting the panels about three inches longer than the actual width I needed. So, if the space was 10,” I added 3″ to the measurement and cut the panels 13″ long. I did this for the length as well.

After cutting the panels, I pinned about a 1 1/2″ hem on each side.
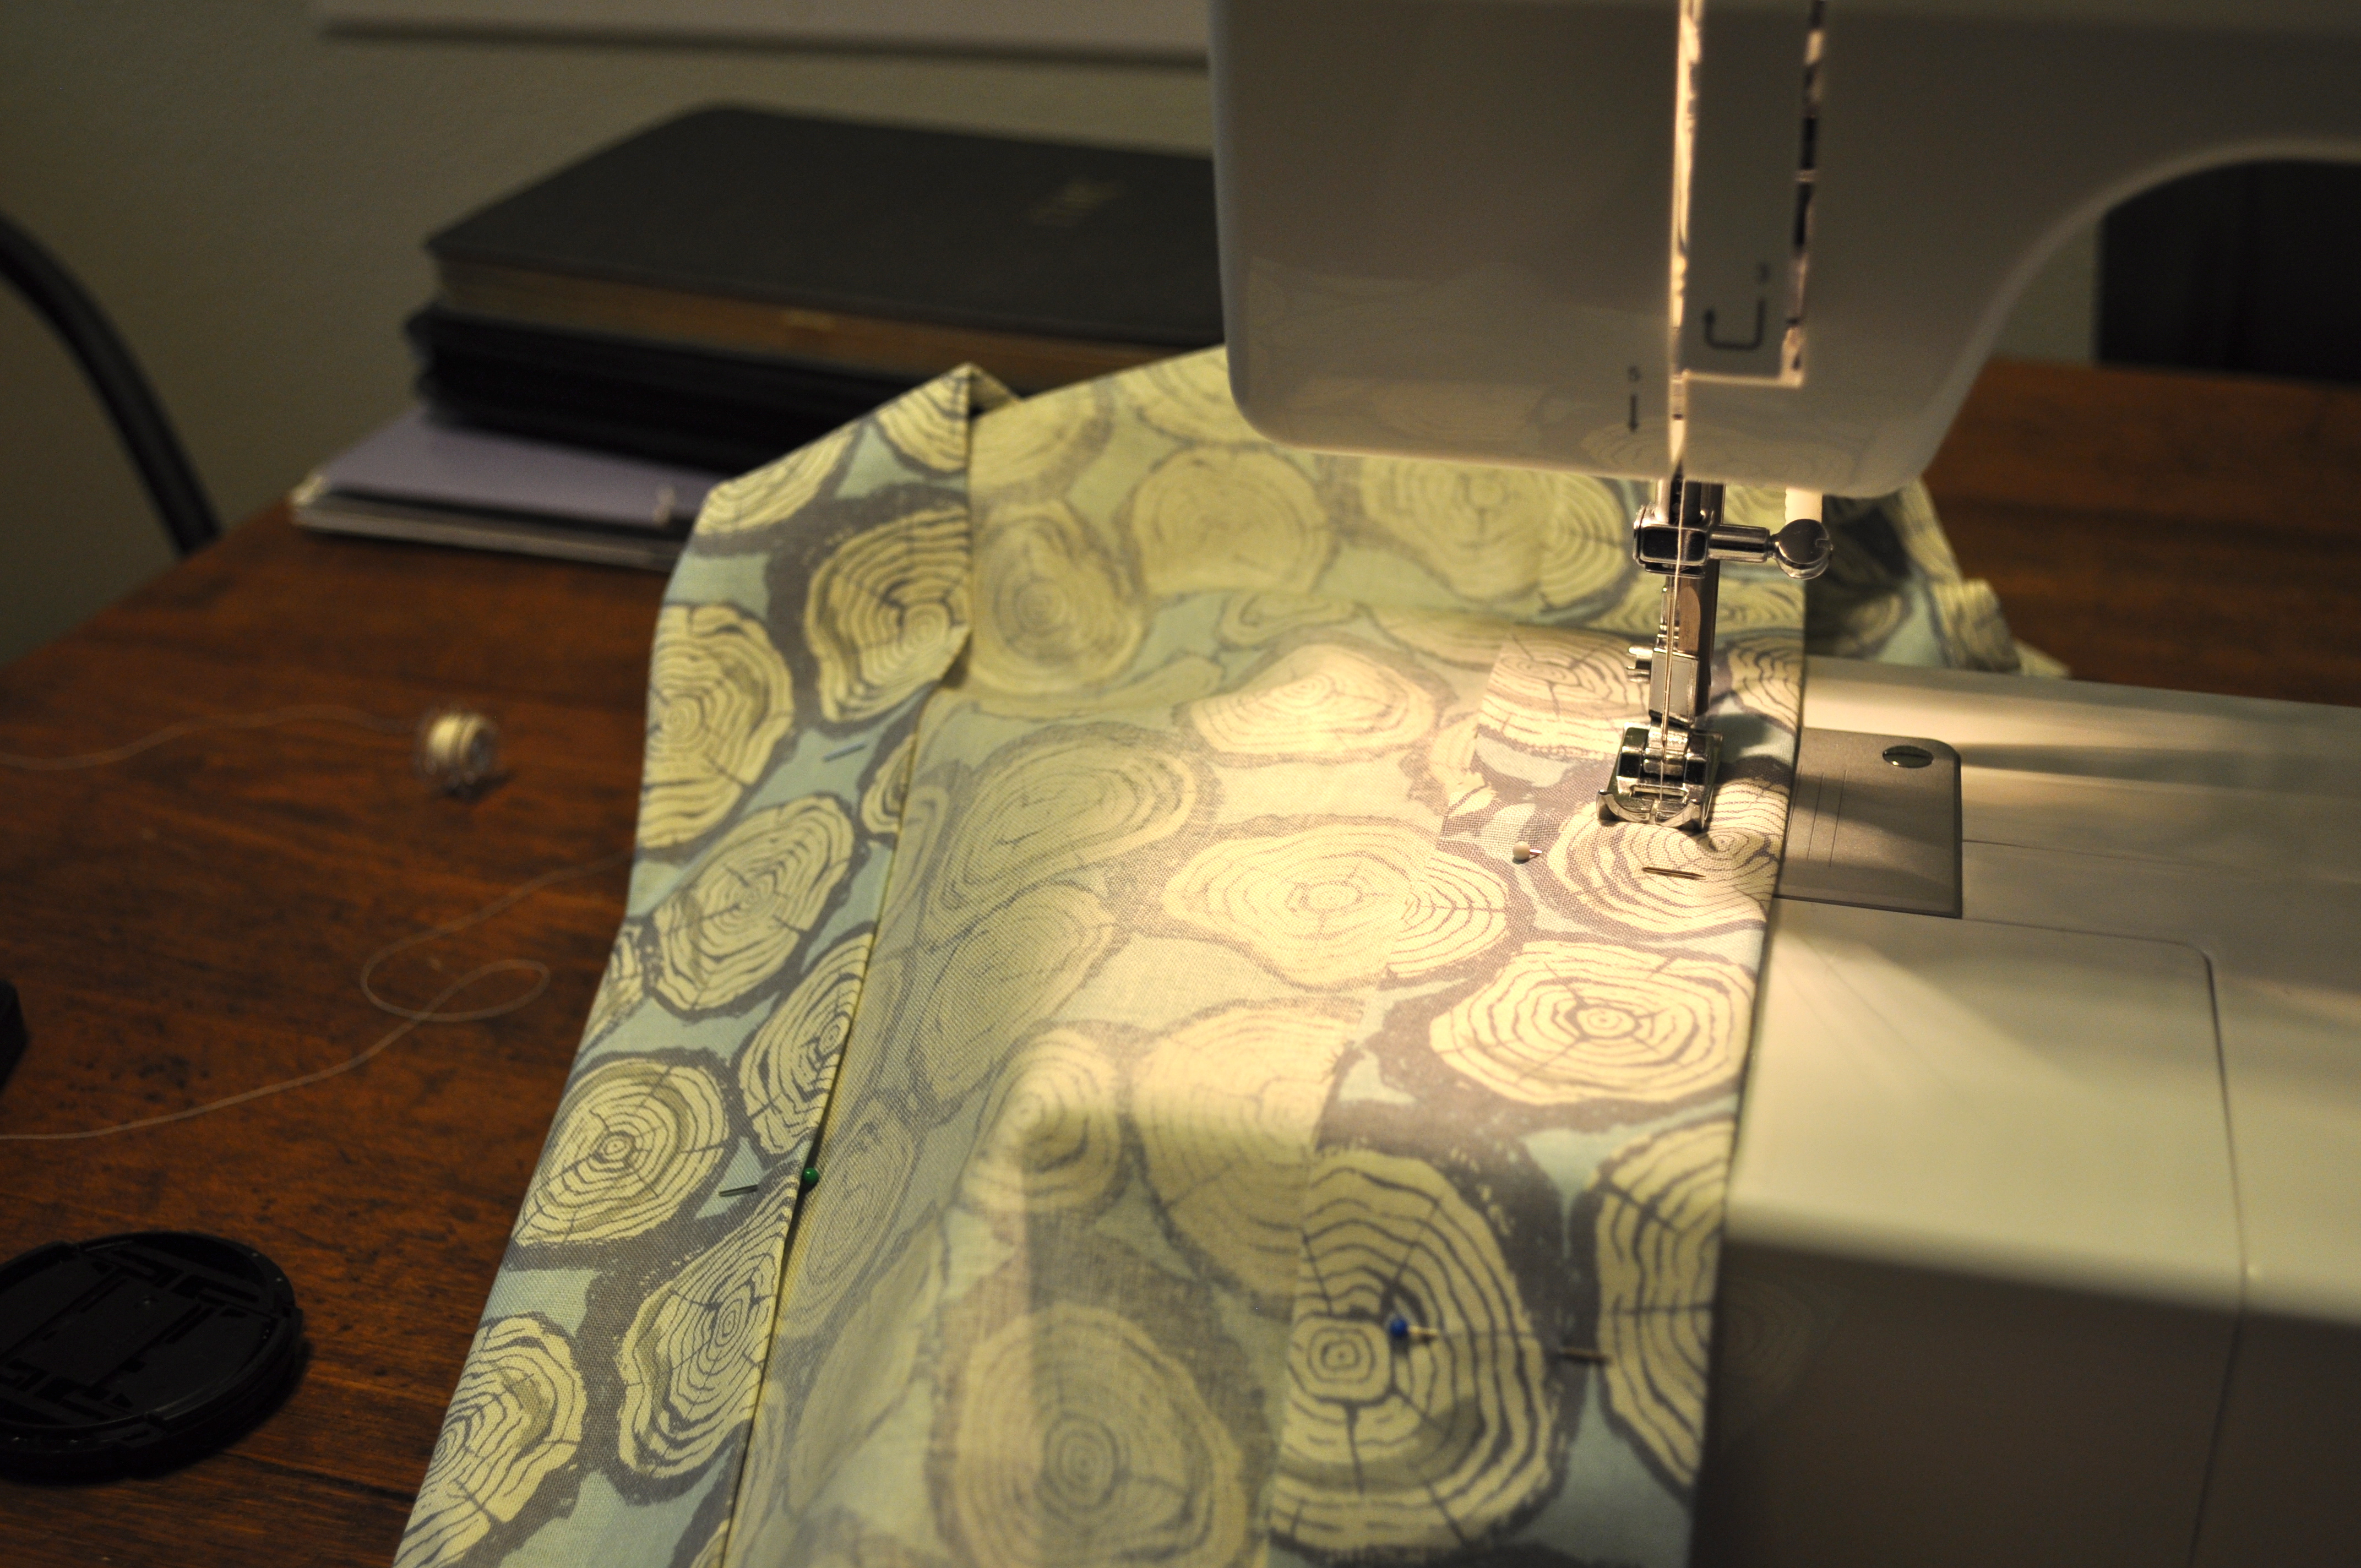
 Then it was off to the sewing machine to sew all the edges into place. Seriously super easy!
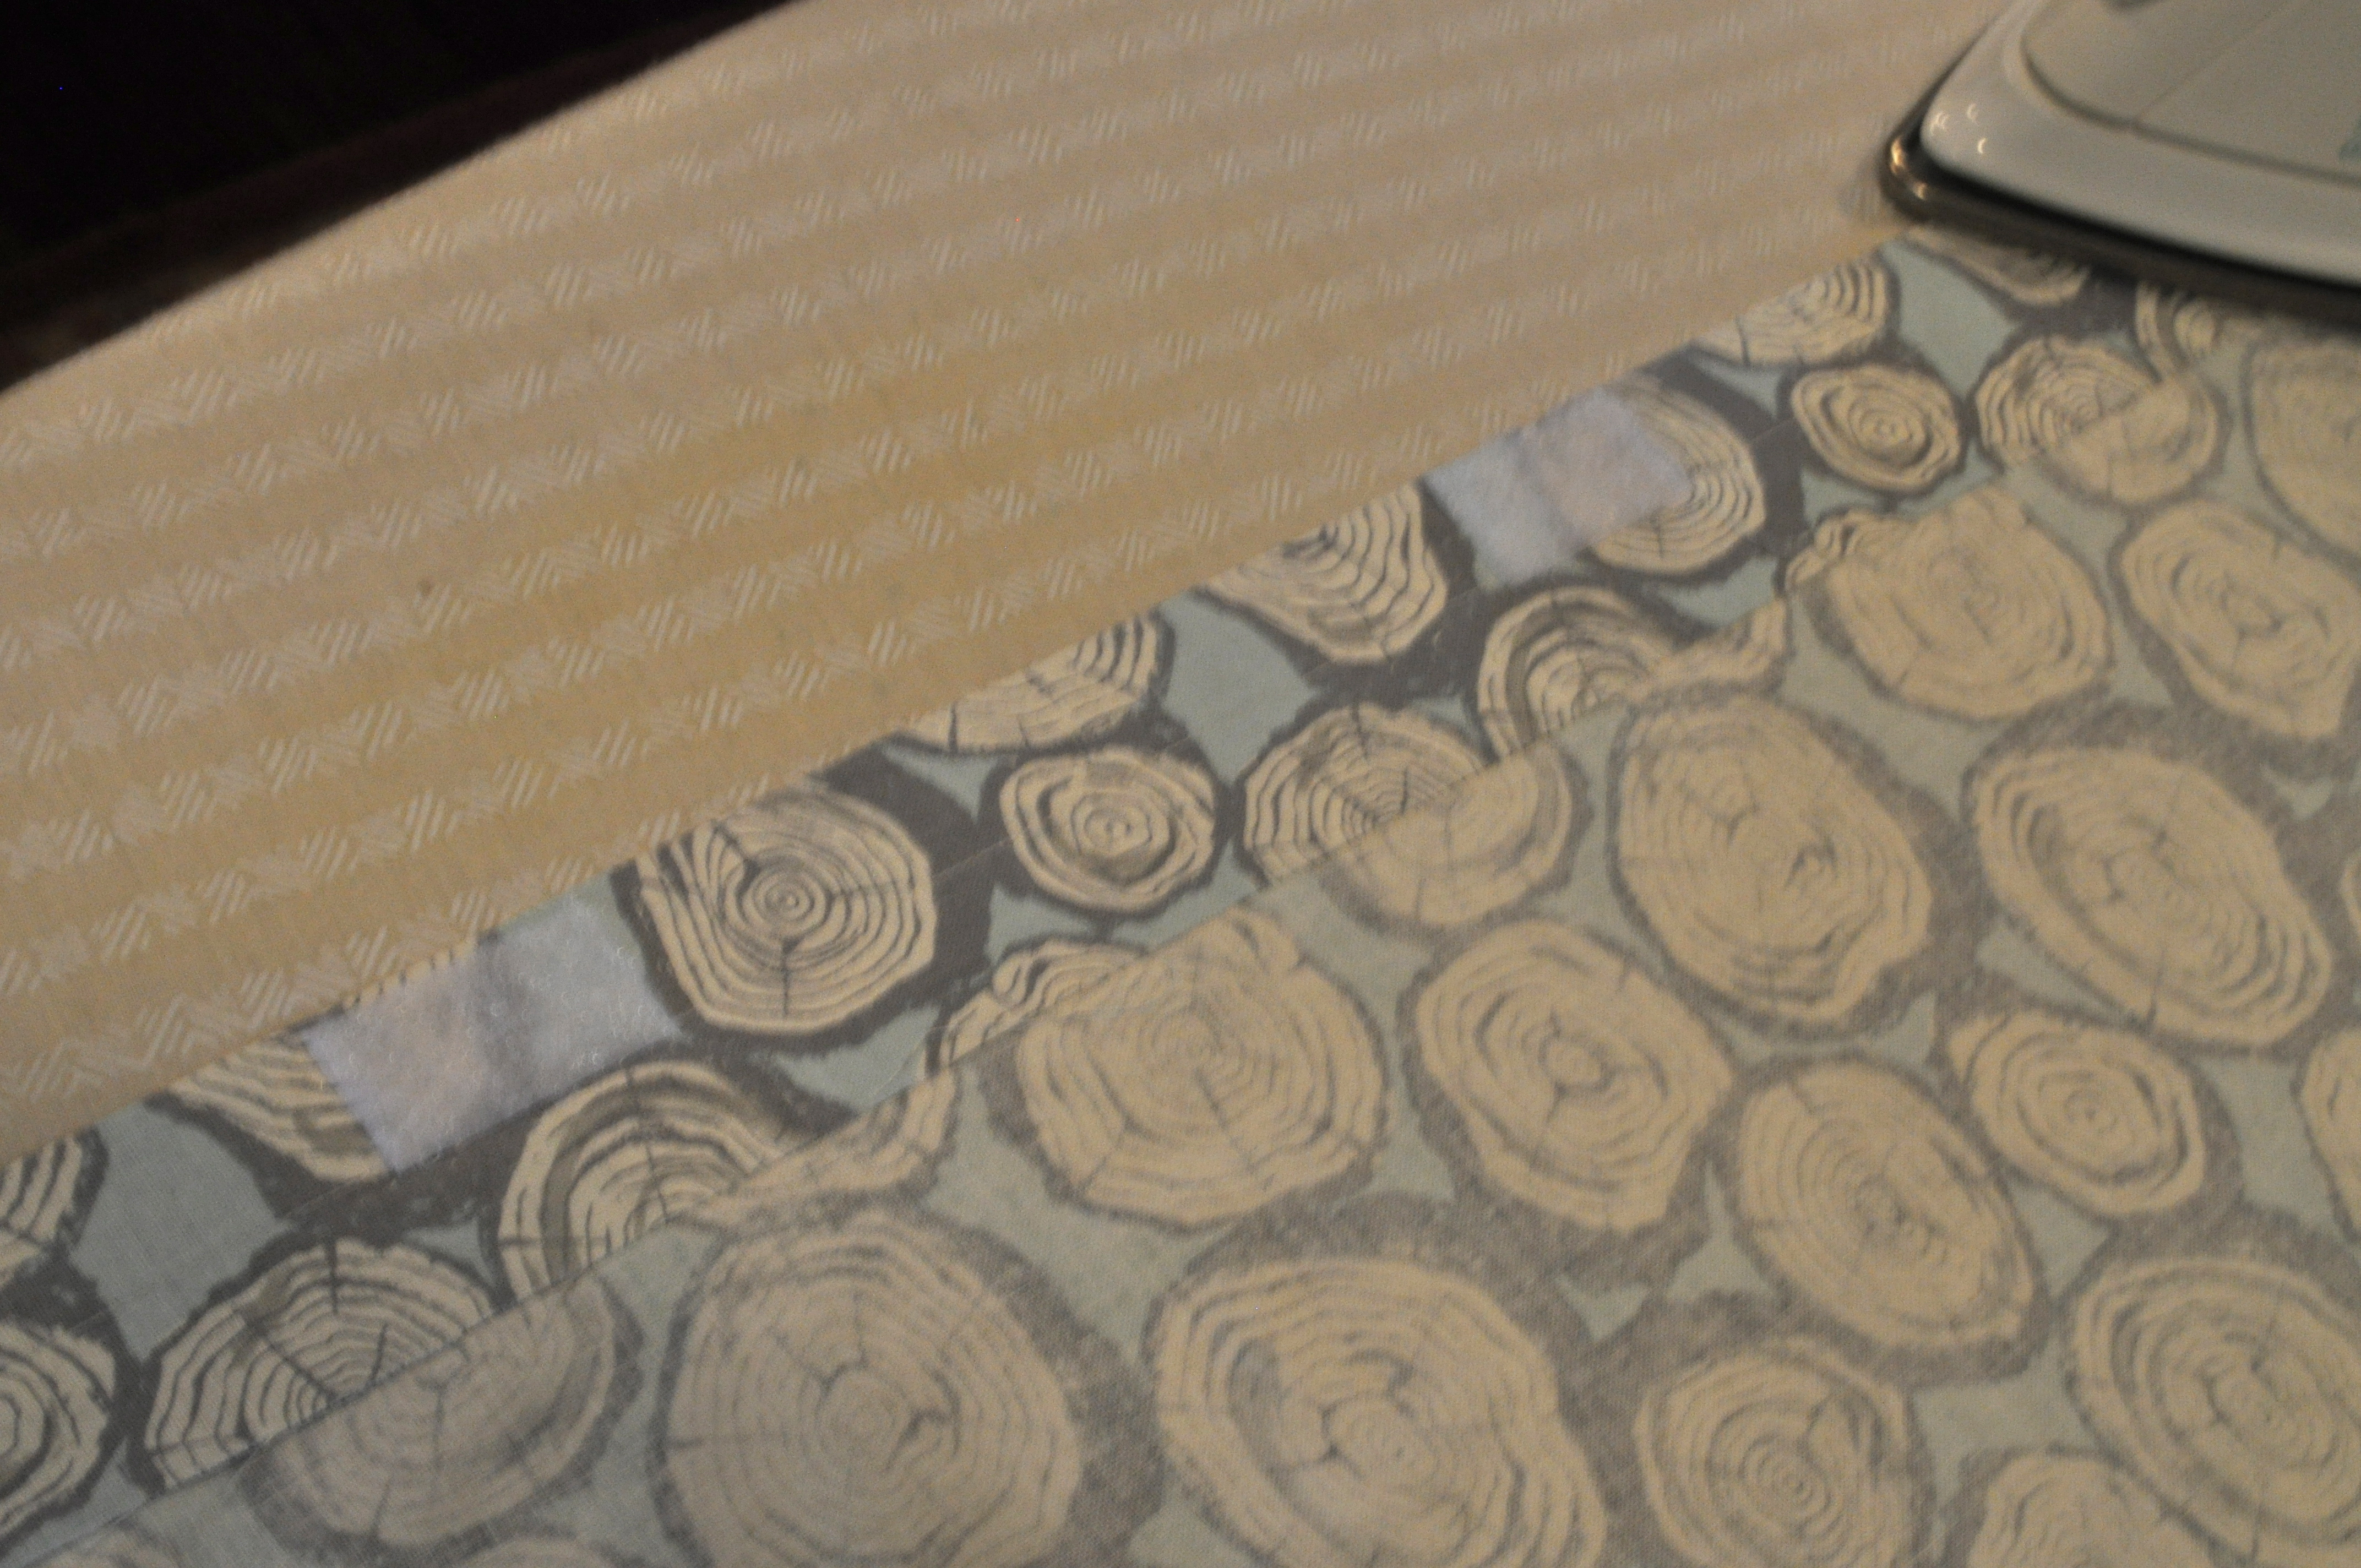
After sewing a panel, I then used velcro to adhere the crib skirt to the crib. If I would do this again, I would buy velcro for both fabric and metal. The velcro instructions stated to use an iron on each piece for 90 seconds. It worked really well, though it was awkward trying to use the iron on the crib metal.
Finally, it was ready for assembly. Match up the velcro and you are done!


I repeated this process two more times for the side panels, and it worked really well! Obviously, I know I still need to get my mattress in there! Hopefully by the time we get the dresser and the glider, I’ll also have the mattress.
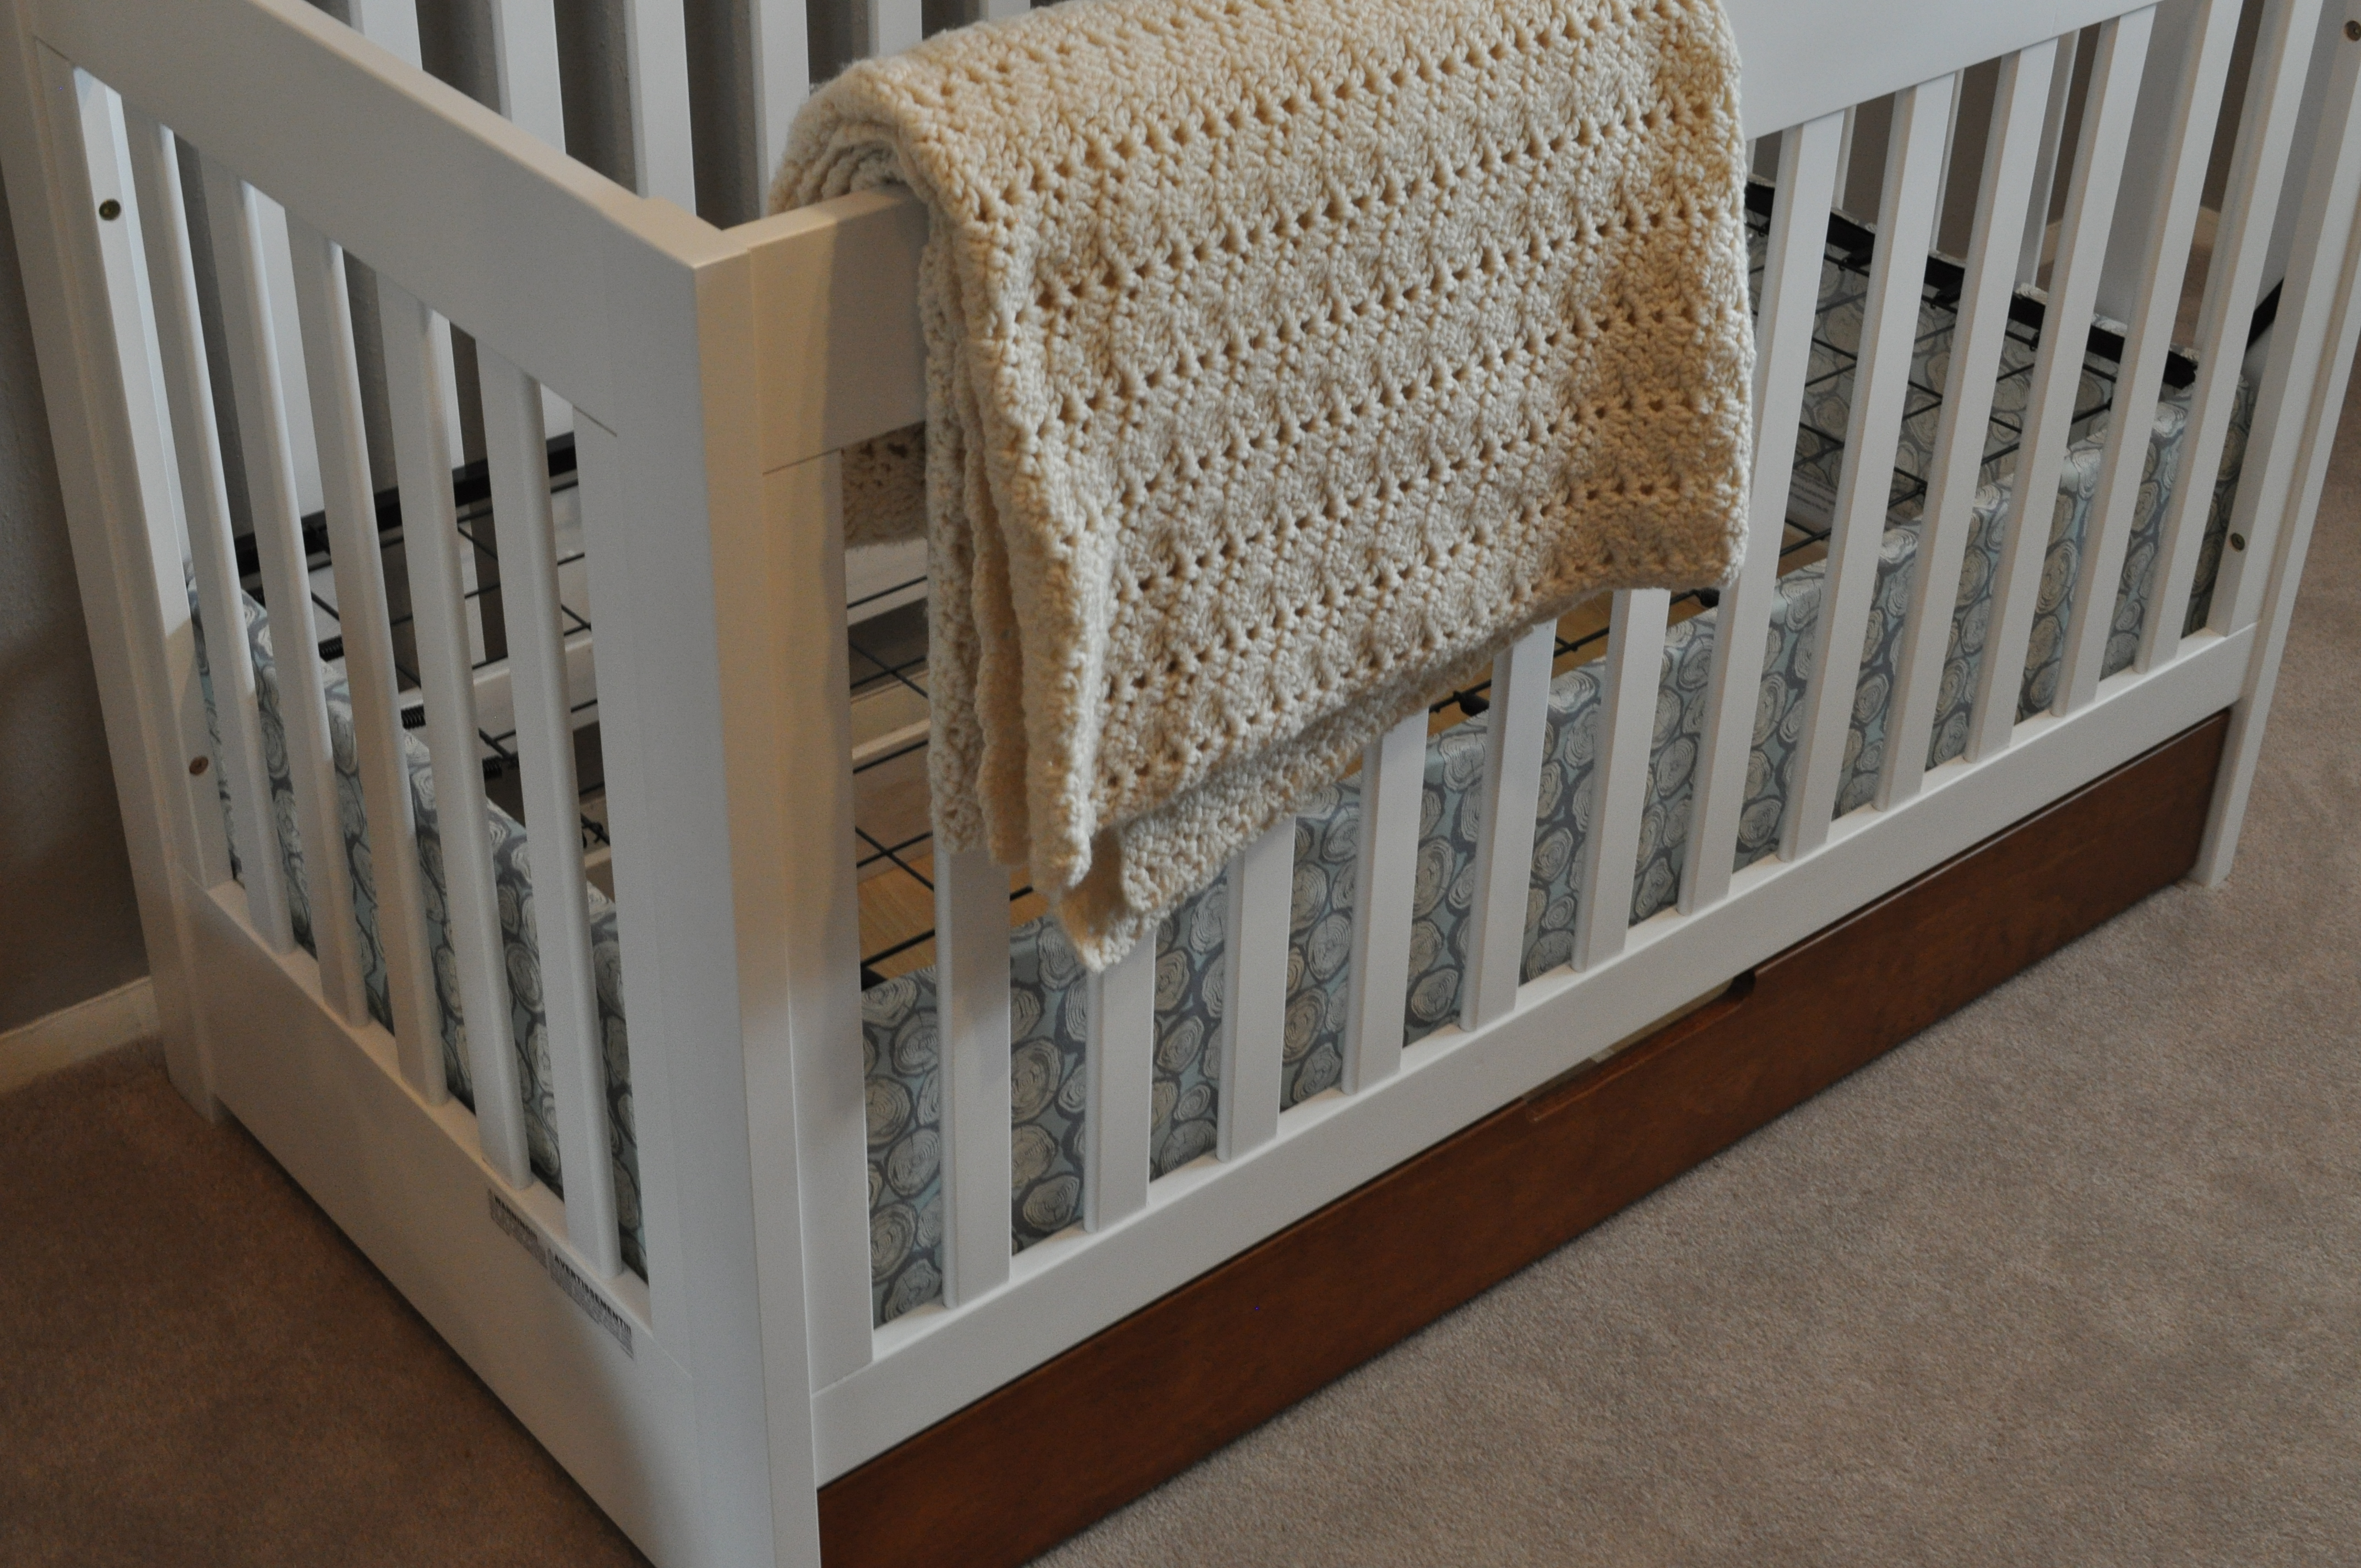
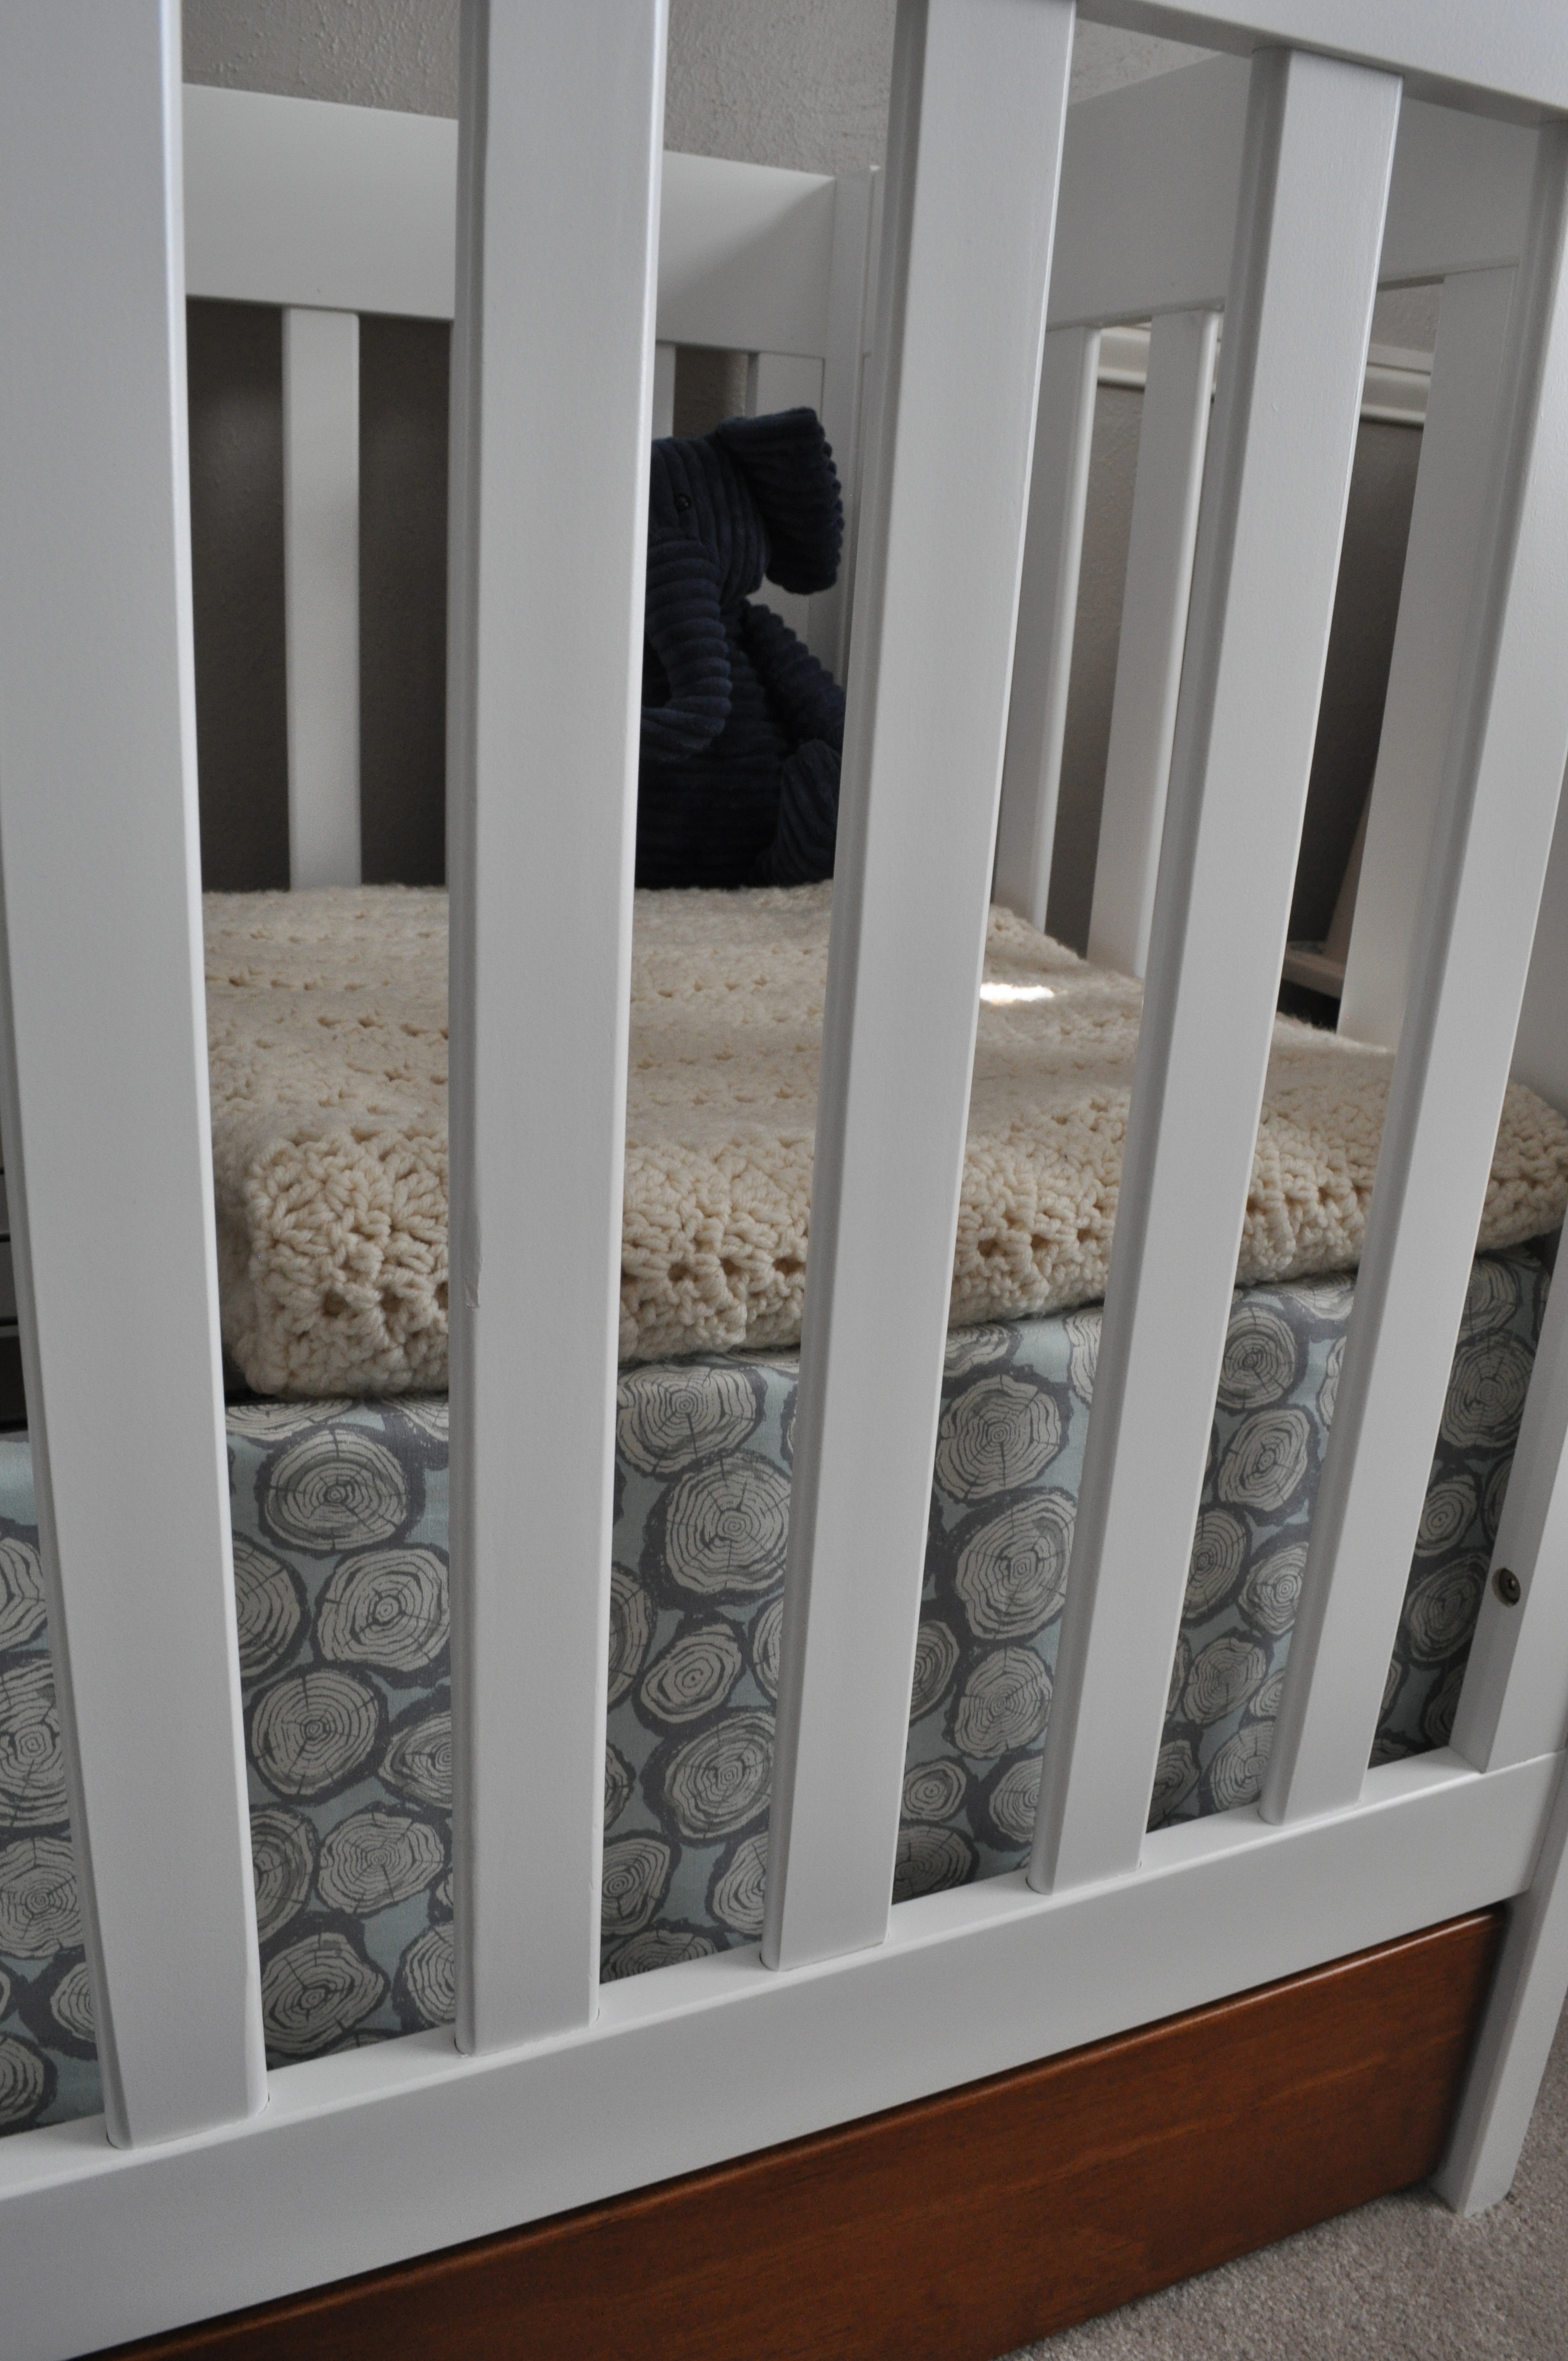
In case you’re curious about the fabric, it’s from Sarah Watt’s collection. I fell in love with her collection featuring a wildlife-looking motif, and love the look of the faux wood tree rings. Others in her collection are birch trees with deer, fox, pine, and bears! So cute!

Otherwise, I hope this helps anyone else having the same issue as I had with the weird in-between space. Honestly, it was way more fun picking my own fabric than choosing a crib skirt out of a catalog! I suggest it to everyone!
