half bath reveal

DSC_0285

Before our new daughter came into this world, we had another celebration! Our half bath renovation was finished! We had a wonderful contractor, who’s one goal was to finish the bathroom before we had the baby, and he did!!! We couldn’t be more pleased with the space. But first here’s the ugly demo picture!

Half Bath Demo

Here’s the room all put back together. We kept the same layout; we took down the cabinet above the toilet to make this teeny-tiny space took a little bigger and replaced the vanity and fixtures. We could not be happier with the tiny space and love the new look!

DSC_0274

We went with a hexagon floor tiles which have a hint of blue and green in them and feel like scales on your toes!

DSC_0267

We decided on classic subway tiles up the entire wall behind the sink which acts as a backsplash for any water while washing your hands or face. With a toddler, splashing happens often. We extended the tiles from floor to ceiling for a more dramatic look. I wasn’t sure if one wall would look weird, but I think it turned out really well!

DSC_0277

The sink and vanity are from IKEA and the bronze pulls are from Schoolhouse Electric. I really like the way the vanity floats above the floor, making the space feel a little bigger. However, our plumber wasn’t a fan of the vanity, as he spent all day configuring the plumbing, so it would fit in the small space behind the drawers. I suggest showing your plumber this vanity early on in the process. He will really appreciate it. The handles were an add-on, IKEA’s vanities don’t need hardware, but the subtle detail helps to make it less cookie-cutter. Plus, the bronze makes it pop!

DSC_0275

I also purchased the pendant light from school house electric and we love the big bold glass, bronze finish and the way the colors accent the mirror, vanity hardware and the framed artwork above the toilet. Ahhh… It makes me happy!

DSC_0268

All in all, we are loving this space. I still have a couple details to finish, such as window treatments, maybe a shelf above the toilet, drawer organizers, and some art to the left of the window. But, it’s 90% finished and with two small kiddos, I’ll take it!

Happy Week, Friends!

half bath renovation

DSC_0248Hi Guys! I’m excited to tell you we’re already at the end of a tiny half bath remodel!! We had plans to get the master bathroom done before our baby girl showed up, but I was a little leery after our kitchen took WAY longer than expected to get started. I was worried we would be in our newborn zombie state, while workers walked through our bedroom and the contractor forced me to make final decisions on the design. Not smart.

This bathroom had some hiccups, but it has been a pretty smooth process, with a different and amazingly nice and professional contractor. Here’s our little half bath and where it all started… I was a little sad to see the stripes go but am excited to have a toilet and vanity at a normal height for us and our guests.

Half Bath BeforeHere’s what it looks like all gutted and ready for pretty, new things!

Half Bath DemoMy plan is to put hexagon tiles on the floor, run subway tiles from floor to ceiling on the vanity wall (to act as a backsplash), and paint the rest of the walls. There was a part of me (a big part) that wanted wallpaper, but the price to install and buy the rolls exceeded $1,500, and I really didn’t want to spend that kind of cash on this small bath, at least not at this point. Here’s the wallpaper… How cute is this?!

carlabathroomsource

Moving on! We also changed the door from a regular swinging door to a pocket door, and the window sill will have a piece of white quartz to match the white sink.

Here’s my mood board for the space! I’m going to try an IKEA product in this bath and am crossing my fingers that it will hold up in this space! Eek.

Half Bath BoardSource List: Hex Gloss Moss 1″ – The Tile Shop, white subway tile – Home Depot, Acacia Wood 24″ mirror – CB2, Willamette 2.25″ Pendant Light Fixture – Schoolhouse Electric & Supply Co., IKEA godmorgon/odensvik skin cabinet with 2 drawers and dalskar faucet, Edgecliff Pull 11″ Drawer Pulls – Schoolhouse Electric & Supply Co. 

Here’s some of the progress pictures!

half bath progress

DSC_0250

DSC_0249

DSC_0246

DSC_0247I’ll be back with the final reveal, depending on how fast everything gets done! Cannot wait to show you guys the goods and hope it all will come together as I envisioned!

small space, big impact

If you’re going to try something bold or bright or unique, sometimes it’s easier to try it in small spaces. That way if it doesn’t look great, it’s only a small loss in time and effort compared to what can feel like years off your life when updating a huge room. Trust me, I know. Plus, shapes and designs can help make the room appear bigger. Bonus!

I’m still trying to convince Paul that a wallpapered wall in the guest room and/or dining room would make for an amazing wall, but he’s not convinced… okay, and I’m a little scared myself.

Examples from Pinterest:

I took my own advice for my half bath and added some wide strips! A renovation blog called young house love had done stripes in their old house and since then, I’ve wanted to try, what seemed like a simple technique. Here is their tutorial for their bathroom strips.

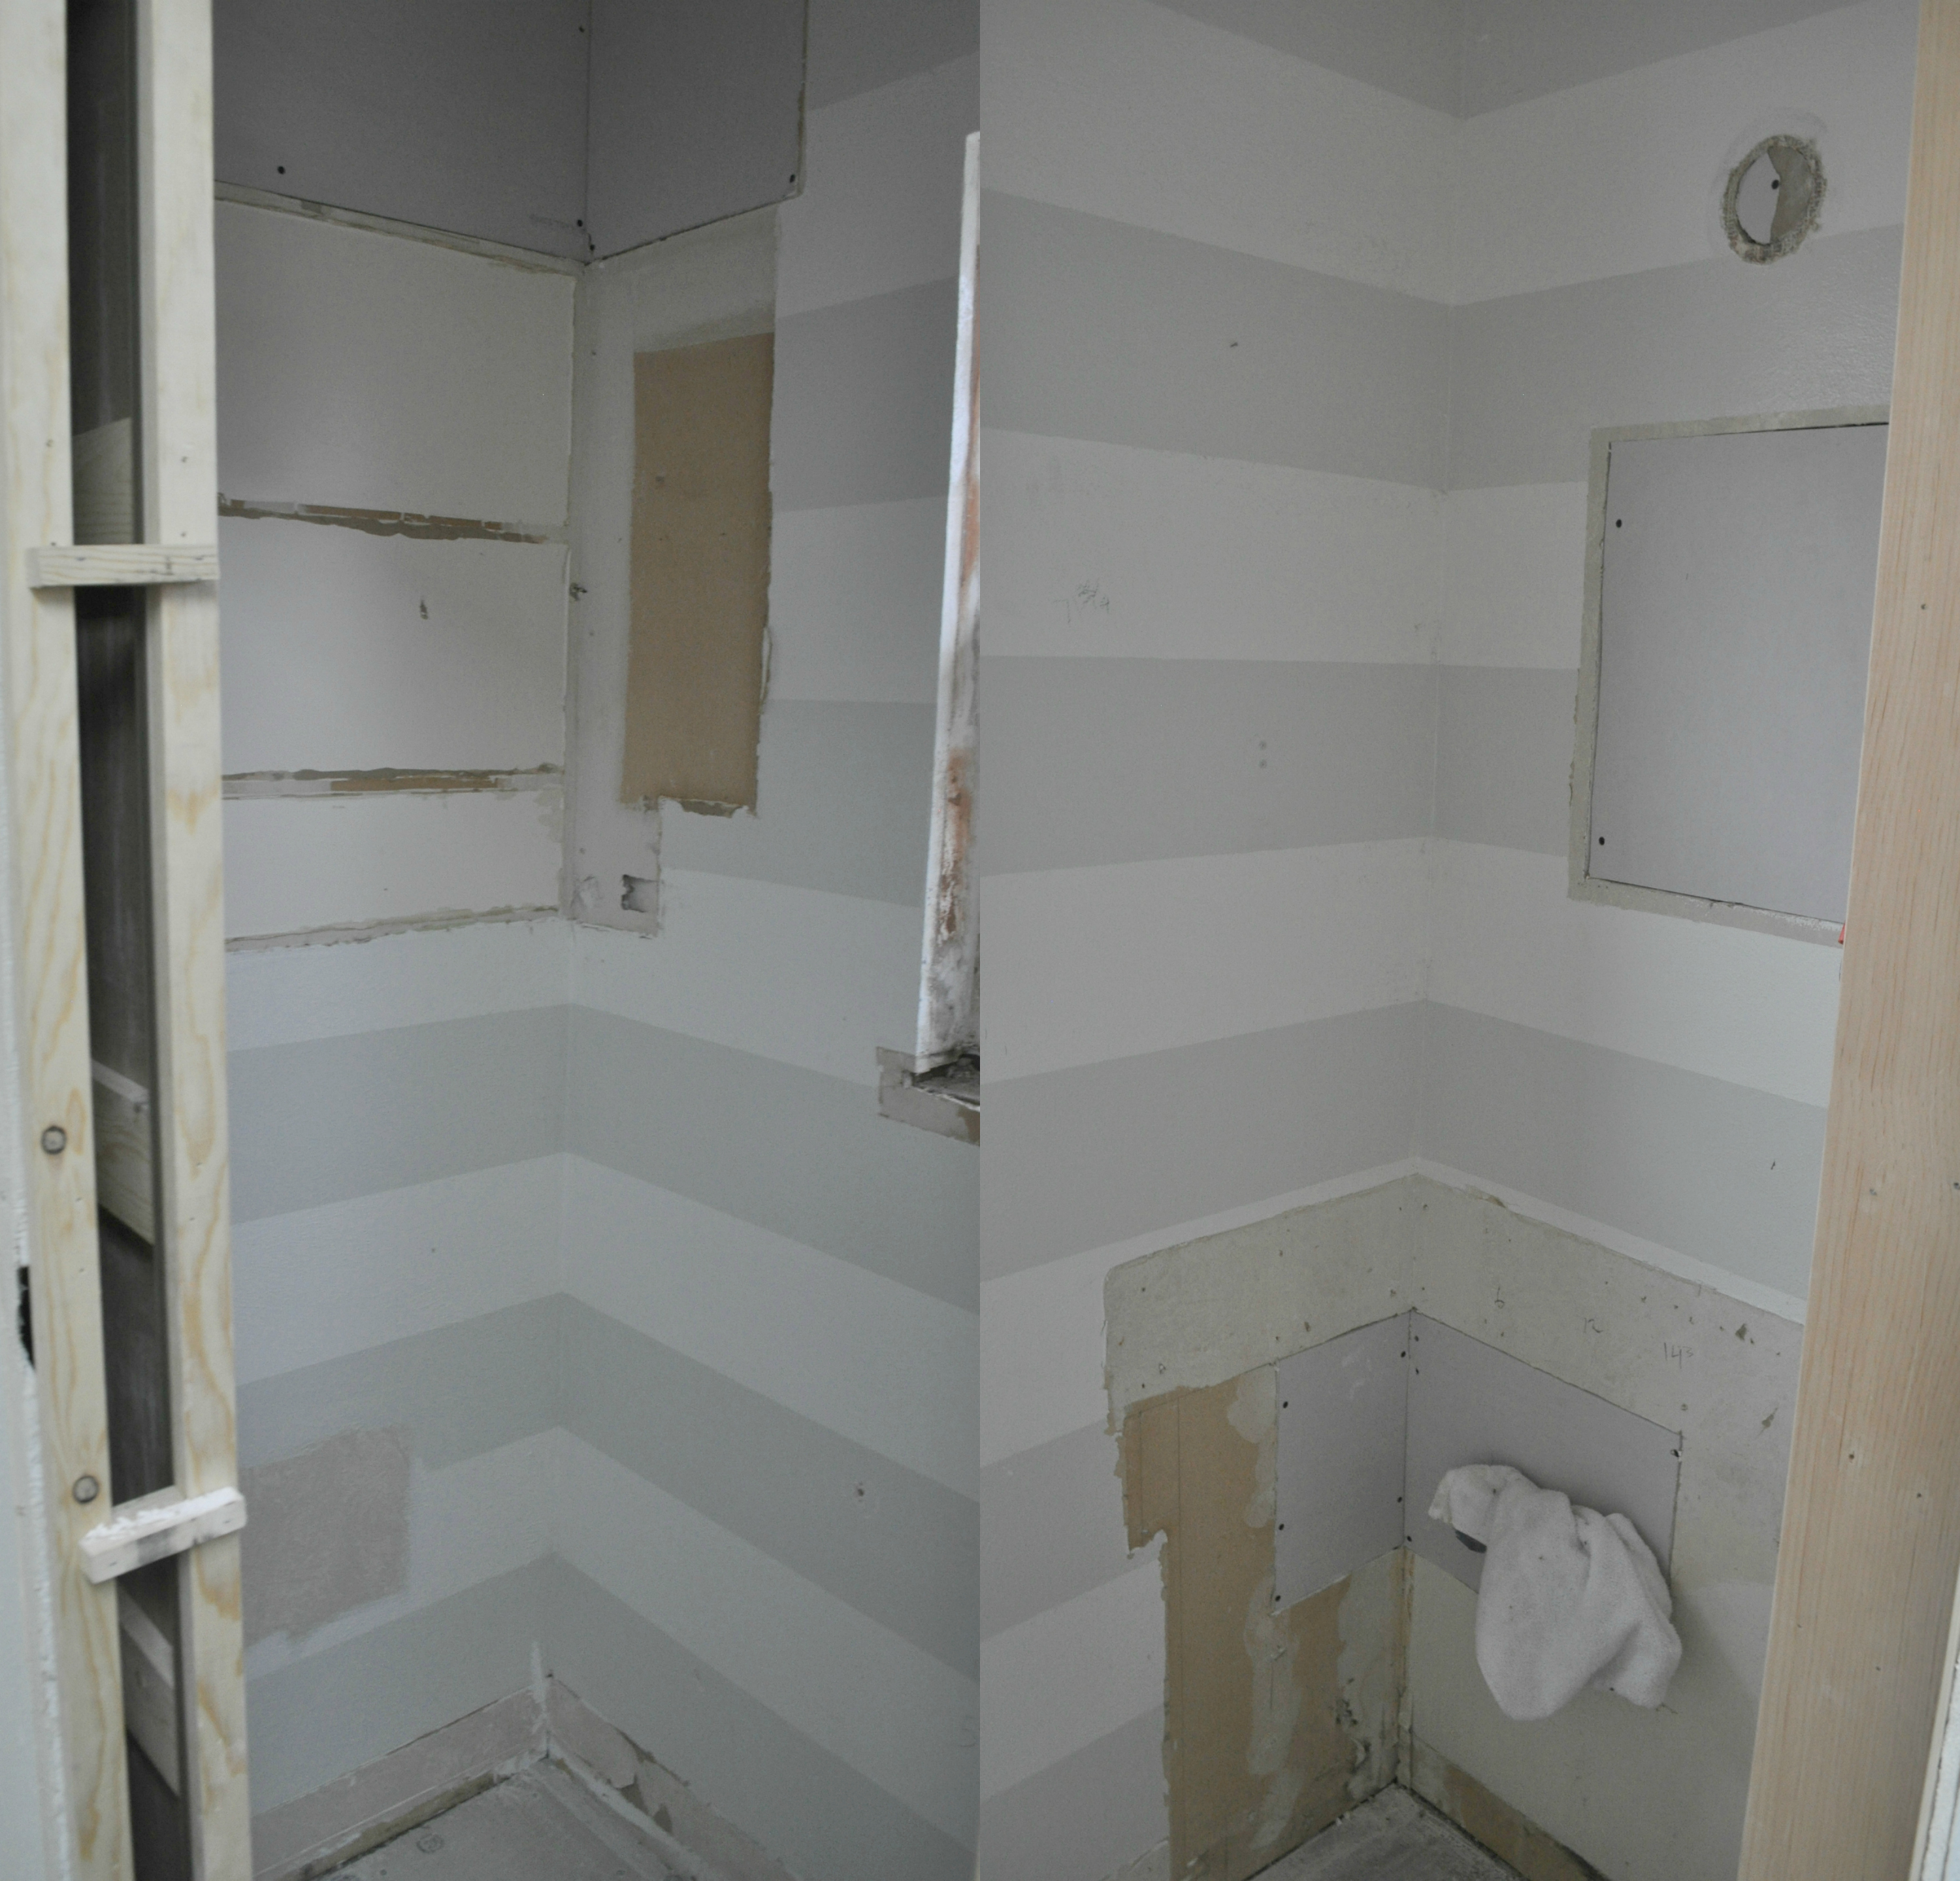
Here is our half bath before my updates. It’s a really small bathroom, so it was rather difficult to get good photos of the space.

I started by painting the entire room one color. I started with the lighter strip color just because we had more of that paint left over from painting the hallways. Darker colors are actually easier to paint over than white walls or lighter colors. If you have the same amount of paint, start with the darker paint color, it’s easier to cover. I painted the whole bathroom with Benjamin Moore Swiss Coffee OC-45 in eggshell.

I then waited a couple of hours for the paint to dry.  During the down time, I did some intense math and thinking… how many strips do I want?  How wide?  Which color do I want to start and end with?

Answers: I decided on 6 dark strips, 7.9 inches, and dark on the bottom and top, the dark paint against the white baseboards and soon-to-be-white crown molding will make for a more dramatic effect.

I’m not going to lie, measuring out 7.9 inches was difficult, realizing the wall and floor were not exactly straight, was extremely irritating!  All I want is 6 stupid stripes on the wall! Ahhh!  At this point, I wanted to throw my pencil and hit the wall with the level… so I walked away.

I took a shower. A very long, hot, shower.

I told myself: I’m not stupid, life isn’t going to end, all of my efforts will not look like DIY amateur work. I went back to the project with a new attitude.

I marked a line every 7.9 inches down one side of the bathroom starting at the baseboards and then used  a level to mark along the wall and applied blue painters tape accordingly! I won the battle! It actually wasn’t that bad, once I realize the world wasn’t against me.

This may have been emphasized by my choice of listening material.  I like to listen to books on audible.com when I paint, and this time I was listening to the The Girl Who Played with Fire.  I tend to become the character I’m reading/listening to, so when realizing my measurements weren’t coming out right, I wanted to take my boxing skills to the wall and assumed the government was after me. Yep, this is me. (I recommend the whole series; dark, but fun and suspenseful.)

Next, I applied two coats of Benjamin Moore Halo OC-46 in semi-gloss. I was really nervous with the high sheen of the semi-gloss vs. eggshell, so I sampled it on an extra piece of drywall in our garage . It was a fun combination.

The thing is, I ordered the paint on my lunch hour, over-the-phone, and picked it up that evening. I thought I had asked for satin or eggshell over the phone?!? But ended up with an already mixed semi-gloss… so it will have to work! No returns on mixed paint.

Once you are 100% done with the second coat of stripes, make sure to take off the painters tape before it completely dries; this is something a lot of people forget to do.  If you wait until the paint it completely dry you may chip your straight-line-work, making for more frustration than satisfaction. Also, make sure you press your painter’s tape down hard, especially on the edges that will touch the paint; it will be less likely to bleed.

I waited 24 hours and washed all the walls for any residual pencil marks, then touched up any other imperfections in my paint job.

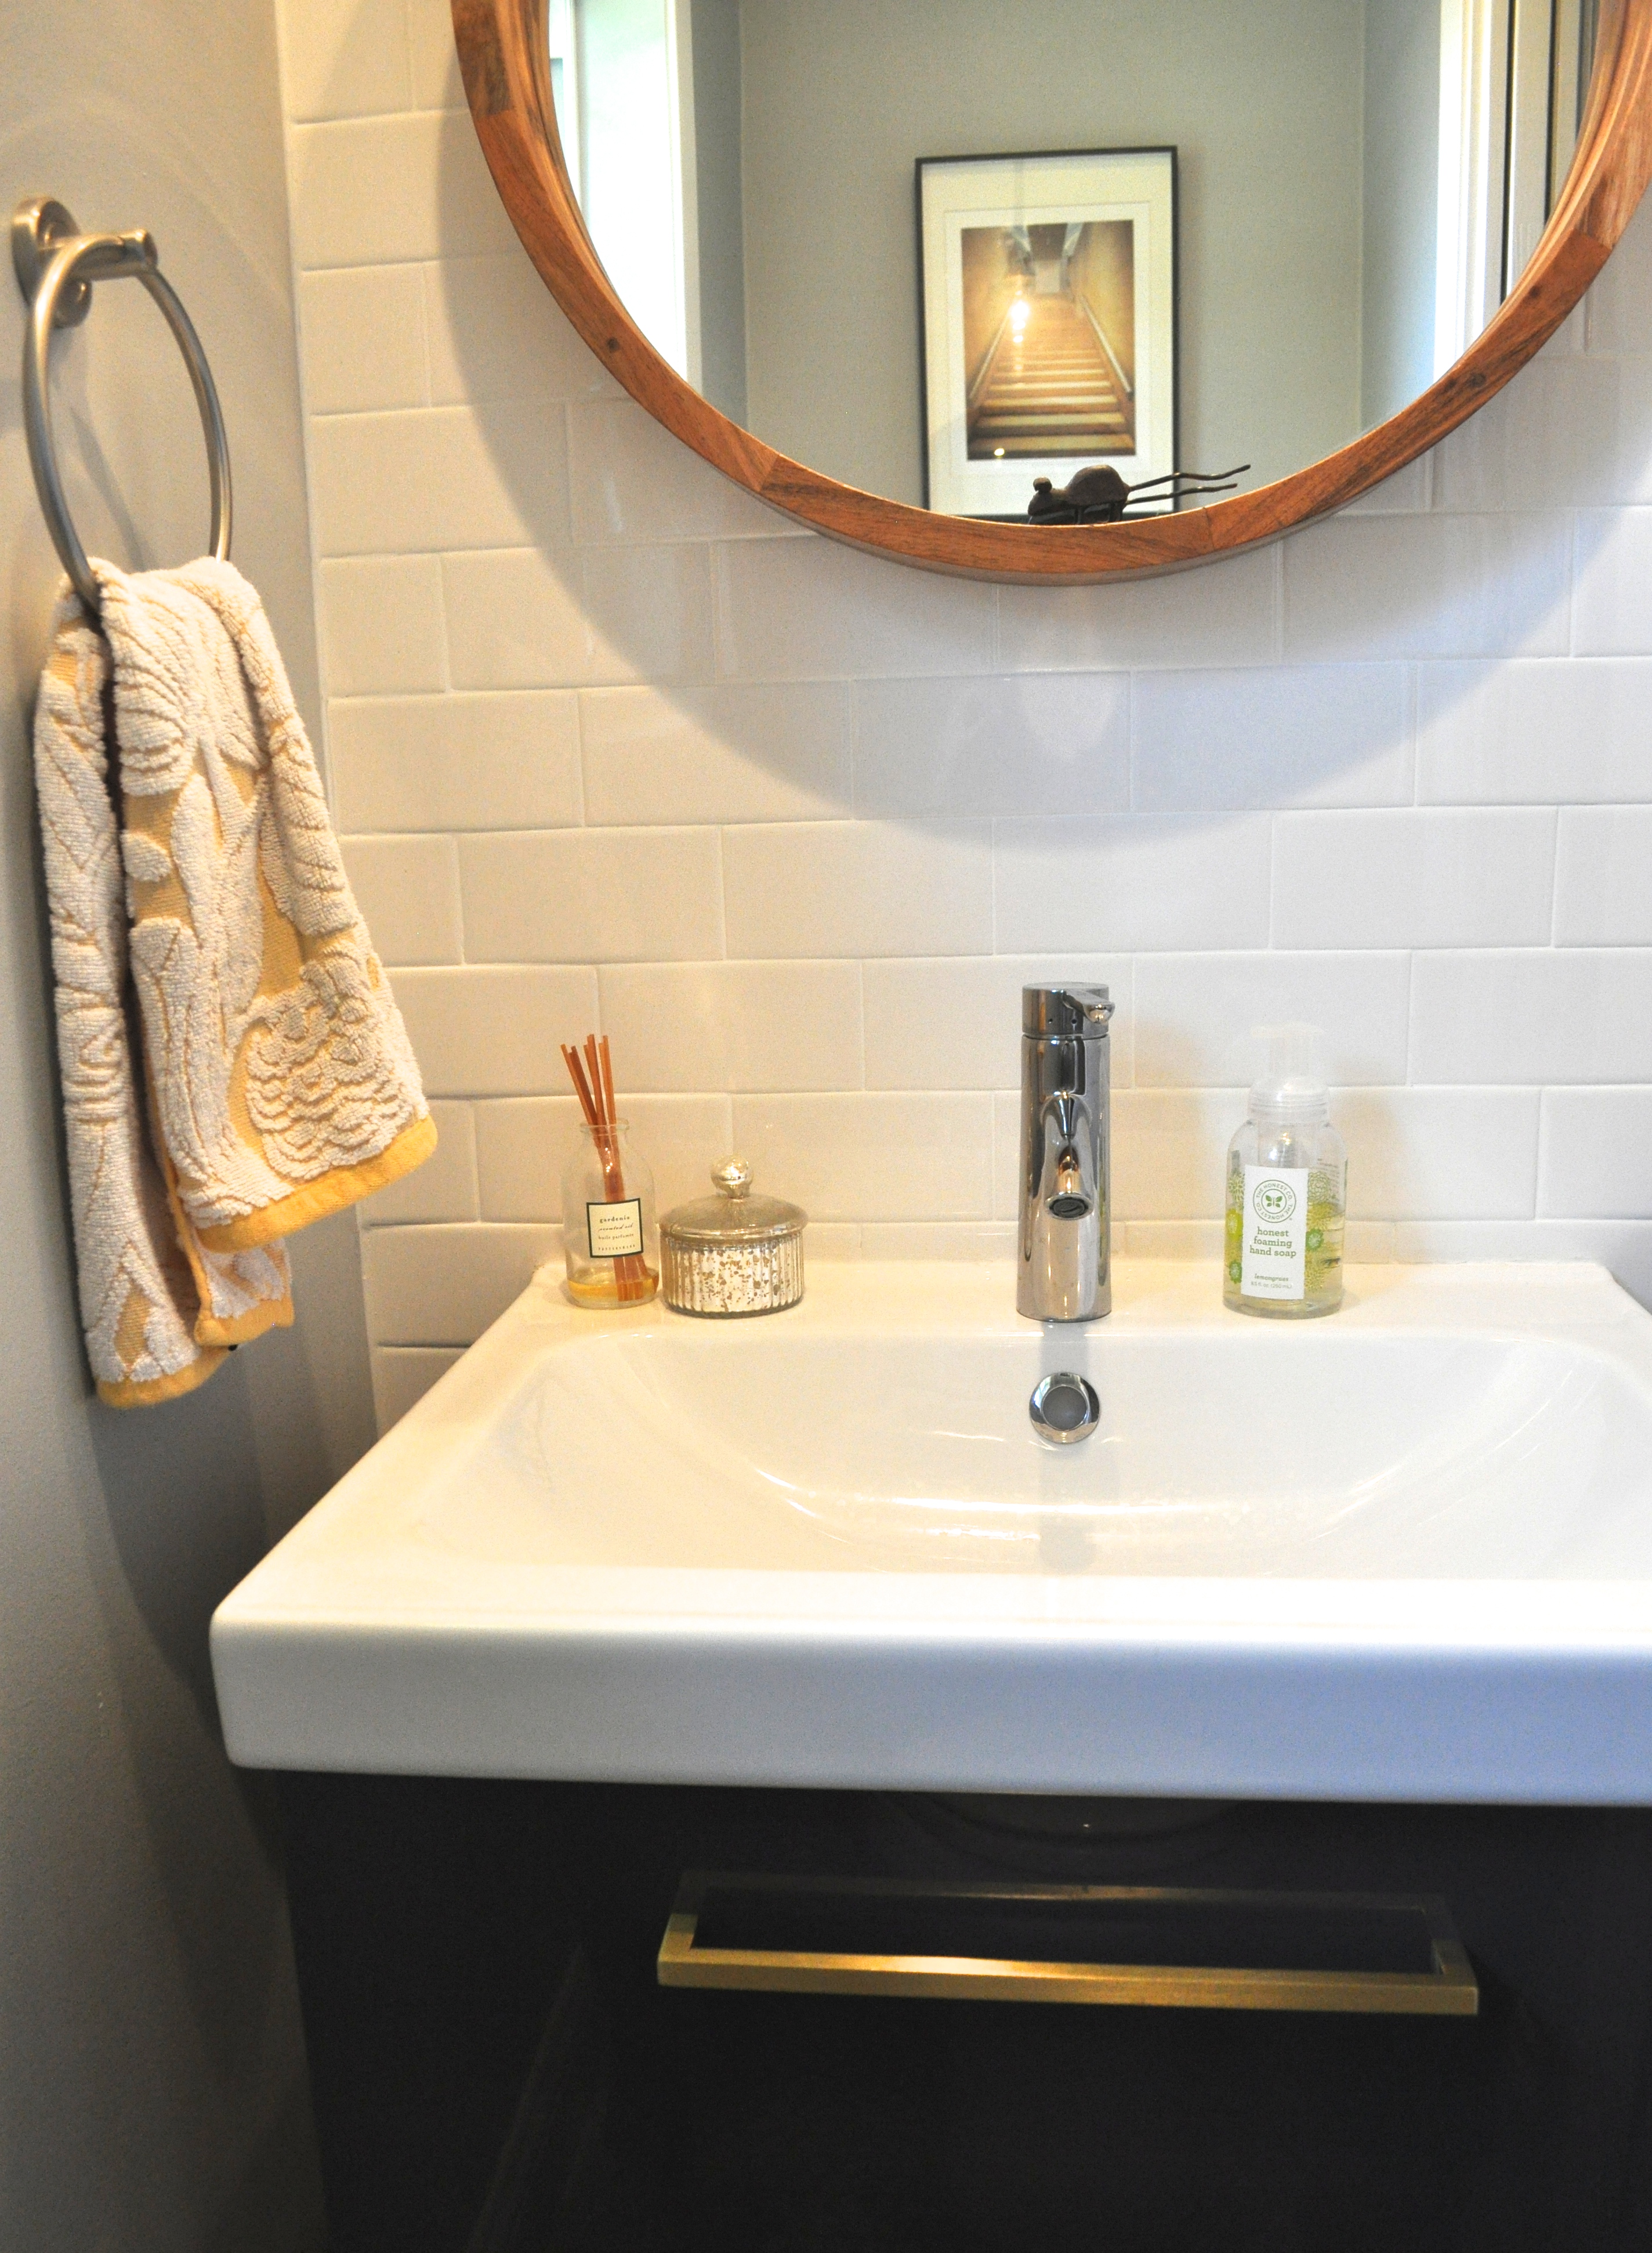
Now, it’s time to put in the new gear!  I went to Lowe’s and got a new medicine cabinet door (but the mirror was smaller, and I decided against it), toilet paper holder, towel rack and knobs.  The white framed picture has a piece of the vintage wallpaper in the kitchen; yes, I kept a piece!

I hope you all explore a bold design option in your spaces.