mini herb garden

Cover Herb

I finally did it and took off another 33 before I’m 33 item in the process, with building a mini herb garden. I was at Lowe’s the other weekend picking out plants for the house (with my mother-in-law’s help) and decided to pick out three herbs to start a mini herb garden in my kitchen window. I looked for fun pots to put them in but settled for terra-cotta pots and saucers. I wanted to make them a little more fashionable, so I used Better Homes & Gardens‘ idea of painting the pots. It was a fun and easy way to bring a little personal flare to the pots and the window sill.

material

  • large rubber bands
  • terra-cotta pot and saucers
  • small paintbrush
  • primer
  • acrylic crafts paint or wall paint
  • aluminum foil
  • masking tape or blue wallpaper tape
  • spray shellac
  • craft knife
  • herbs or plants to pot

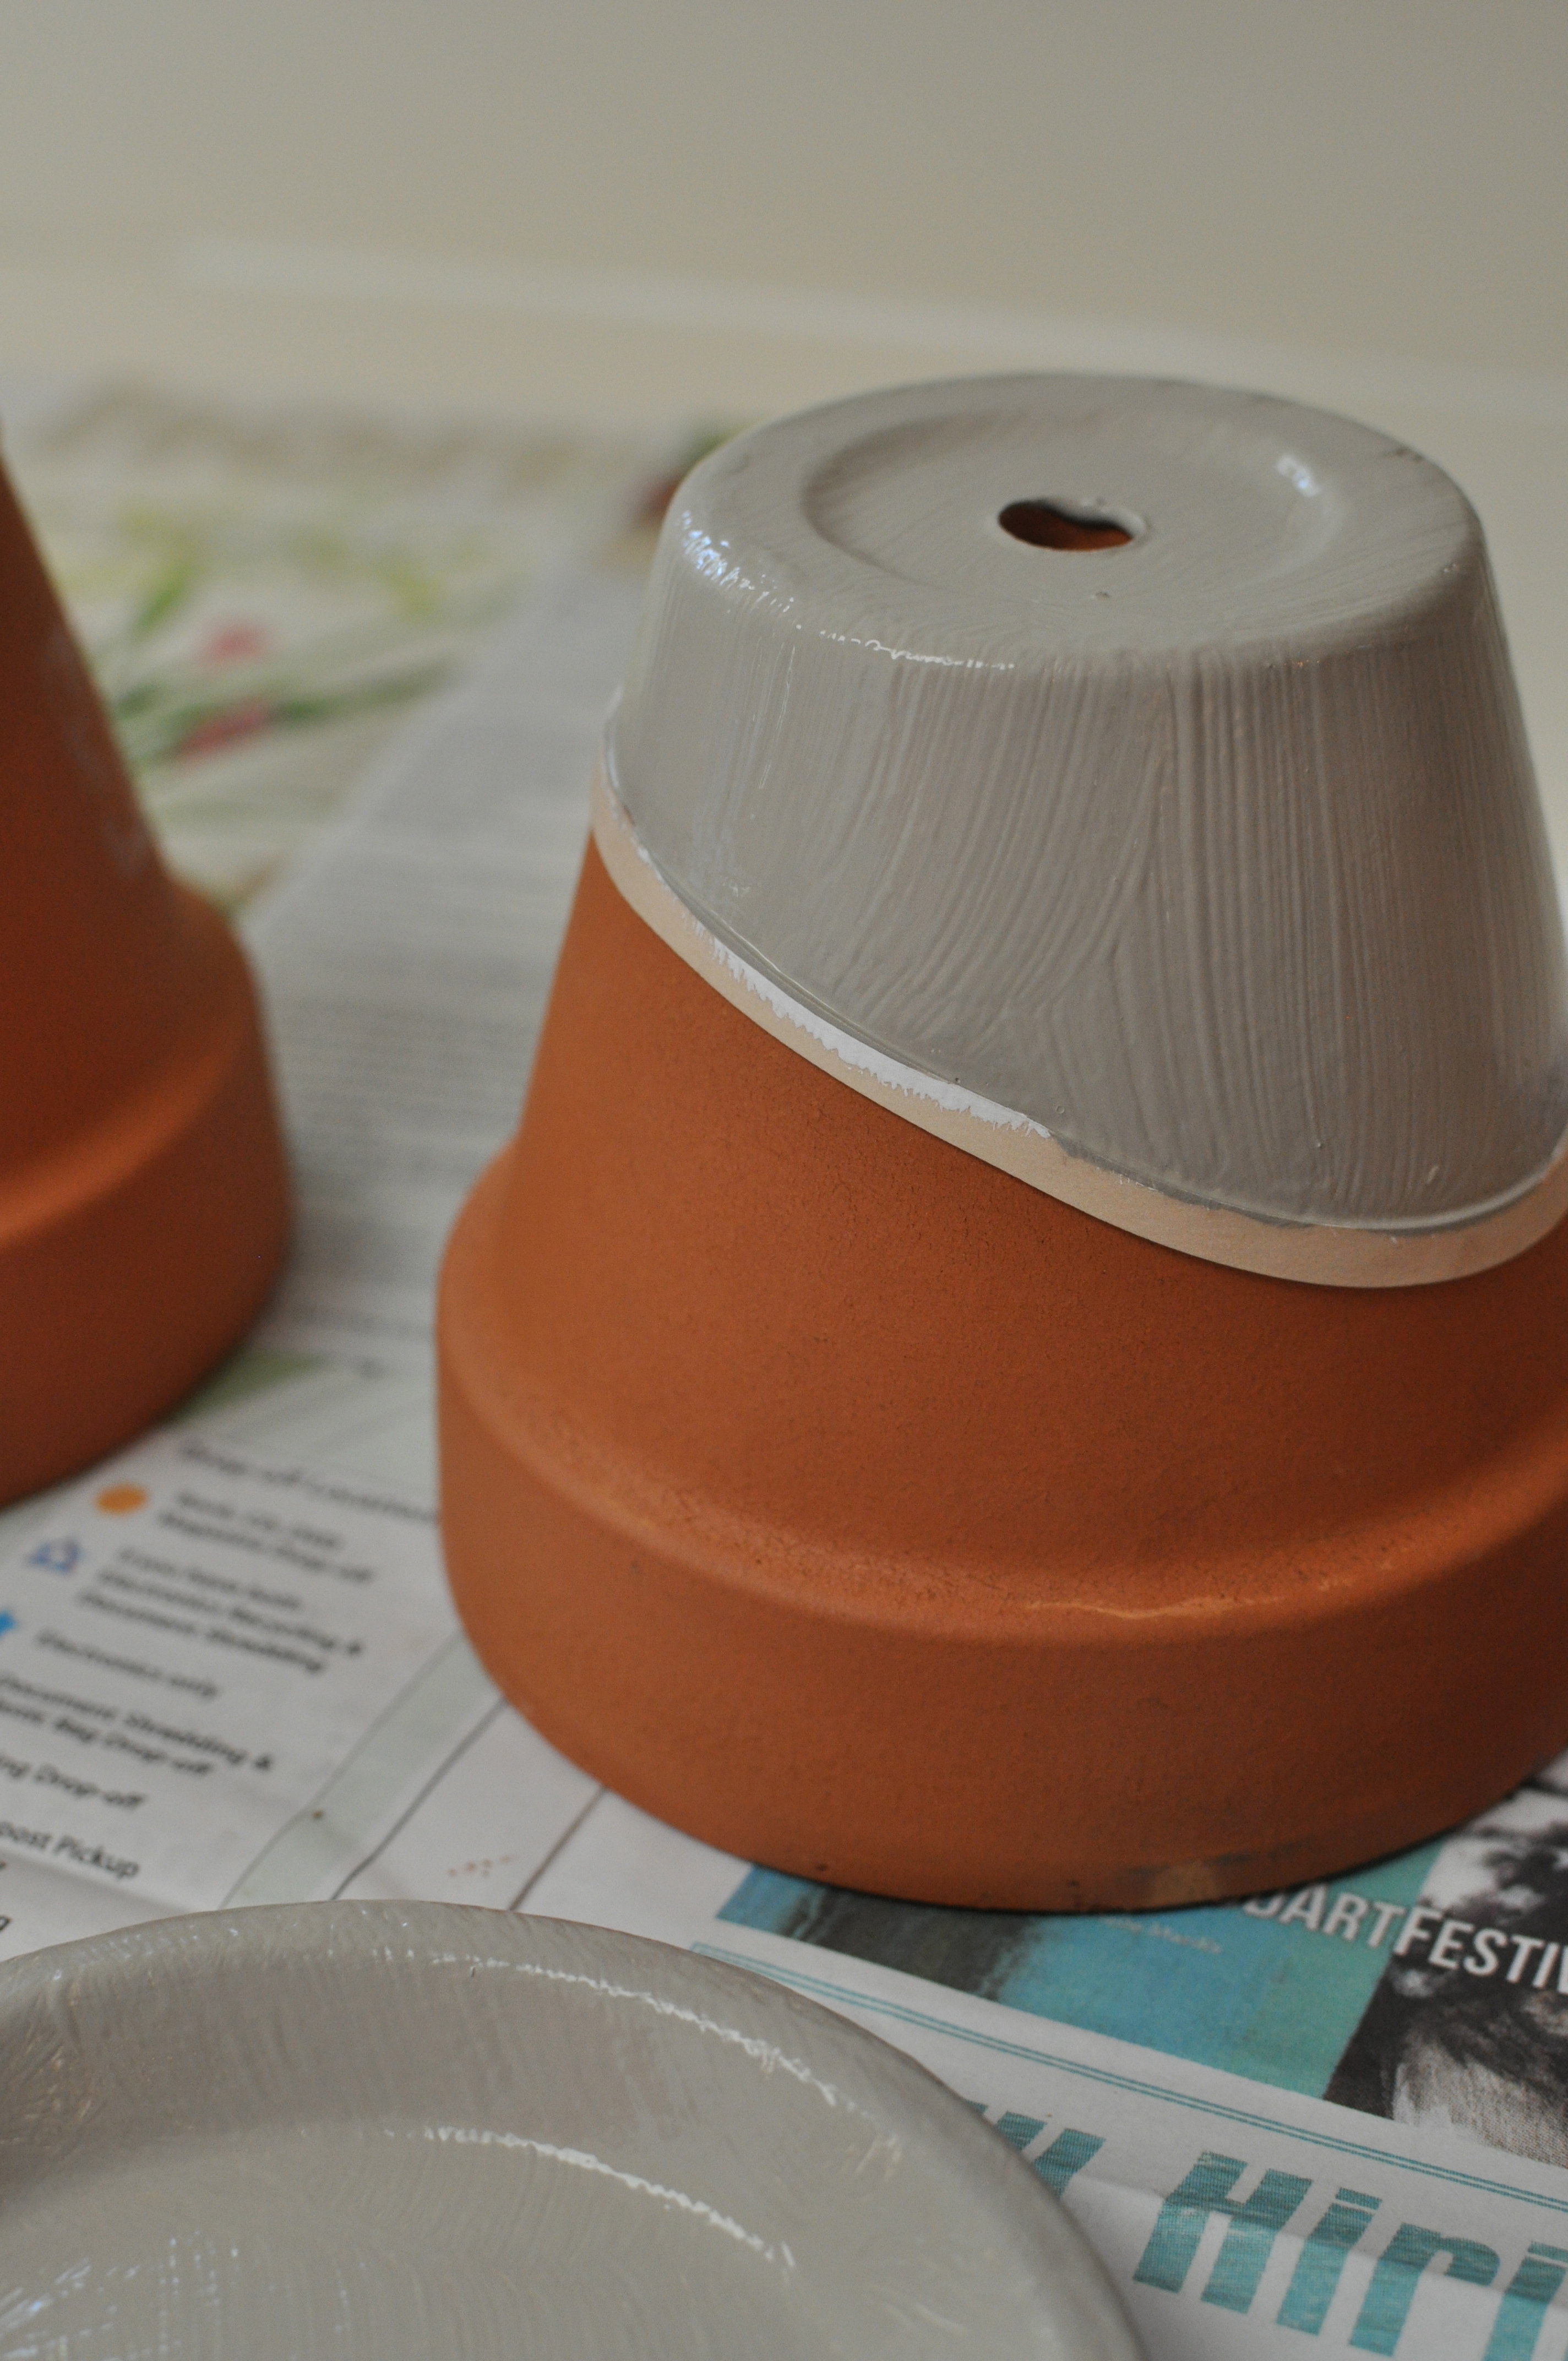
To start, stretch a rubber band around the base of each pot, positioning one side higher than the other to form a smooth curve.

Rubberband

Paint the saucers and the bottom section of each pot and saucer with primer right up to the edge of the rubber band. Let dry.

Primer

Paint each saucer and pot below the rubber band with craft paint. I did two coats of Benjamin Moore rockport grey, not craft paint and it worked well. Let dry.

Rockport

Wrap the top of each pot in aluminum foil, leaving the painted area below the rubber band exposed. Use masking tape to conceal any uncovered terra-cotta between the foil and the rubber band.

tape

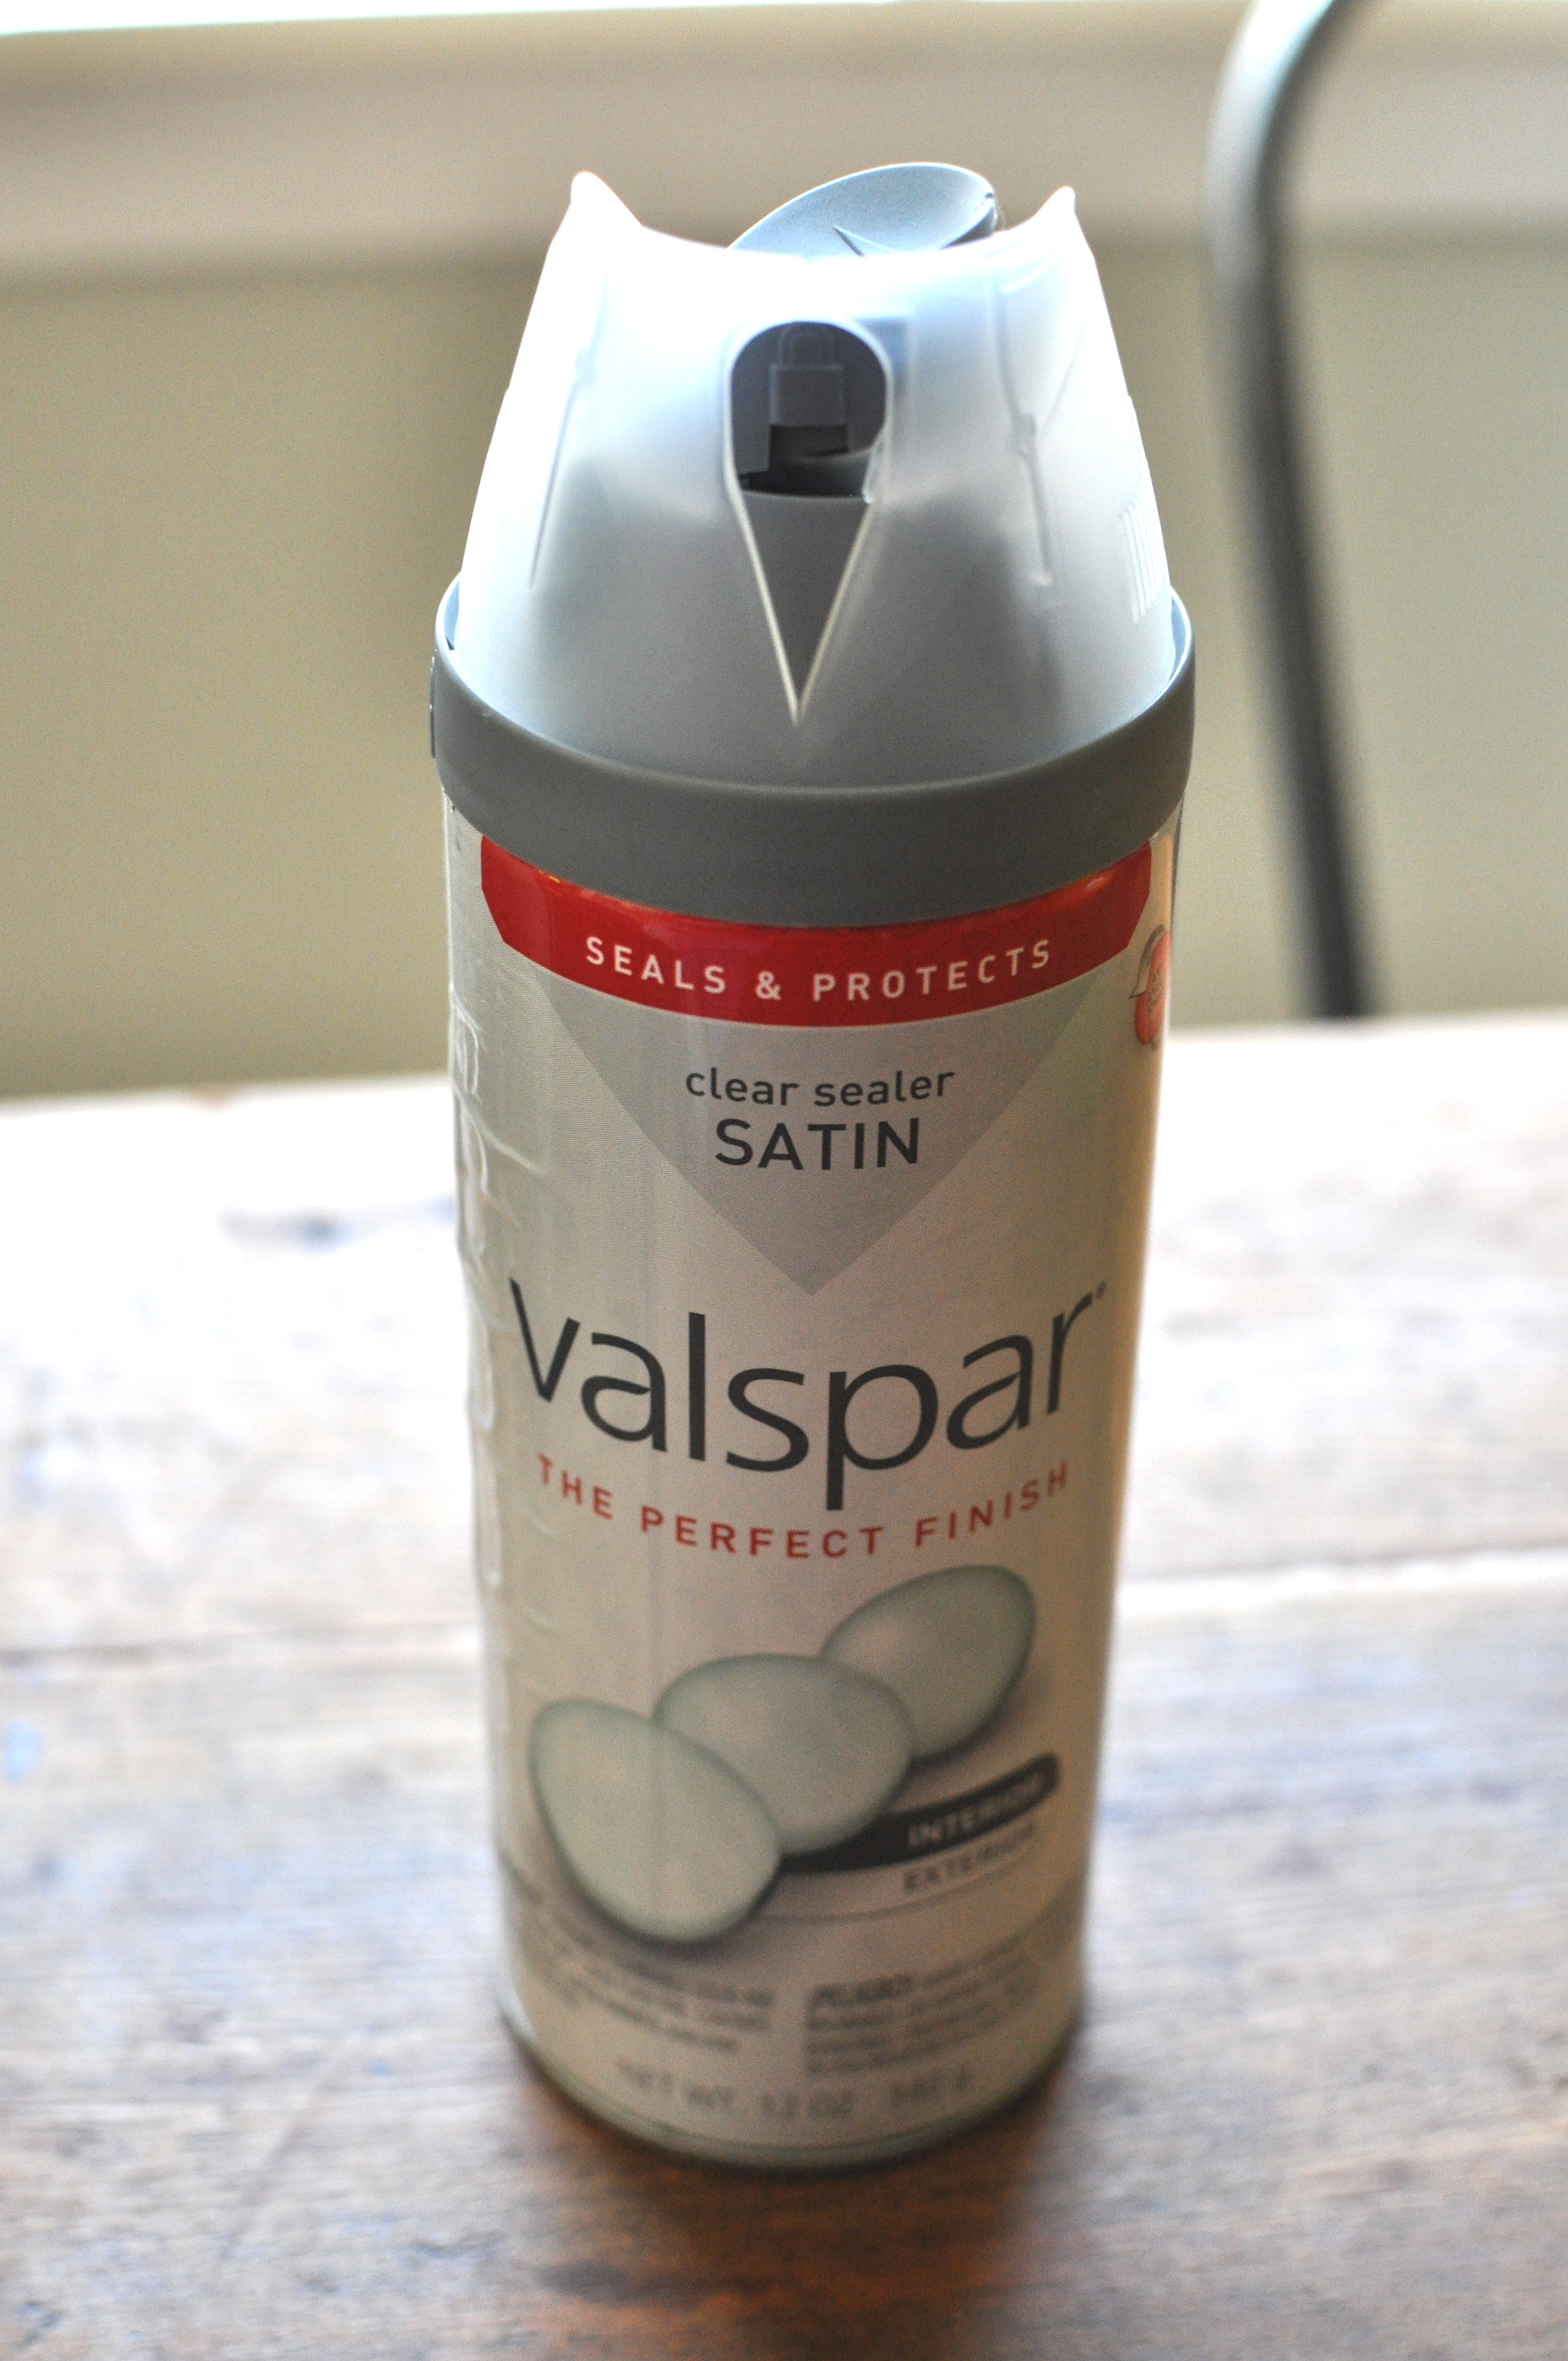
Turn the pots upside down in a well-ventilated area. Following the instructions on the package, apply two or three coats of shellac to the painted portions of the pot and saucer. Let dry. I used Valspar’s clear sealer in satin which worked great!

Primer

Use a crafts knife to score the paint along the bottom edge of the rubber band. Cut off rubber band. Then plant your plants! I also got these herb markers which I bought on Etsy, and I’m in love with them!

herb markers

source

She has a variety to choose from and worked with me only wanting three! I highly recommend Paulova Ceramics! She has some other fun items like a salt and pepper cups that are on top of my list, too!

Final Herbs

wasabi deviled eggs

Cover Deviled Egg

I’ve been wanting to make deviled eggs for quite some time now, they seem so interesting and diverse. When Real Simple devoted a whole article about these little devils, I knew I had to try them. I decided on the wasabi variety, because the husband and I cannot get enough of the wasabi goodness. We love it anywhere we can get it; sushi especially. And Trader Joe’s even has this amazing trail mix with wasabi in it. Yum. You need to try it!

Wasabi WOW!

I digress, back to deviled eggs. This is a simple recipe and went over really well with even the semi-fans of wasabi! Enjoy!

Recipe

Ingredients

  • 6 large eggs
  • 1 to 2 tablespoons wasabi paste
  • 1 teaspoon fresh lemon juice
  • 1 teaspoon dijon mustard
  • kosher sat and black pepper
  • 1 teaspoon black sesame seeds (optional)

Place the eggs in a large saucepan and add enough cold water to cover 1 inch. Bring to a boil. Remove from heat, cover, and let stand for 12 minutes. Drain the eggs and run under cold water. Or in my case, I just used a couple hard boiled eggs I already had in the refrigerator.

Eggs

Peel the eggs and cut in half lengthwise. Transfer the yolks to a small bowl and mash with the mayonnaise, wasabi paste, lemon juice, mustard, and 1/4 teaspoon each salt and pepper.

Mixture

Spoon the yolk mixture into the egg whites. Sprinkle with sesame seeds or pepper and enjoy! Yum!

Deviled Eggs

colorado

Breck
I have to back up a couple of months and tell you about our fabulous vacation to Colorado. I needed to wait a little bit to post because I couldn’t explain why I didn’t actually get to go snowboarding until after our trip. I was 12 weeks pregnant on the trip and my OB strongly discouraged me from snowboarding. As I said in the past, we honestly didn’t think we would get pregnant for awhile, so why worry about booking a trip in January?!? Well it happened.

Even as I was talking to my sister-in-law about the inability to snowboard, she said, “It’s totally worth it!”

I replied “Is it really? I’m going all the way to Colorado and can’t snowboard!?!”

I wasn’t happy about my first trip out west to snowboard, and not actually snowboarding. It was really hard. There might have been tears. Instead, I made the best of it by scheduling all my OB appointments, catching up on reading, scheduling massages, manicures, and pedicures, and shopping in town. Plus, the hubs stayed in two days, so I wouldn’t lose my mind. It helped a lot. The weather wasn’t the greatest that weekend (-8 degrees during the day and -12 at night), so I was okay with staying in.Downtown BreckLuckily, the hubs found a fabulous cabin for me to nest in while everyone was skiing and snowboarding. It was SO cute and cozy, and we had great nights and mornings sitting by the fire.
Breck HouseWe did have a couple adventures with our Texas drivers in snow! It was pretty funny to watch and interesting to try to coach them through the icy hills, until Paul and I had to take the wheel and show them how it was done. One night (without the hubs and I), they resorted to leaving the vehicle and making the trek up the mountain to our cabin by foot. They were not excited about the climb when they came in and apparently neither were the people who owned the house where they left the car. When Paul and I went to get the car that next morning, we were greeted with this. Ha ha.
Bad SpotBreckenridge was a wonderful location for both skiers and snowboarders… and pregnant snowboarders. Our favorite places to eat that week were Fatty’s and Ollie’s. Ollie’s has their own bloody mary mix which was wonderful, which I got with extra pickles; this prego was in heaven.
Breck Eats & PeepsEven though I didn’t go snowboarding, I’m still counting it on my 33 before I’m 33 list. I hope next time I go, I’ll actually be able to snowboard, and I can’t wait for the day we have our little bambino in a snowsuit racing down the mountain!

Happy Travels to all!

let there be light

Pouf and Fixture

The father-in-law was here, the father-in-law was here! Easter weekend was spent with my in-laws at our house. They were nice enough to fly down for the extended weekend and help us with some house projects!

In Action

The husband and my father-in-law spent time switching out FOUR fixtures, two receptacles, and fixed a toilet! It was so motivating to have them here; it made me want to do even more!

The first fixture in the dining room was probably the hardest. They had to head up to the attic because I wanted them to place a fixture directly above the dining table and get rid of the center chandelier in the middle of the room. Now the space serves as both a living room and dining room instead of one big dining room. Below you can see the old chandelier in the middle of the room, reflected in the mirror.

Full Dining

I chose a 3-jar chandelier I got from West Elm (go figure). It worked perfect in the space. It doesn’t look too formal for the table, and I’m so pleased with the size!

Dining Room After Fixture

Dining Side view - Fixture

Then, the pair moved on to the kitchen. In our little kitchen nook, there was a big ceiling fan, which was nice, but I want the space to have a more structured spot for eating and entertaining. Plus the big ceiling fan wasn’t that aesthetically pleasing.

kitchen light - before

I decided on Ballard‘s Eldridge Pendant. I kept the existing placement of the electrical box (the guys were happy about that) but had them swing the chain to center the light over our little farm table. At first, I was a little nervous I got too big of a fixture for such a small space, but as I look at it daily, it really works with the space.

Kitchen Light

If that wasn’t enough, they moved to the nursery. There was a very dated fan in the nursery that needed to go!! I wanted some sort of chandlier or pendant for this space depending on if it was a girl or a boy. With a boy in my belly, I went with Serena & Lily‘s Birds Nest Hanging Pendant which my father-in-law affectionately called the waste basket. Here’s the before picture of the nursery.

Nursery w:Fan

And the nursery light after! I’m in love with the nursery light, and at night it makes a wonderful design on the ceiling! Again, I was worried about how big it was for the space but it worked perfectly! I absolutely love it! I think it looks a little more boy-oriented and again love the wooden look that accents the wood on the crib and the woods on the dresser!

Nursery Final

Lastly, we used our white kitchen fan to replace the current light in the guest room. The guest room had a fluorescent light in the room from the previous owners who used the space as an office.

guest room - office

All I had to do was clean up the fan, and I bought four new light globes for the fan to make it a little more modern. It felt good to reuse the light and get the old nasty fluorescent out!

Guest Room - Fan

It’s absolutely awesome to have that all off the to do list and all those lights off the ground and in there spots! I’m so thankful no one electrocuted themselves or fell through the ceiling! A big thanks to the husband and father-in-law for your extended efforts and work throughout the weekend!

nursery progress

I feel like we’re ahead of schedule on the nursery, yet we have so much to do!

Luckily, my friend said “seriously, all you really need is a crib (or somewhere to lay him), bouncer seat, diapers, a couple swaddle blankets, and you’re set. The rest is all for you.” Her boy has made it to year one already, so she must know something!

With that, the nursery is coming along. We got the crib, nook mattress, and crib skirt up and ready!
crib skirtThis past weekend, I picked up the dresser from West Elm. I am so thrilled with the different woods. I think it complements the wall color and crib, too. dresserWhen the dresser was assembled, I got excited and dressed it up with a changing table topper and pad, rocking bird, some baby items, and my husband’s bank from when he was a little guy. So cute!
baby gear
I picked out a couple more fabrics (Sarah Watt’s collection) for pillows and had a boppy cover made out of the crib skirt fabric! The husband thinks bear fabric looks girly with the flowers but I think it’s adorable for a pillow!
Fabric

Here’s the light fixture, I found the birds nest hanging lamp on Serena & Lily but bought it on Craigslist for 1/3 of the price. I love craigslist! I can’t wait to see it up! The pouf in the background was a DIY project and will act as the ottoman when I decide on a glider!

Pouf and Fixture

I also bought this giraffe bust from anthropologie! I think he’s so handsome and love paper mache animals, proof here! I just need to figure out where this will go in the space.
giraffe
The nursery looks a little plan but I’m glad we’re making progress! I’ll be back when the new light fixture is up, when I pick out more accessories and maybe have some wall art! This is so fun!

gender specific

Boy Cupcake Cover

This post is a little later than the actual news because we’ve been parading the news to family and friends! But ladies and gentlemen the wait is over. We have a verdict!
It's an Alien

Above is my histotech’s comments after our whole staff ran into the break room to find out what color my cupcakes were for the office! They were blue and green… I bought yellow and white cake mix and mixed in blue food coloring. I figured green was still on the boyish-side but apparently alien or smurf is all anyone could think about! I heart my coworkers!

Unfortunately, with a few tears on my part, we just FaceTimed our families instead of sending them a gender specific cake or cupcakes. Yes, tears. I really wanted to do something more special but understand everyones desire to know *now*. Plus, the proximity of sending something would have taken days and by then one or more of my family members (not saying which ones) would have had a stroke or heart attack. I didn’t want that on my shoulders. Maybe for baby #2.

Our sonogram was pretty awesome and I wanted you all to share in the little bean’s movements … they gave us a CD of the whole thing; below is a tidbit of the video and around 1:29, you can see the technician pointing at an extra appendage on our now known little man. Warning: the kid’s skin at this age is translucent so he can look kinda creepy when he’s looking straight up at us… Then again, I think 3D ultrasounds are creepy, too. Don’t say I didn’t warn you.

The husband and I had a little insight that our bean was a boy. On our 12 week ultrasound the doctor gave us a 95% odds I was carrying a boy, and after the little guy flipped again he said nope, now 98% odds. But it was so much fun seeing him kick and swim around again. We needed this confirmation that our baby was a boy!

Boy Cupcake

I first thought finding out early was kind of selling out or opening our Christmas present early, but I have no regrets. The memory of finding out that day will stick with me forever. The image (half scared/half joy and excitement) when I look over to my husband, as the technician said “it’s a boy!,” was pretty priceless. Plus, a new bond has started with a little boy growing in my belly, and it’s so fun to think of him as a little boy not a just a baby. Even this morning as Otis (our pug) raced off the bed barking, the little man in my stomach started to kick frantically. I laughed at the joys this little guy will have with our dogs and what fun times there are ahead for us all.

french workbench

FWB Front View

Some girls want clothes, some want shoes, some want purses… Okay, I like all those things, too, BUT boy have I had my eye on this gem for a LONG time. The husband and I moved to Texas in 2010 and at least one Friday a month I would walk through The Whimsey Shoppe in Dallas and drool over these French workbenches among other things. I always wave to the owner Susan, while sucking on a Tootsie pop she puts out for her customers, and would dream about putting a French workbench into our house. Through the years, I’ve seen a bunch of work benches come and go. Long ones, skinny ones, ones with vices, ones without vices, ones with draws and others without. I love them all for their unique character and charm.

French WorkbenchIt was a usual Saturday with husband, and an unusual stop at Whimsey that brought my dreams home. We walked into the shop; I had already discovered my favorite French workbench a day earlier and showed yet another workbench to the husband. The hubs asked if I really wanted it. I said the usual. Of course! But there are WAY many more things that should take priority. He then said let’s see how much I can negotiate the price. I literally left the scene. I hate negotiations, I get all sweaty and nervous. So, I walked through the shop (grabbing another tootsie pop) and crossed my fingers Susan and the hubs would come to an agreement! Needless to say, Susan knew me well, my love for antiques and her shop. She was willing to work with us… or my husband at this point because I was too nervous to listen. She sliced off a pretty nice chunk so I could be the rightful owner of a French workbench!!!!! I don’t know if it was the excitement built up after three years of looking or pregnancy hormones, but I hugged Susan and fought off tears of excitement. It was delivered that next Monday!!
FWB HomeThis early 1800’s bench comes with more than just that story. It comes from Normandy, France near the shores that were stormed on D-Day. I tend to wonder what this bench has seen in its life. The bloodshed and victory of that day and the hands of the craftsman that worked in the local town. It’s pretty magical.

FWB Close-Up

FWB Side View

I smile ear-to-ear each time I walk into this space, and I don’t think the luster of this purchase will wear off for some time. I know it’s just a material possession, but it’s a pretty neat one…and I hope guests will love it as much as I do.

dining room

Full DiningOur dining room feels a little like a real dining room since the addition of chairs thoughout theses last weeks. I know I talked about a couple of different options in this post and wanted you to see the completed collection.

Side Dining

We matched our bench with the table and went a little different with the high-back West Elm chair in elephant leather. I love them and think they are rather comfortable, too. FYI, if you want anything from West Elm, Crate & Barrel, Pottery Barn, I suggest getting on their email list. They have weekly specials and if you’re patient, your item will come up 15-30% off. I never pay sticker price for these big ticket items.

Table Top 1On the other side of the bench, we found these two Village Grigio side chairs at Crate & Barrel in a clearance section of their floor models. We bought them both with cushions for cheaper than we could buy one chair without a cushion new! I was in. It matched the elephant leather of the West Elm chairs, and if I didn’t like them, I wasn’t all in with a high price tag! Score. Luckily, they worked perfectly.

Table Top 2

The center piece is a collection of old and new things. My white everyday side plates, a french wine bottle from The Whimsey Shoppe, the birds were from an estate sale (my favorite past time), and the table runner is from Pottery Barn which I purchased for $9.00. What can I say, I like love a deal! One of my girlfriends actually got this same table runner as a bridal shower gift the other weekend, and I was in love with it! It’s subtle but works well in the space!

Bench Dining

I think the whole space looks wonderful, and I can’t wait for my father-in-law to come down and help the hubs put a little light on my beautiful subject! I’ll keep you posted!

windows!!

Cover WindowsWe did one of the biggest impact additions to our house to-date! I have to thank my husband for pushing this decision. I wasn’t convinced we needed them. Windows that is. I thought we could live with towels around our windows, the inability to open most of them, and a huge crack in the nursery window. Yes, I’m serious! We have plantation shutters in most of them that doesn’t show a thing, so who cares if you can’t open them? Plus, windows can get pretty, pretty pricey.

With that, we had a home consultation with a couple of companies, talked to neighbors, friends, and family to hear their input and finally pulled the trigger. I was still hesitant with this decision, but we moved forward.

Construction

Because we aren’t sure if we’re going to live in this house forever, we didn’t go with the highest-of-high end windows but also didn’t pick the dirt cheap ones either. We went with Home Depot’s higher end brand Simonton windows which have a life-time warranty. Even if our baby boy’s aim isn’t as good as his father’s or papa’s, we won’t have to pay for a broken window. Pretty nice.

First window in!

Guest Interior Window

We also decided to put panels in the windows that matched our backdoor. I was a complete wreck about this decision, because it added to the cost ($100+/each), and I couldn’t uninstall the windows if I didn’t like them. But I knew any panels were better than none, and it add to a classic rich look that people like, and I love. Plus, it’s a nod to my love for Frank Lloyd Wright and his prairie style.

2nd Window

Interior look

I don’t know if it shows up on these photo (mostly from my phone) but trust me they look beautiful in person. I love being able to turn the thermostat down and open up the whole home on these wonderful spring nights. I thank my husband for pushing this desicion.

Before and After Windows

They are beautiful, and we could not be more pleased with the service and look of our windows!

belly project

Hi Friends! I’m back from my own spring break week of R&R goodness but don’t think I haven’t been thinking about my blog! I’m excited to share with you all the projects I’ve been working on around the house and share my newest milestone of making it to Week 21 in my pregnancy! That’s more than half way! Yay!
6 weeks
When people ask how I’m doing or how my day was, I always respond… Well, besides growing a baby (or making life), I…. It’s fun, makes people laugh, and it’s pretty dang cool to be a woman! Here’s the first half of my belly photos. I’m loving this process. Yes, at times I asked myself is this “baby” growth or my new found love of ice cream and jelly beans; either way I don’t care. All I want is a healthy baby, and I can take care of the details after the birth!
13 weeks
I found it kind of tedious to put on this shirt (which doesn’t do my bump justice), and make the hubs take pictures, so I started snapping pictures in my own gear with or without the hubs! In the picture below, he offered but I said I got it! He he.

15 weeks

15 weeks

17 weeks

17 weeks

19 weeks19 weeks

20 weeks

20 weeks

21 weeks

21 weeks

So, there you have it! My first 21 weeks have been a breeze. A big Thank You to the women in my family before me for the good pregnancy genetics. Here’s to 19 or 20 more weeks! I already have my prediction on the due date! Ha ha.