half bath reveal

DSC_0285

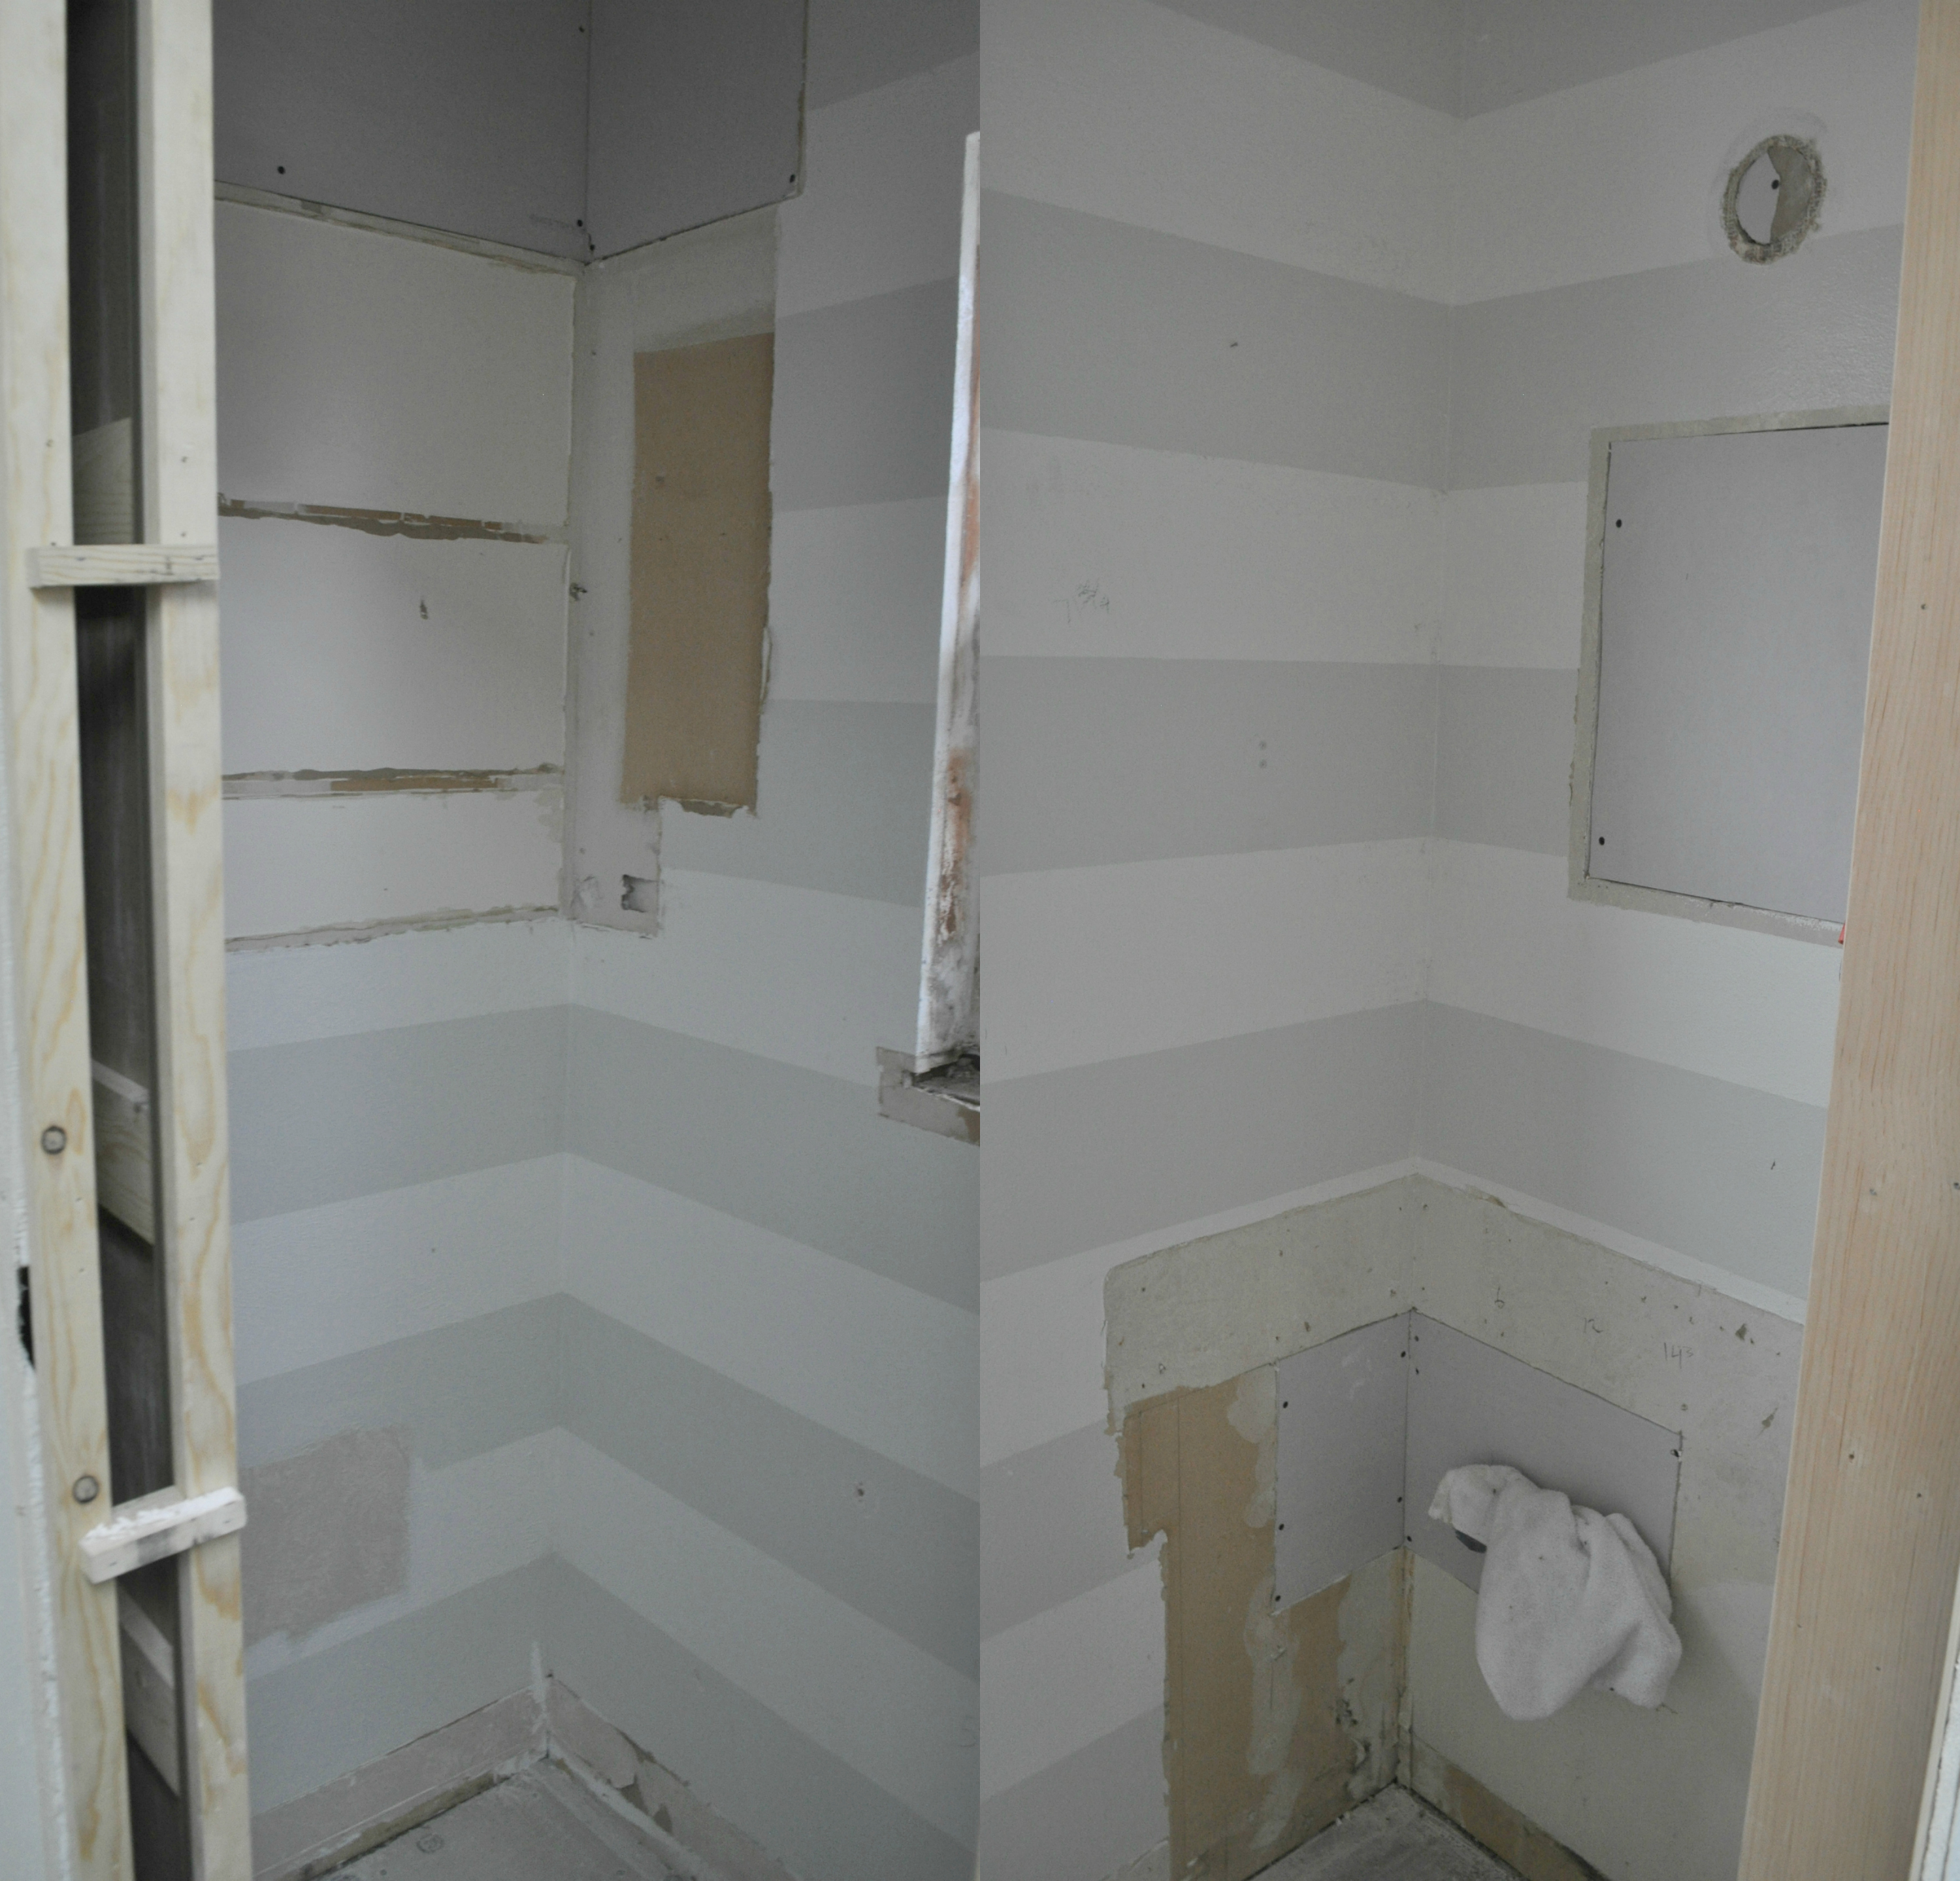
Before our new daughter came into this world, we had another celebration! Our half bath renovation was finished! We had a wonderful contractor, who’s one goal was to finish the bathroom before we had the baby, and he did!!! We couldn’t be more pleased with the space. But first here’s the ugly demo picture!

Half Bath Demo

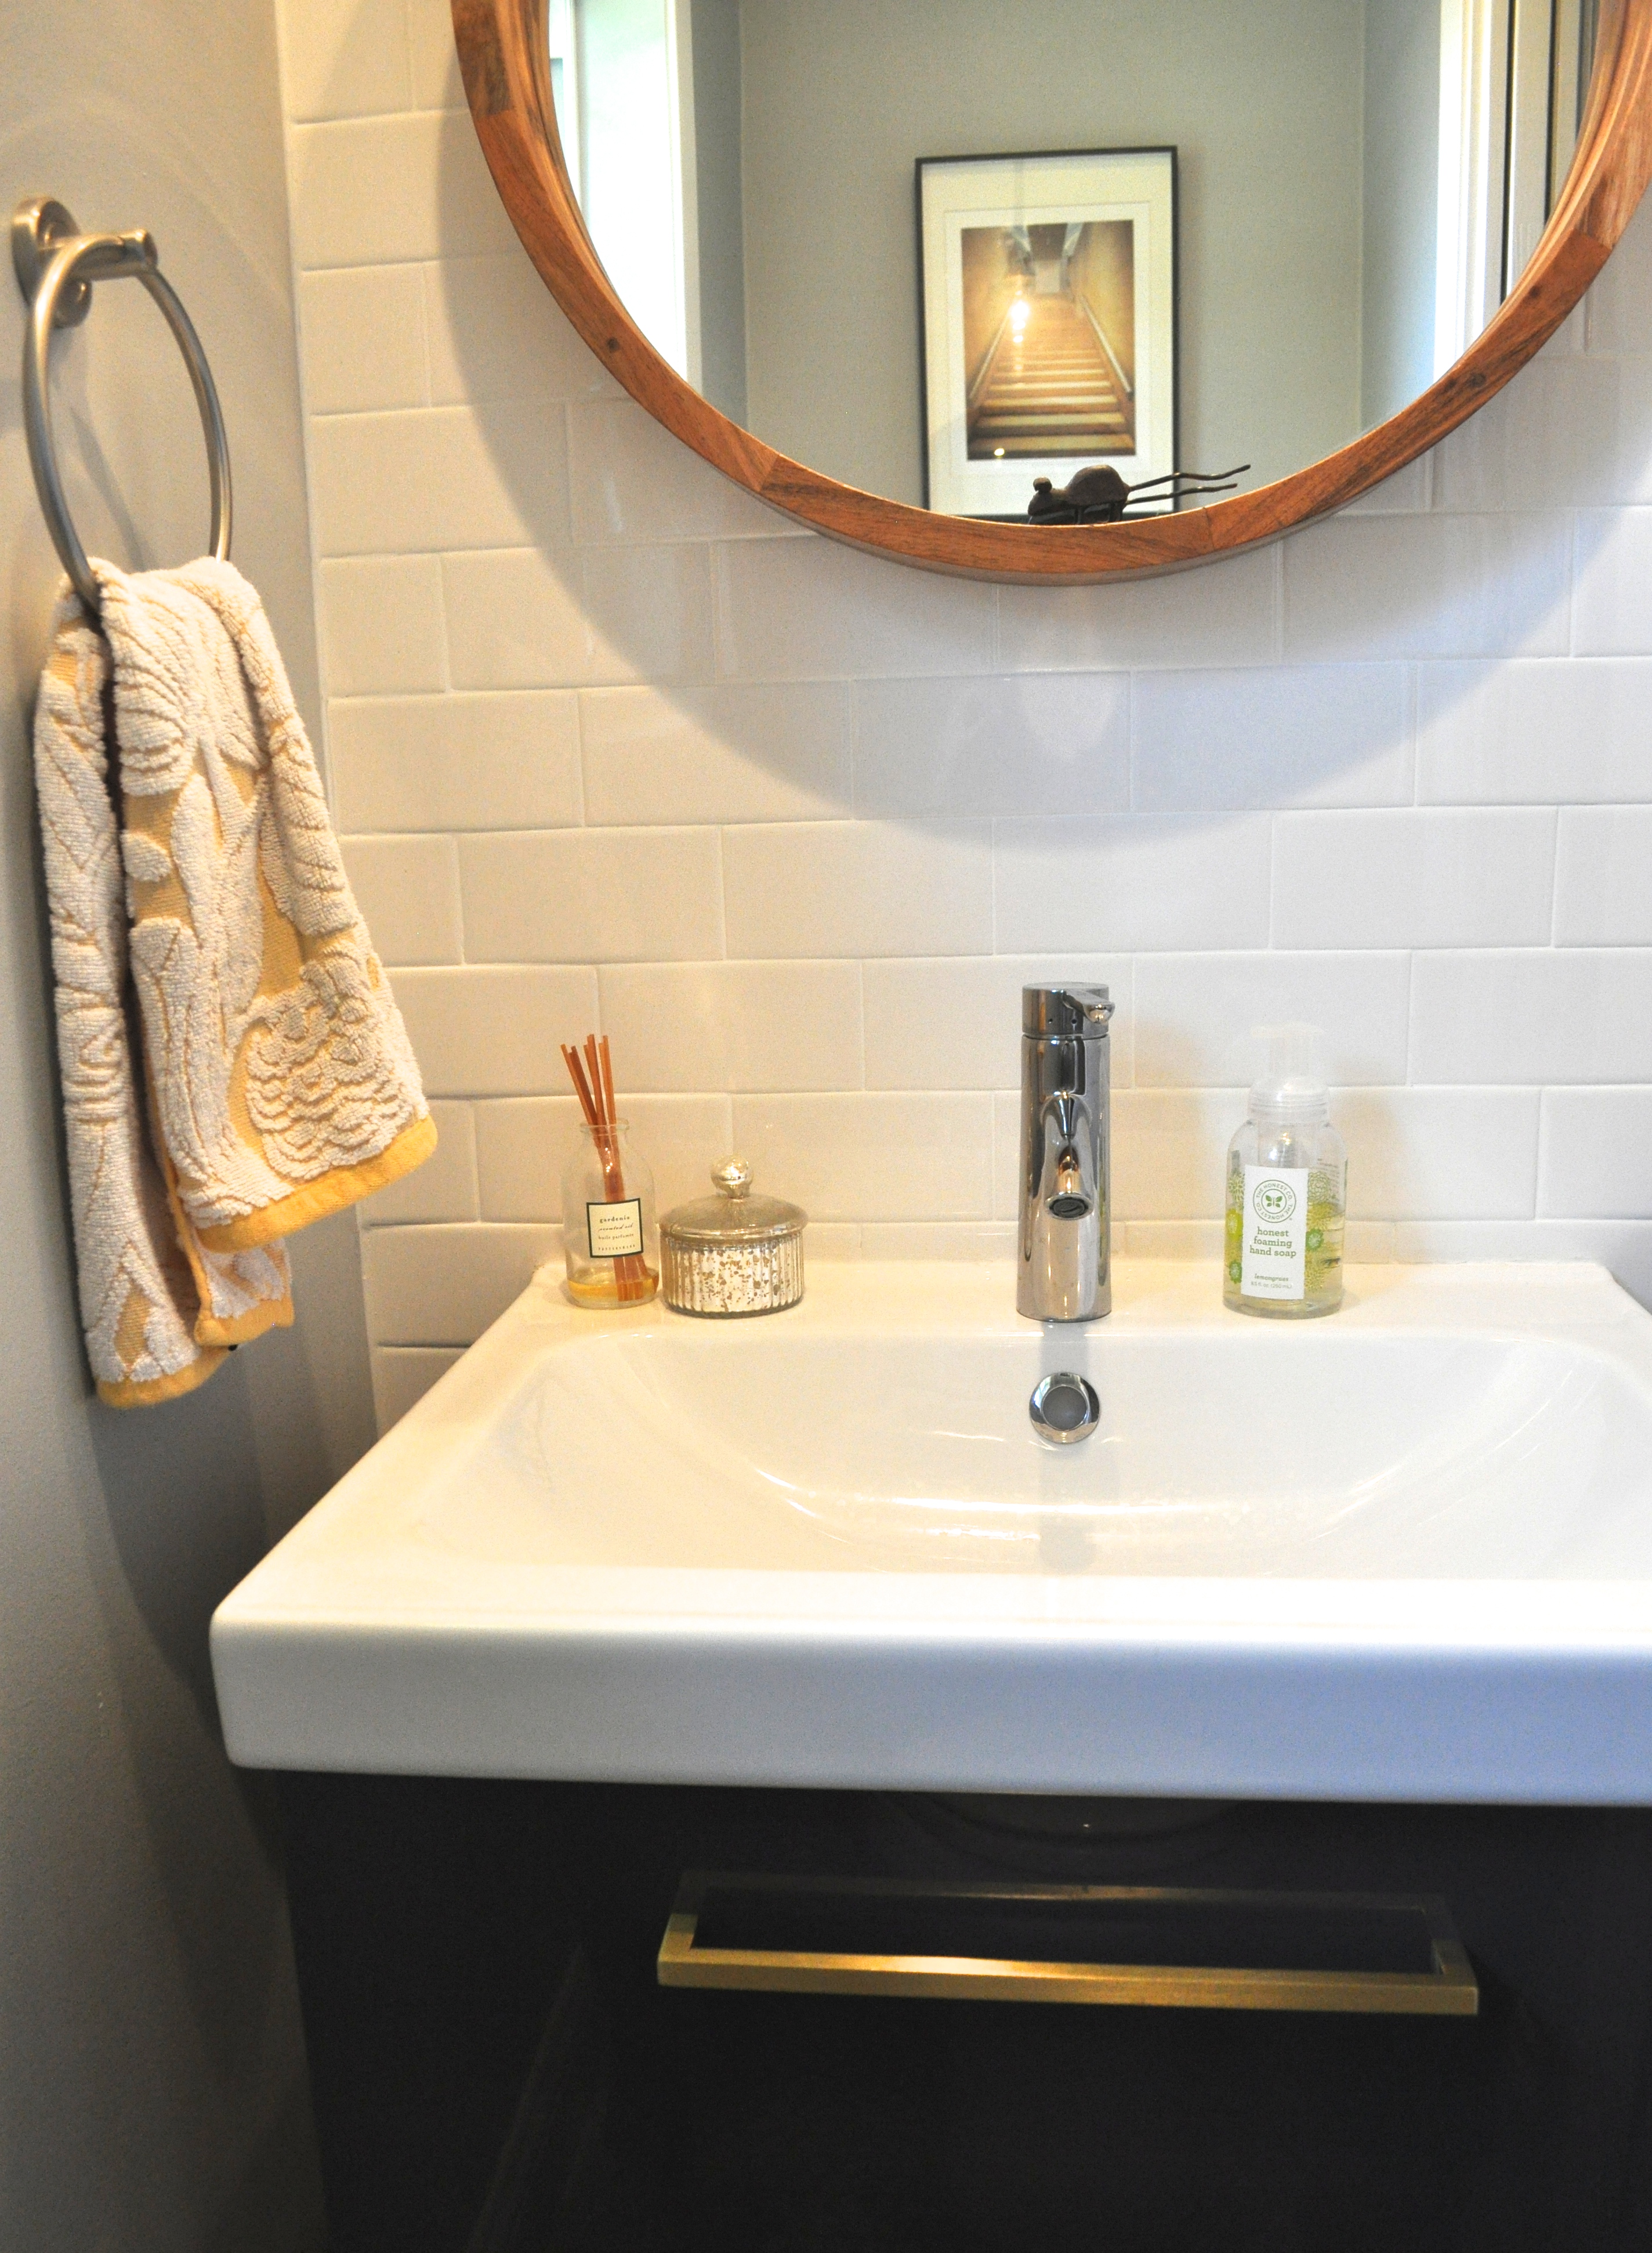
Here’s the room all put back together. We kept the same layout; we took down the cabinet above the toilet to make this teeny-tiny space took a little bigger and replaced the vanity and fixtures. We could not be happier with the tiny space and love the new look!

DSC_0274

We went with a hexagon floor tiles which have a hint of blue and green in them and feel like scales on your toes!

DSC_0267

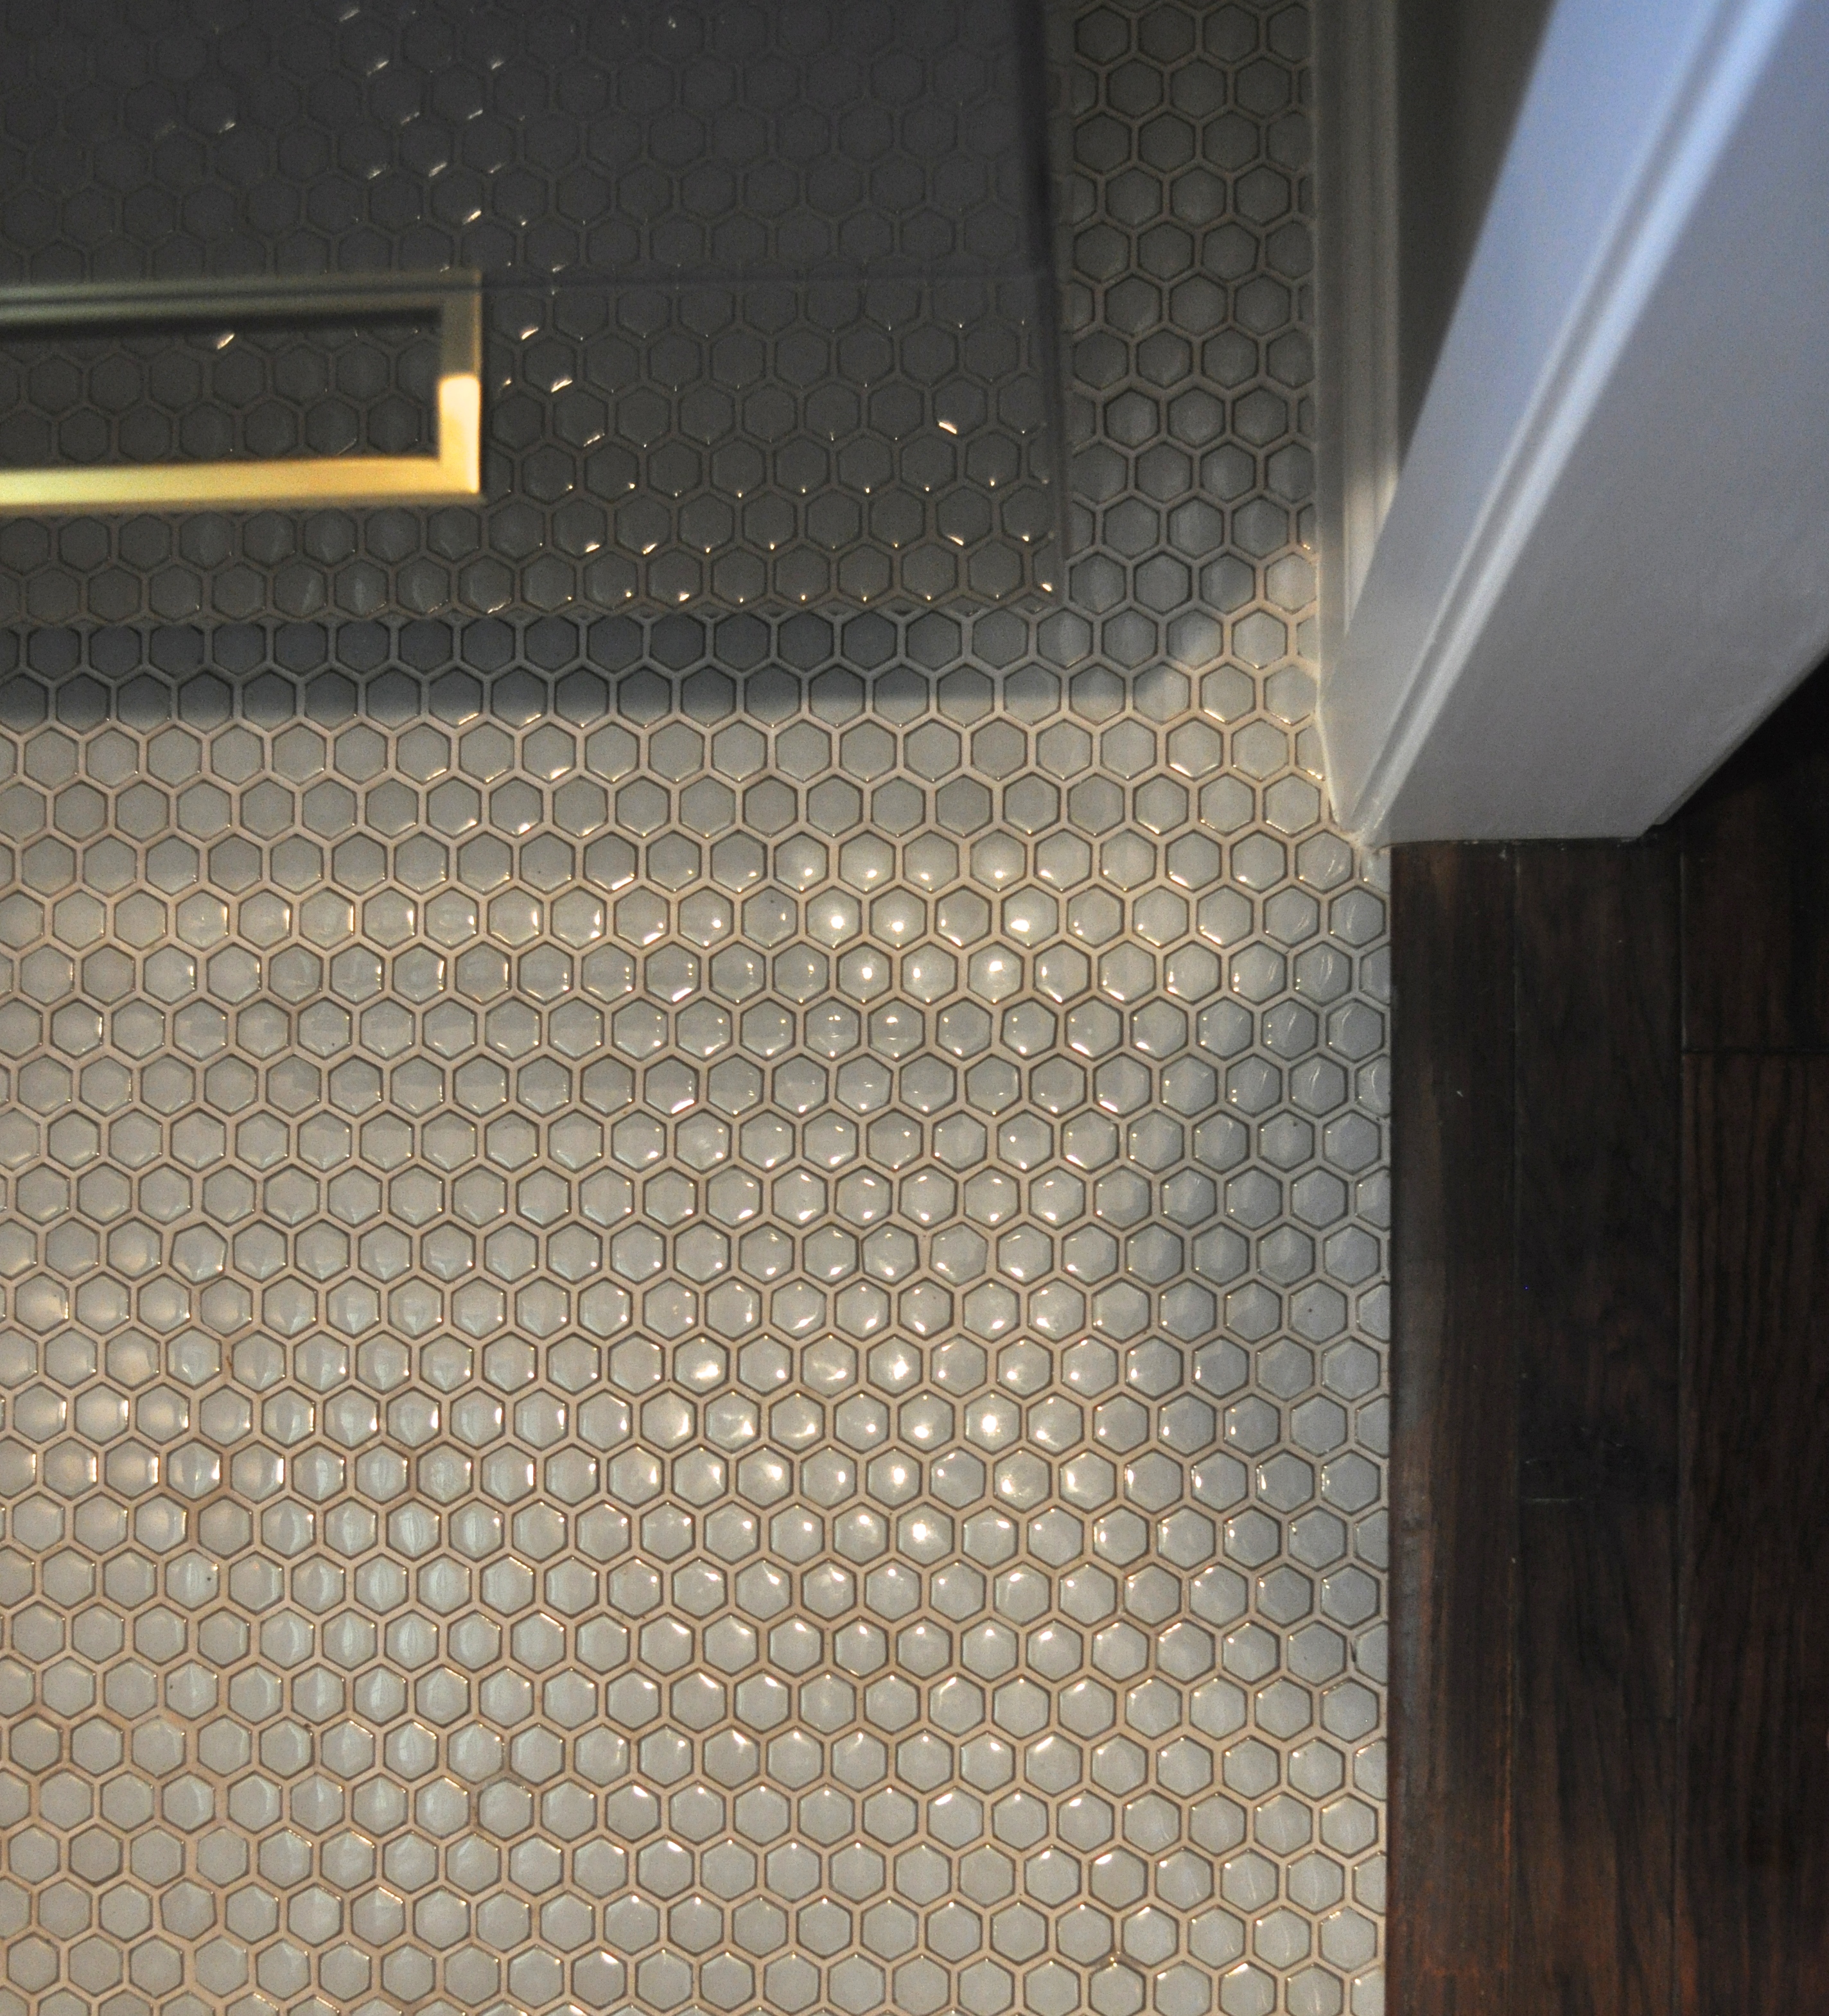
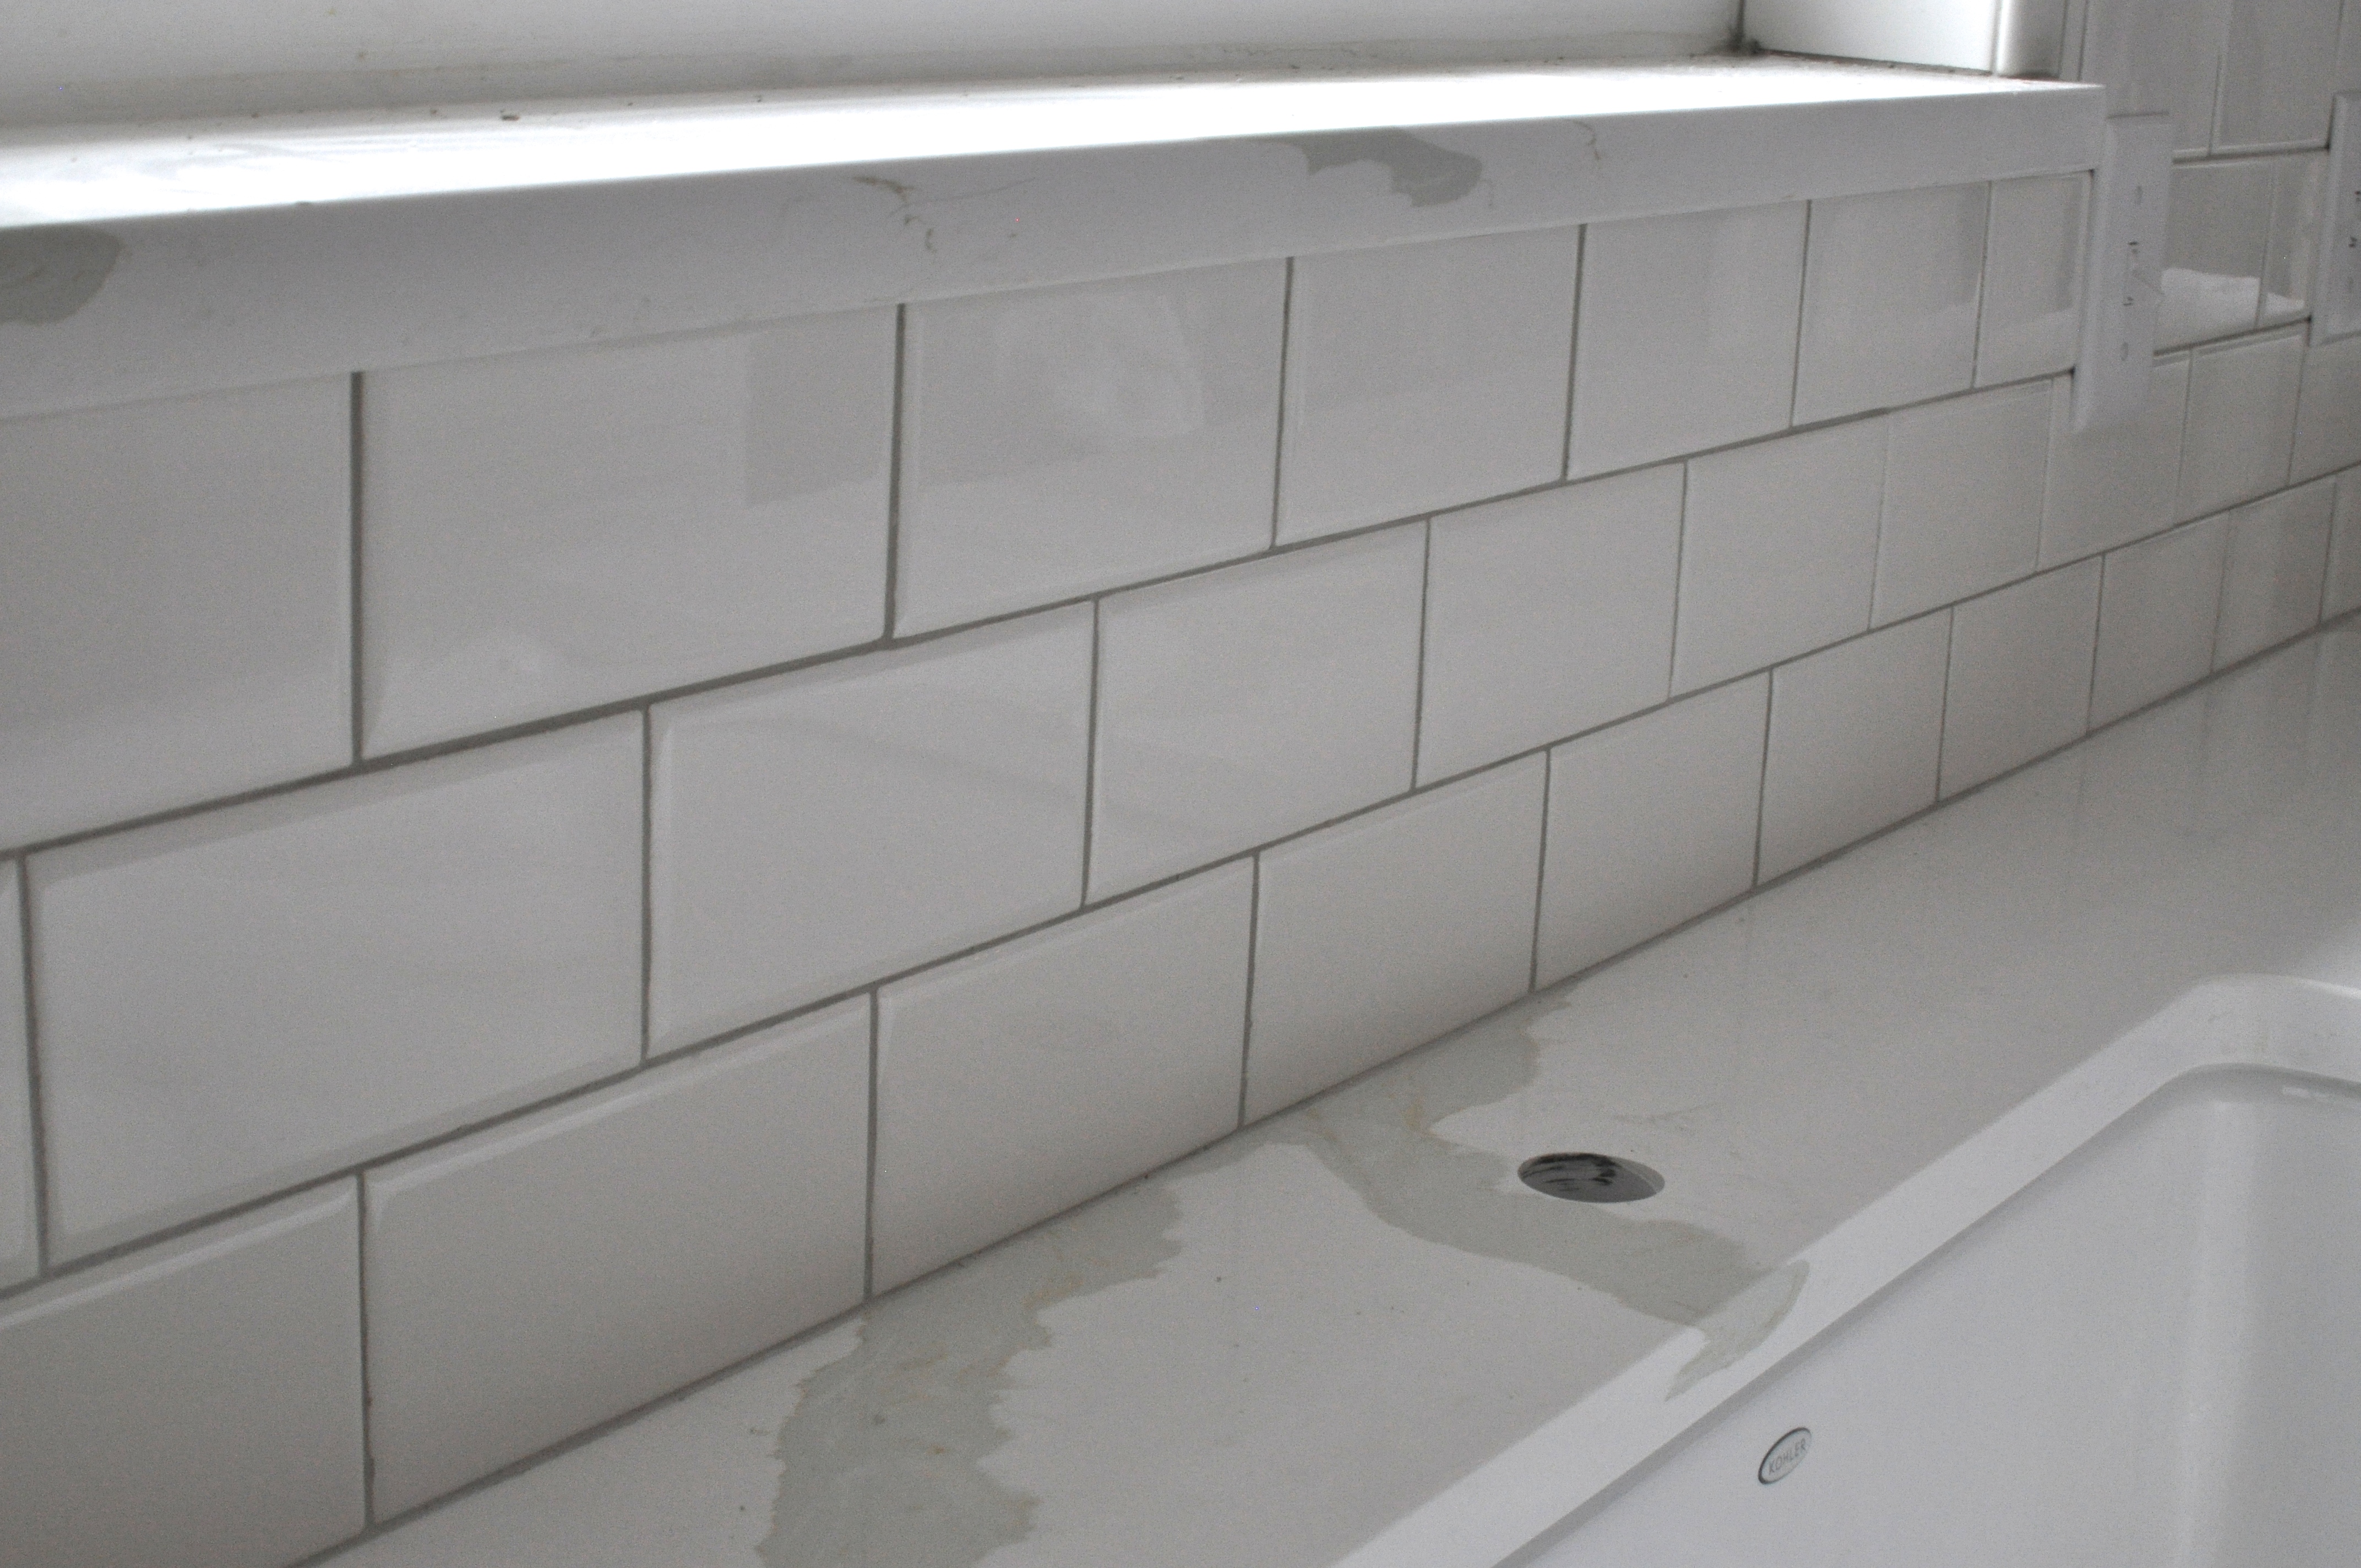
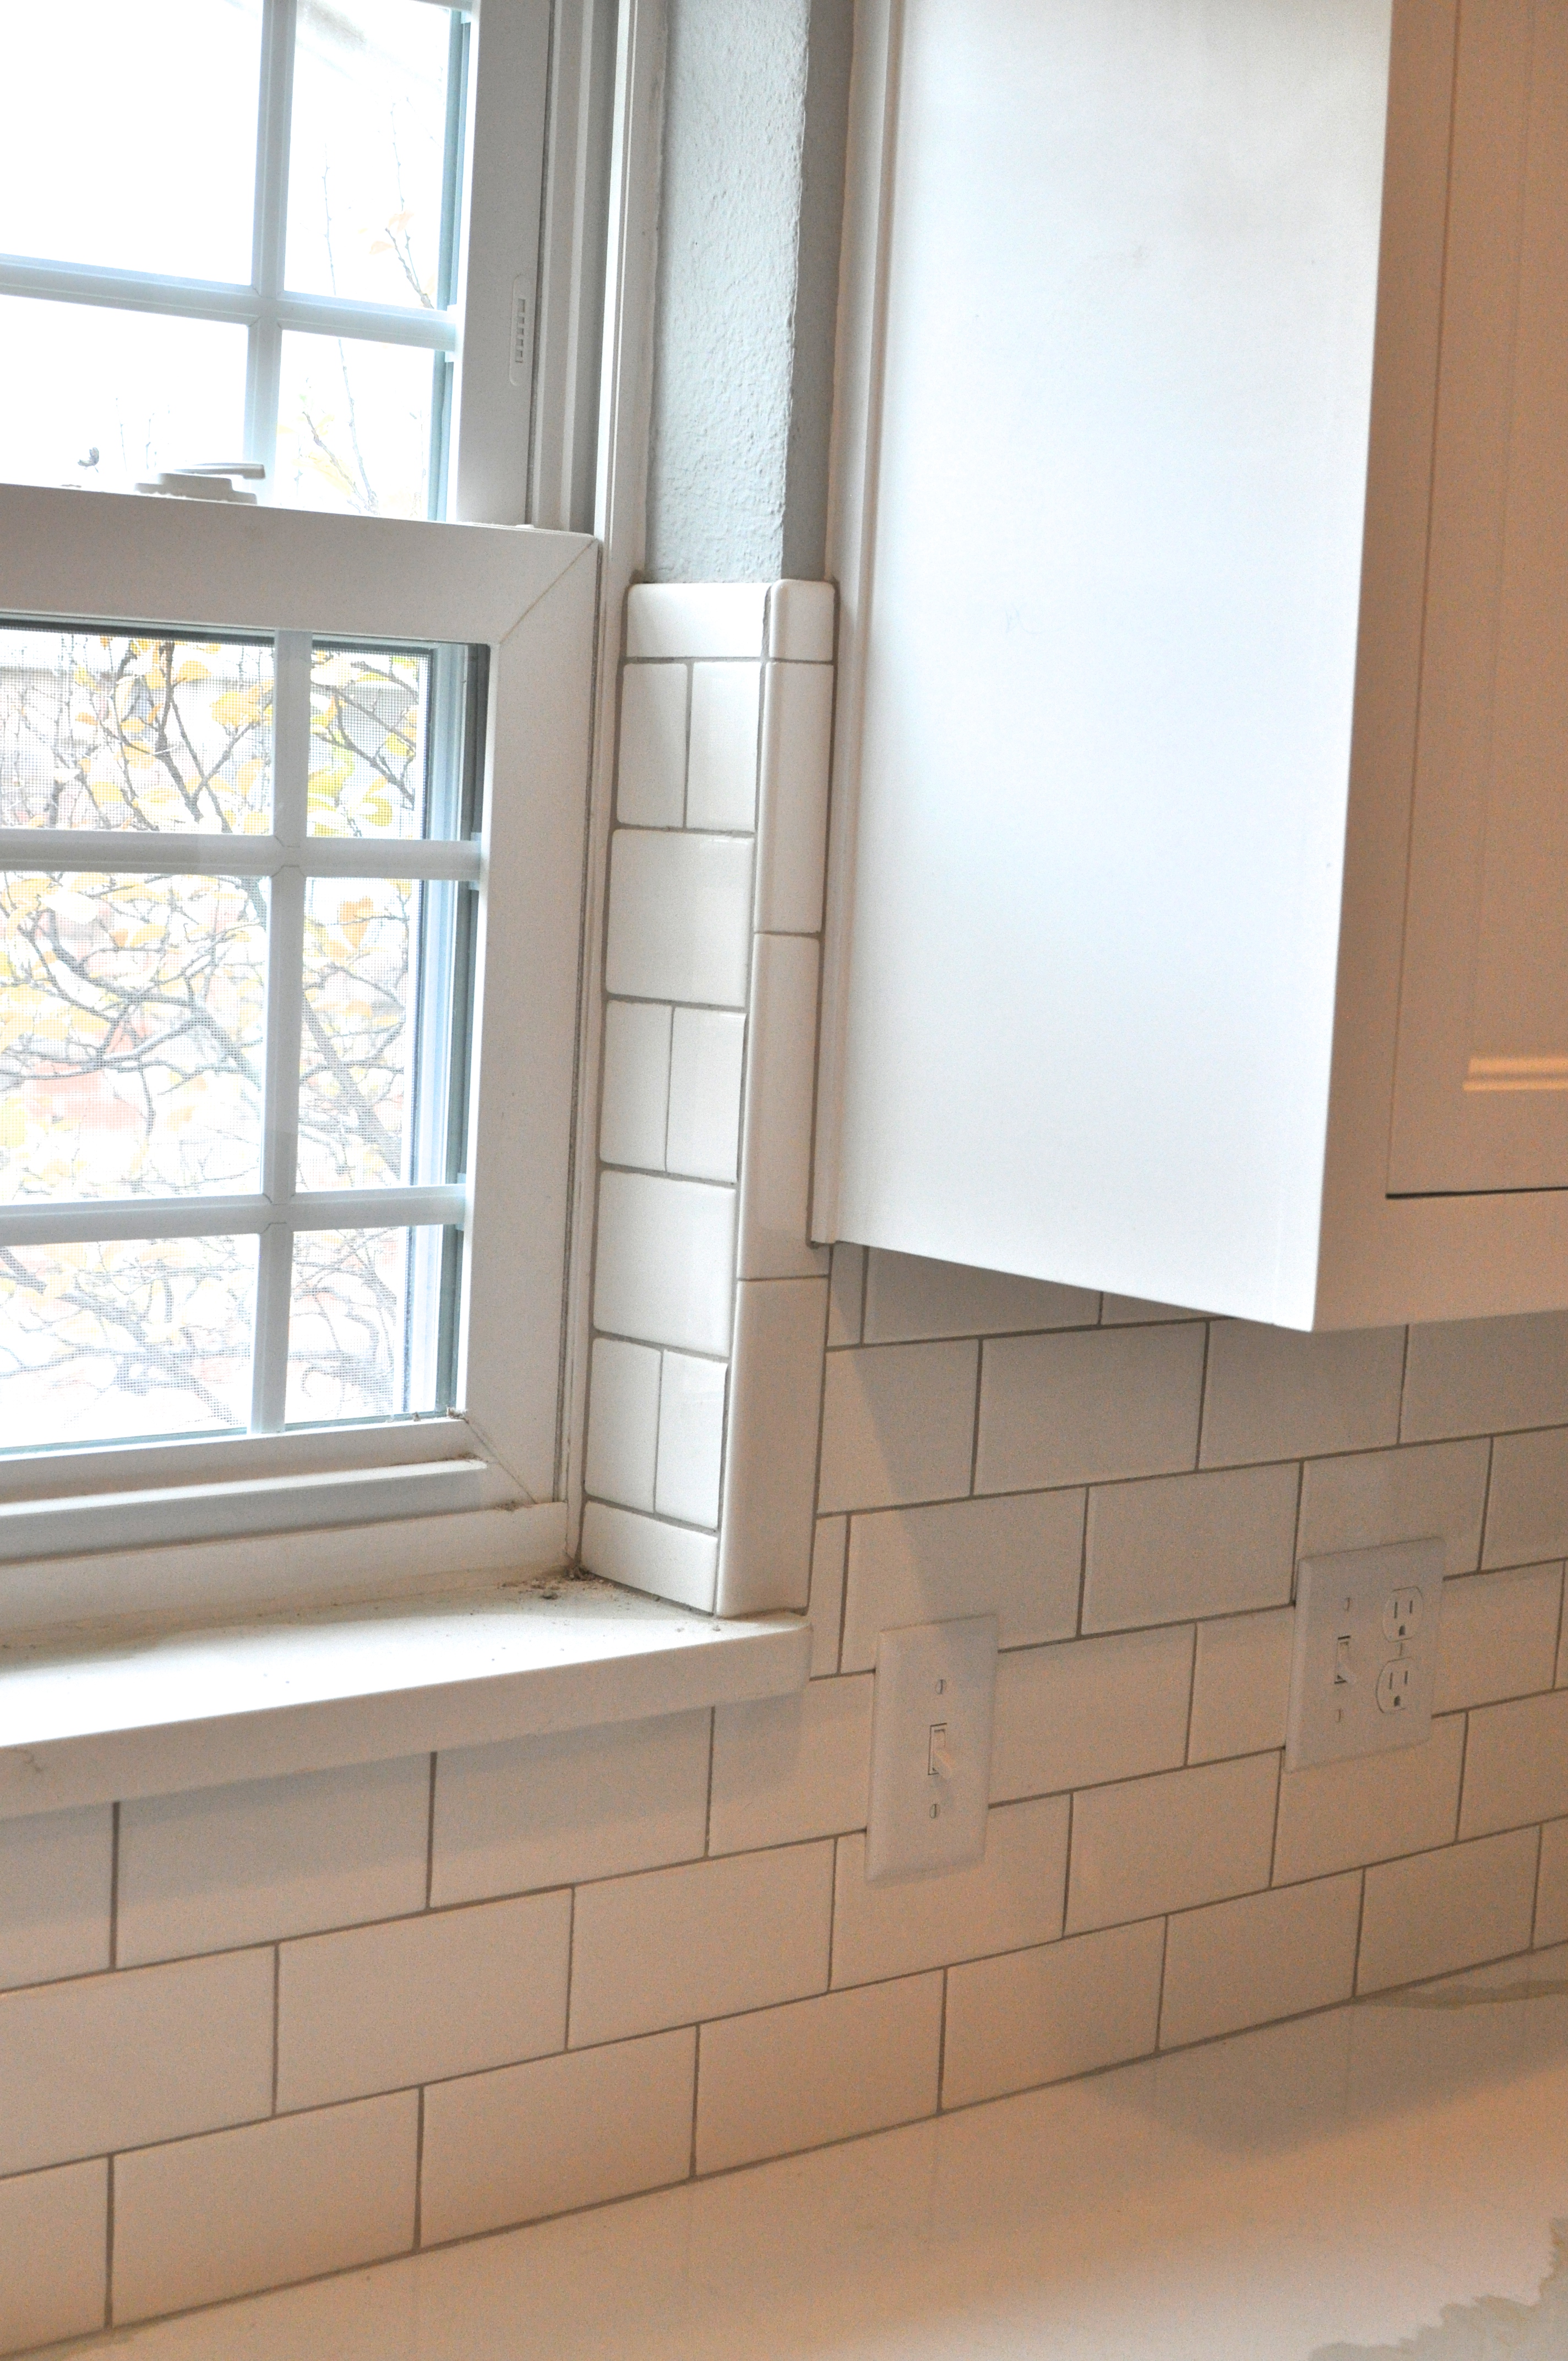
We decided on classic subway tiles up the entire wall behind the sink which acts as a backsplash for any water while washing your hands or face. With a toddler, splashing happens often. We extended the tiles from floor to ceiling for a more dramatic look. I wasn’t sure if one wall would look weird, but I think it turned out really well!

DSC_0277

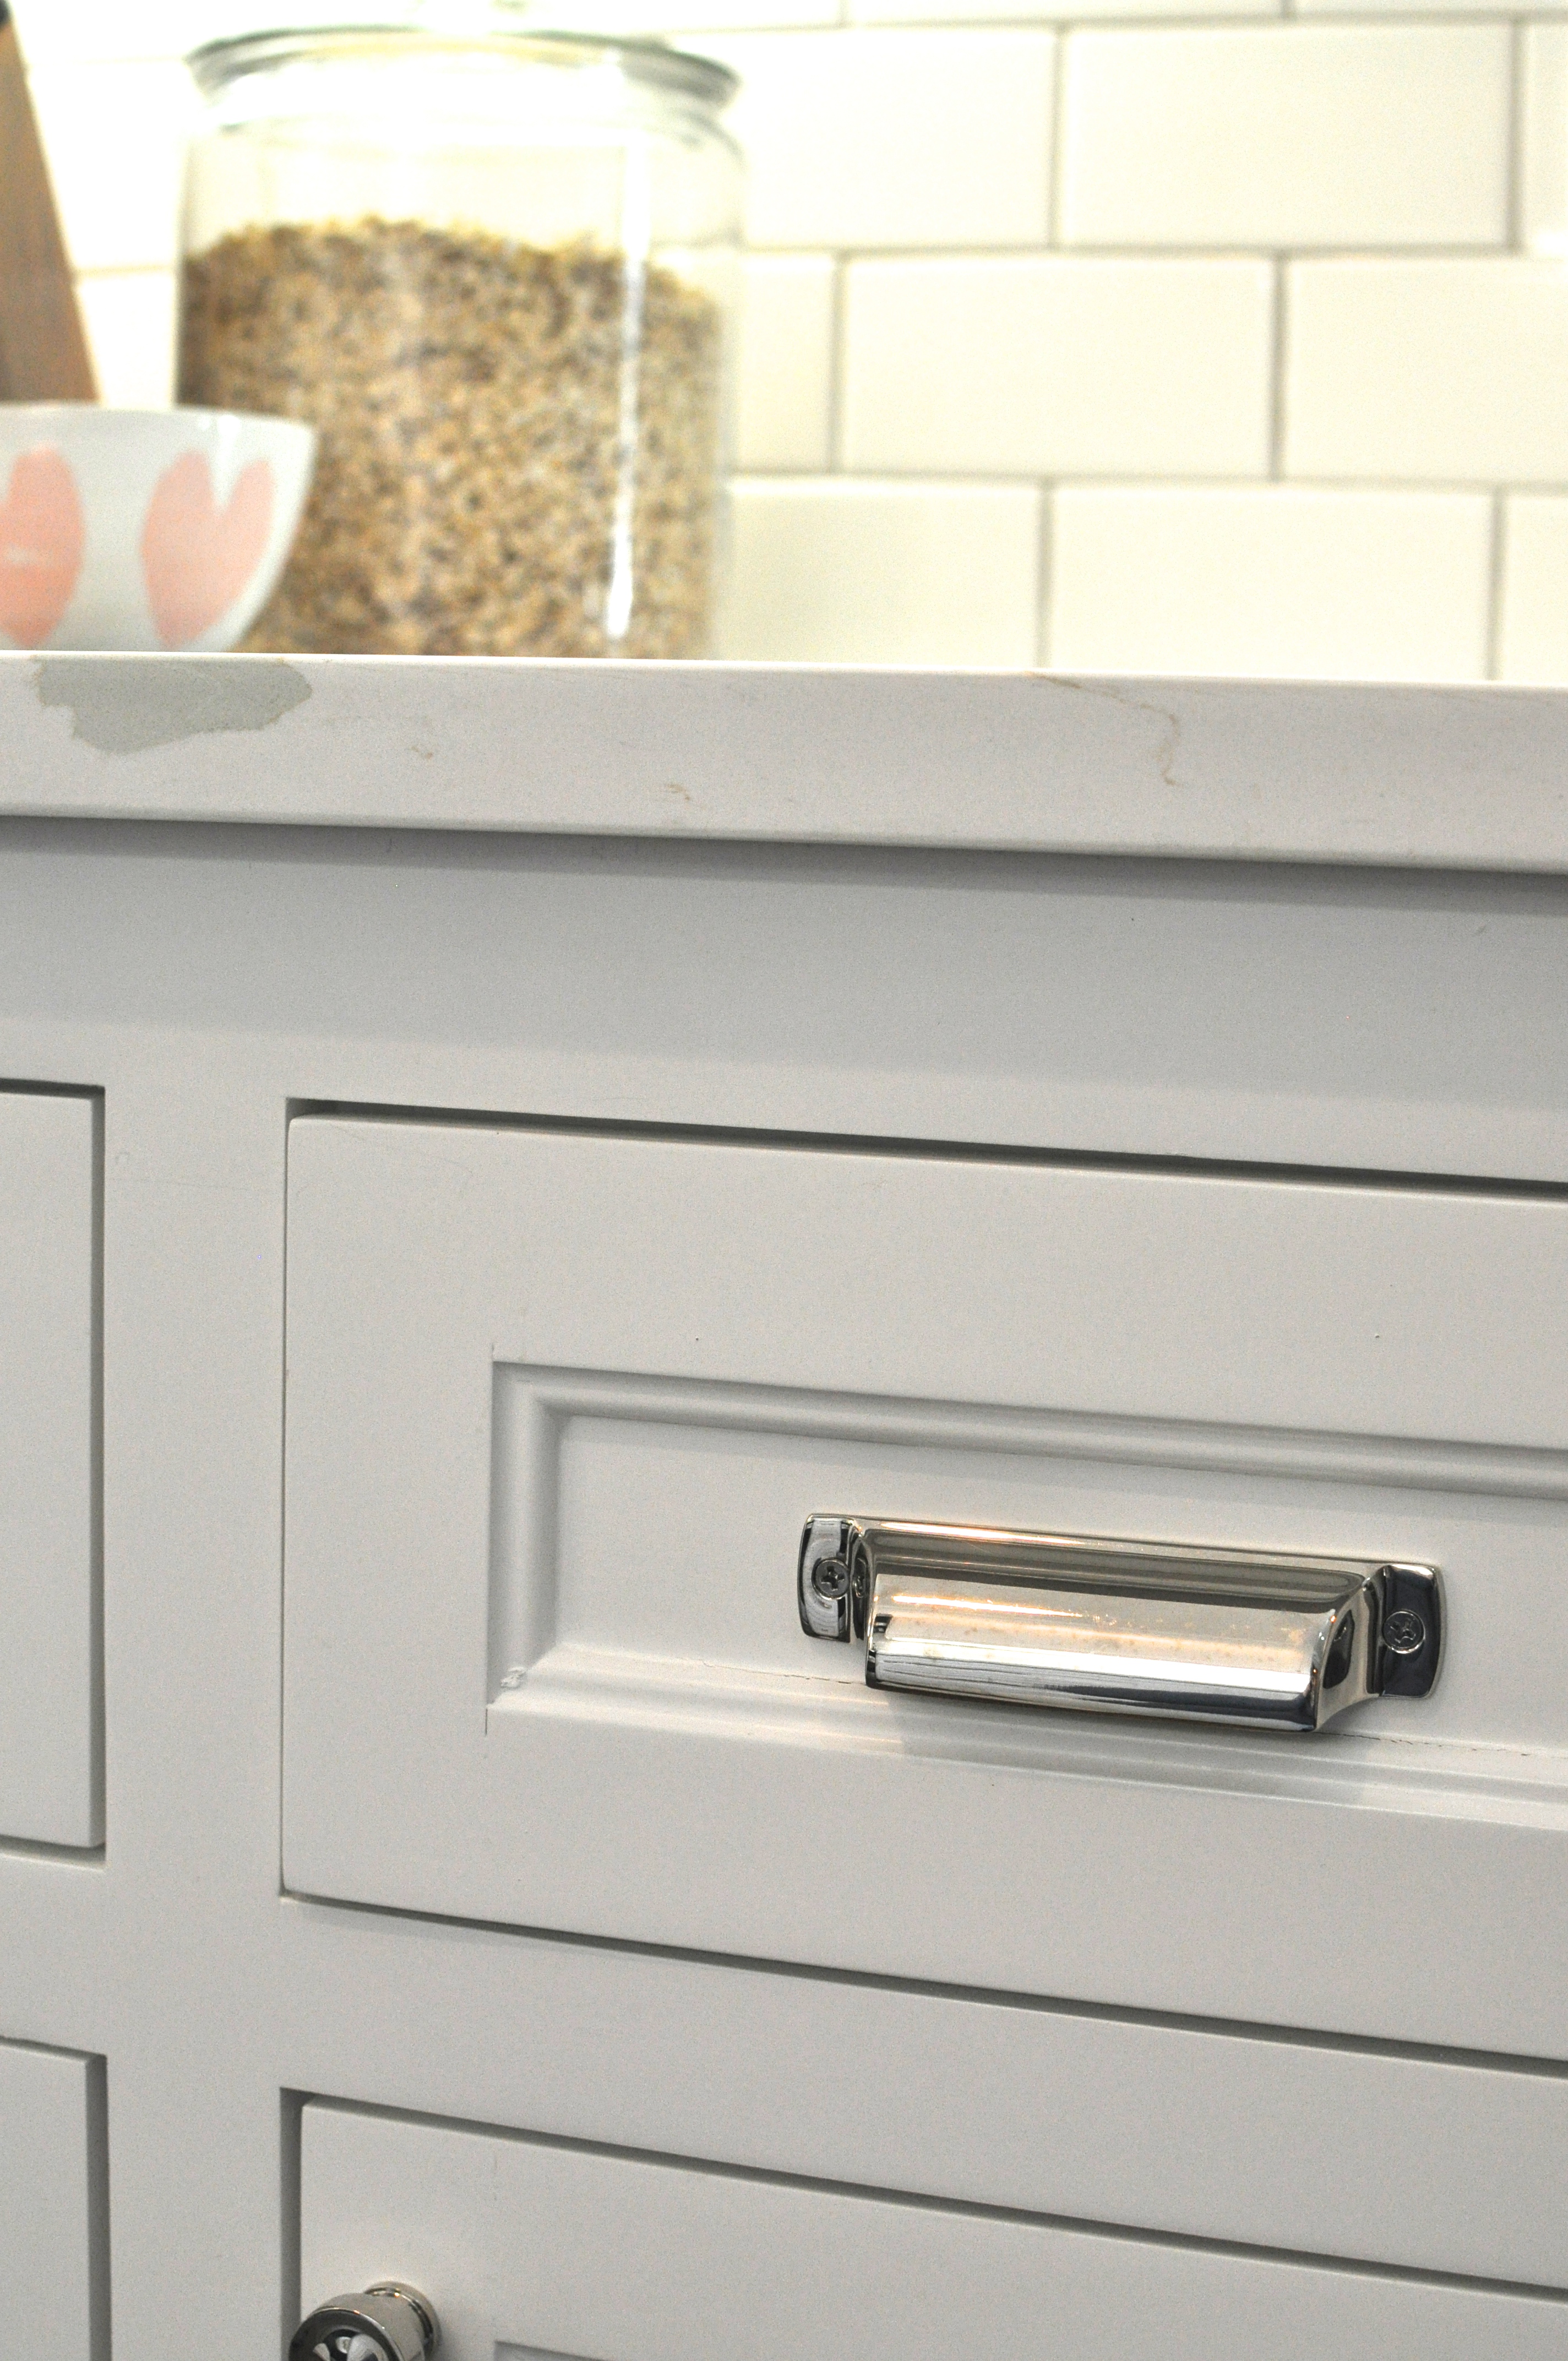
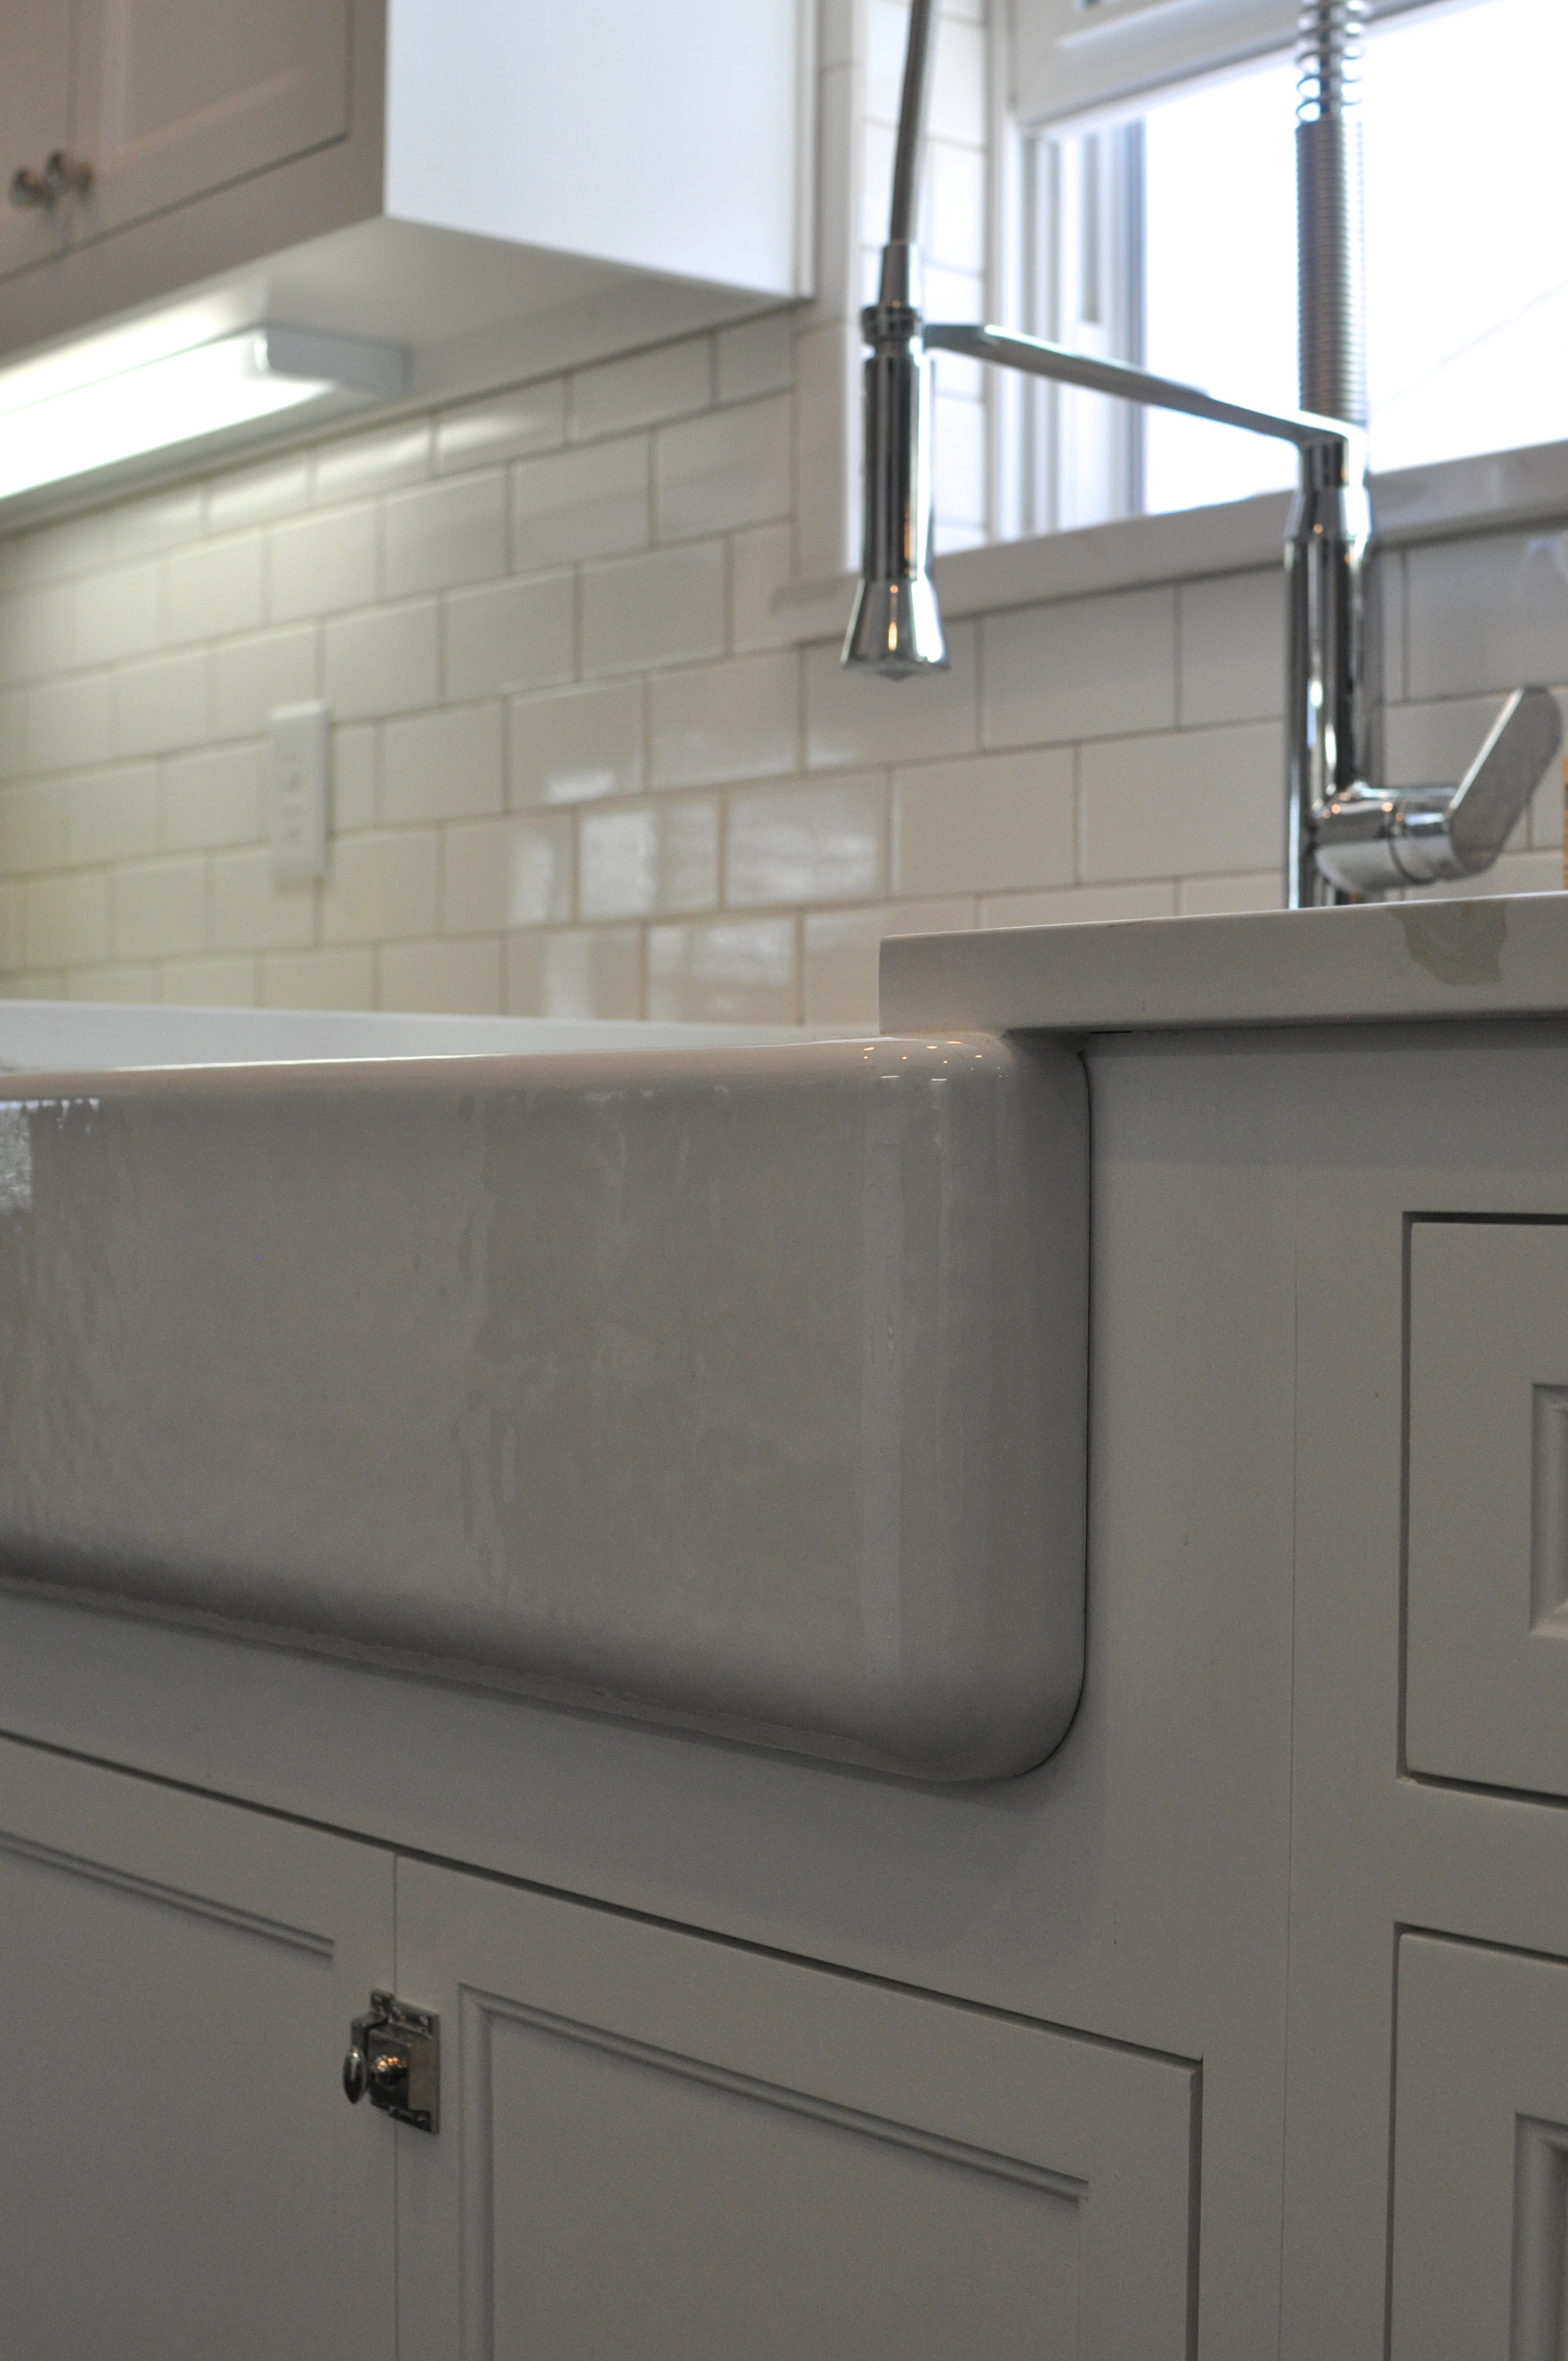
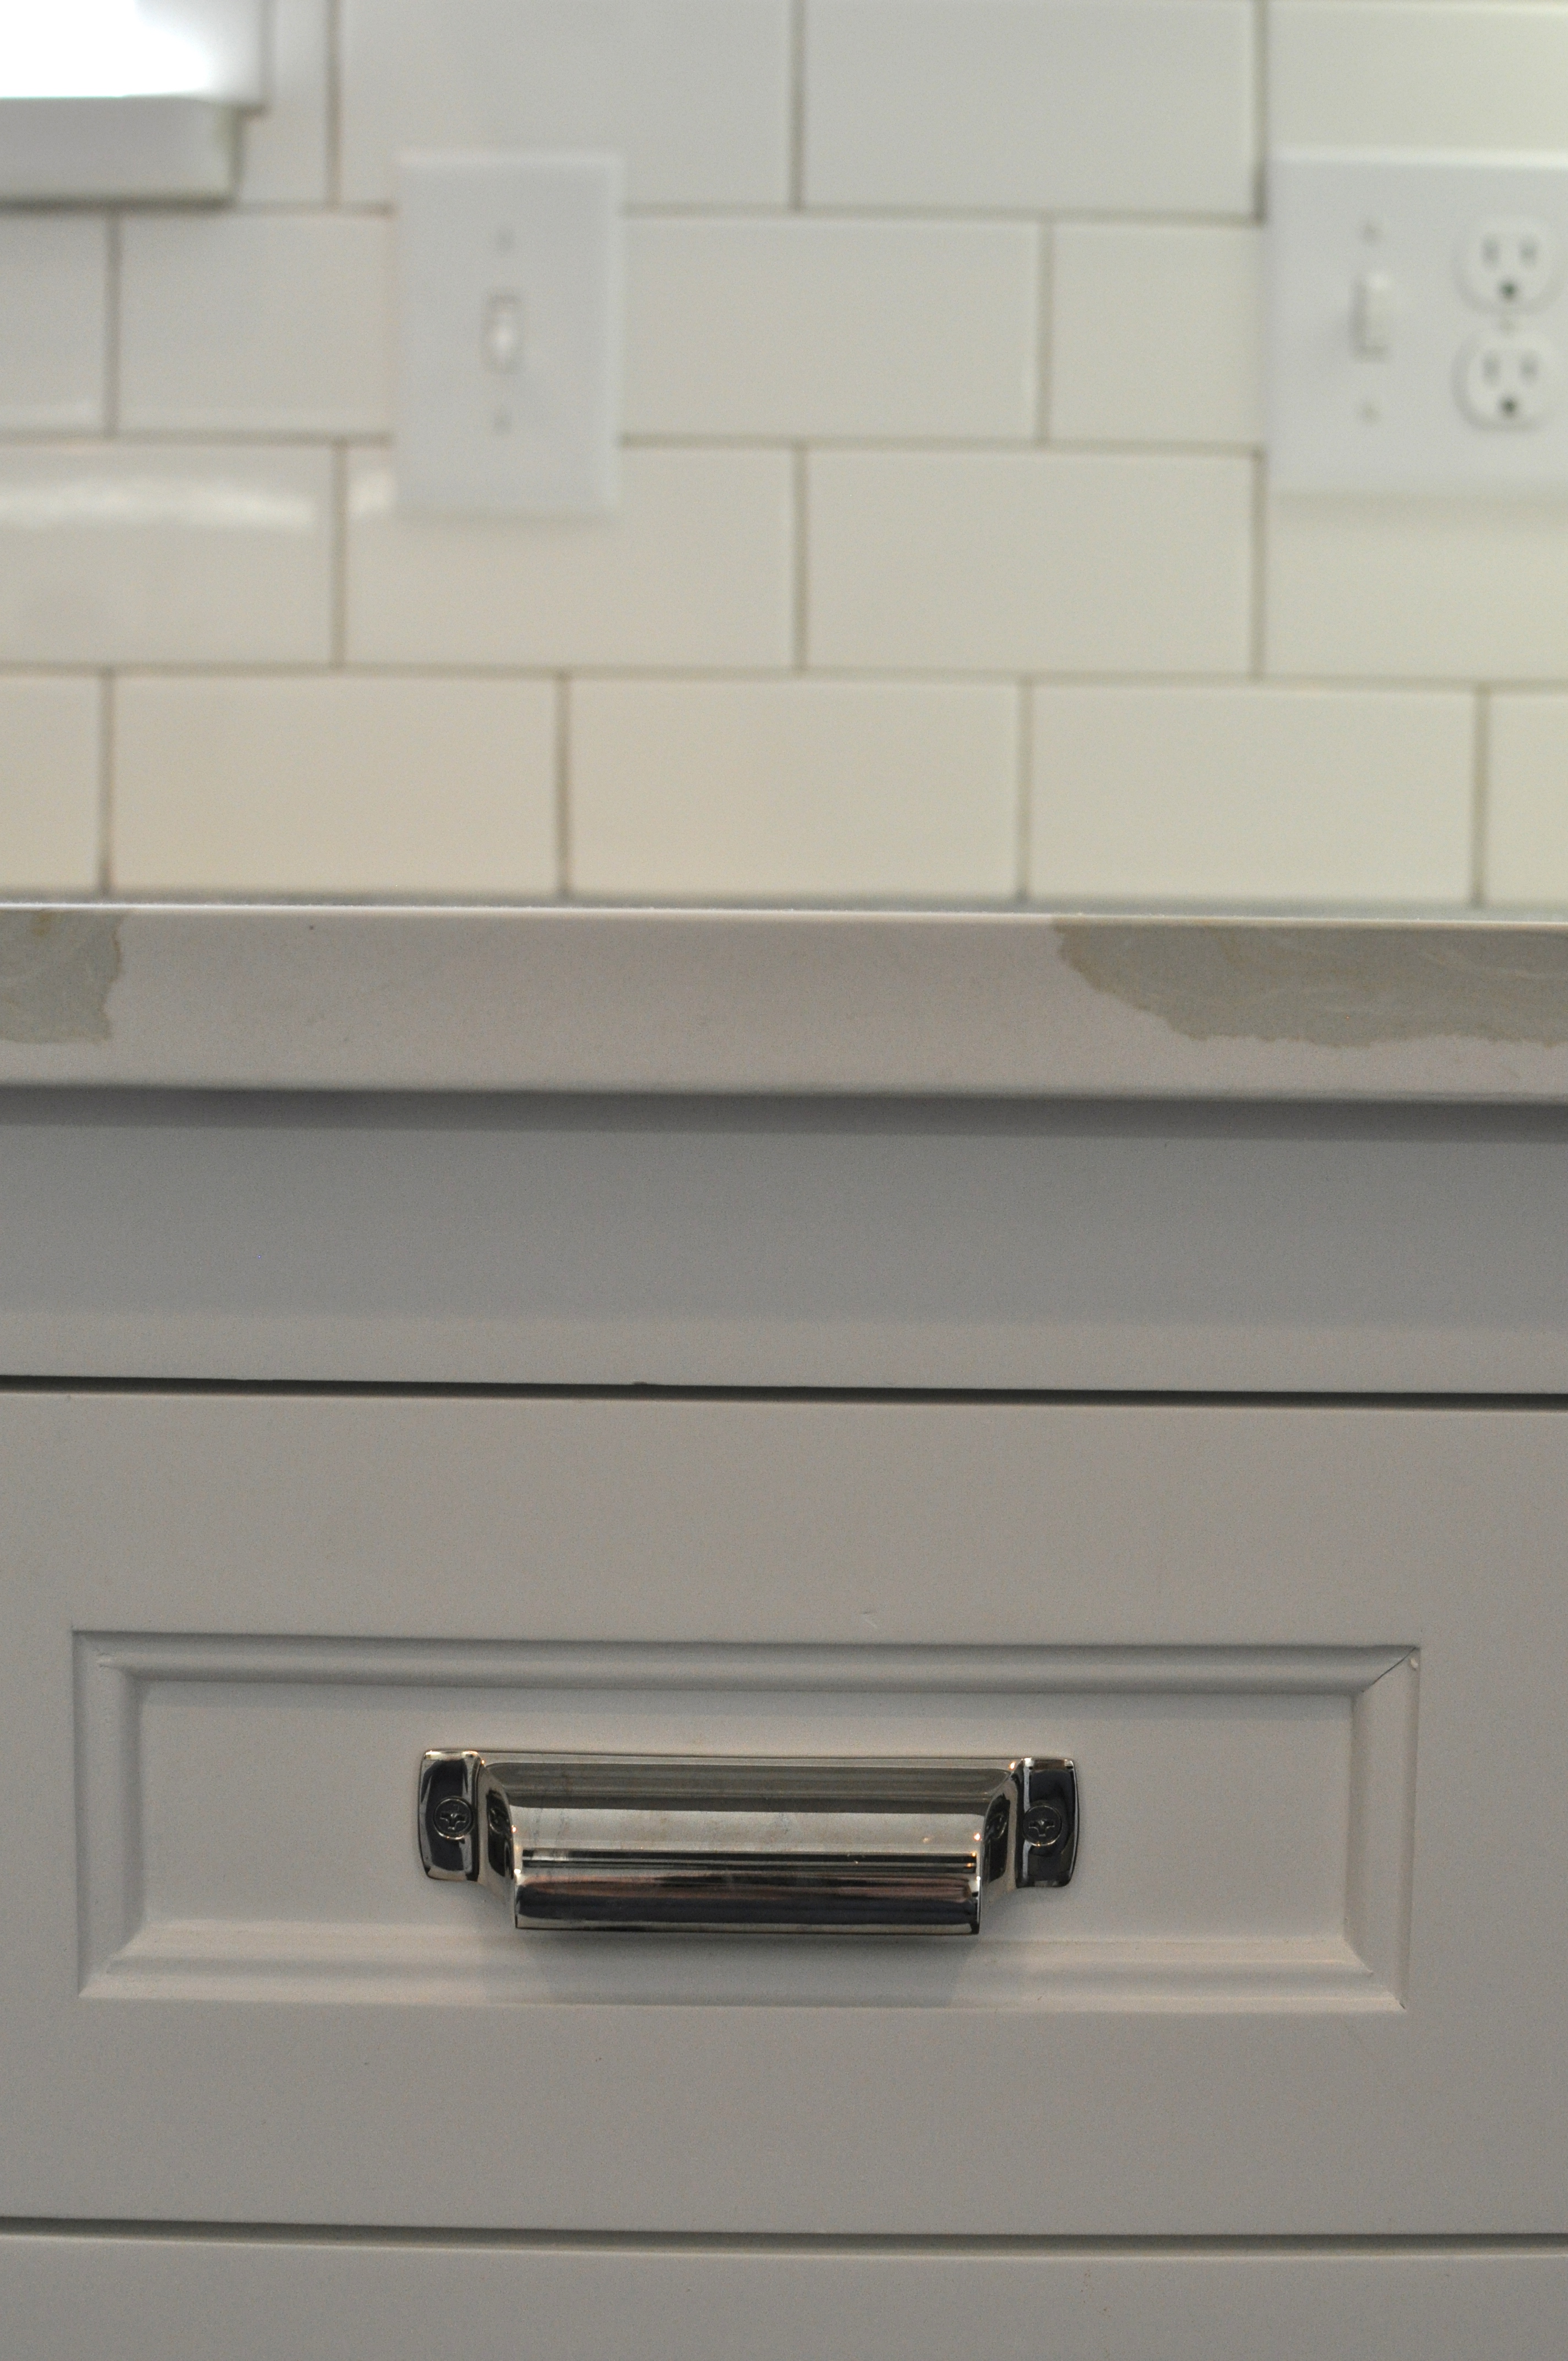
The sink and vanity are from IKEA and the bronze pulls are from Schoolhouse Electric. I really like the way the vanity floats above the floor, making the space feel a little bigger. However, our plumber wasn’t a fan of the vanity, as he spent all day configuring the plumbing, so it would fit in the small space behind the drawers. I suggest showing your plumber this vanity early on in the process. He will really appreciate it. The handles were an add-on, IKEA’s vanities don’t need hardware, but the subtle detail helps to make it less cookie-cutter. Plus, the bronze makes it pop!

DSC_0275

I also purchased the pendant light from school house electric and we love the big bold glass, bronze finish and the way the colors accent the mirror, vanity hardware and the framed artwork above the toilet. Ahhh… It makes me happy!

DSC_0268

All in all, we are loving this space. I still have a couple details to finish, such as window treatments, maybe a shelf above the toilet, drawer organizers, and some art to the left of the window. But, it’s 90% finished and with two small kiddos, I’ll take it!

Happy Week, Friends!

one month

DSC_0266

Meredith turned the ripe old age of one month this past weekend, and yes, another monthly addition of photos will be bestowed upon us all. We switched up the animal; Jack had an elephant, Meredith has an alligator. It’s real exciting stuff over here!

One Month Collage

This month has made me realize a couple of things, “pregnancy brain” or the phrase “you’ll forget everything and do it all over again” is completely, completely true!

I thought I was prepared for this homecoming. I was even eager to leave the hospital! Heck, I left a day early. But when I got home, the rush of emotions arrived with me and I caught myself crying to my husband what have we done?  What have we done! on numerous occasions. The tears and the walking zombie returned, as well.  New emotions came flooding in about Jack’s transition; I worried Jack was not getting enough of my attention and tried extra hard to make sure Jack felt loved. Mostly crazy talk.

But there is a silver lining to all this… With Meredith, I find my walking zombie state, though present, doesn’t seem to last as long as it did with Jack. We were able to get out and enjoy the days. Plus, realizing babies DO sleep a lot, I was able to step away from Meredith, leaving Jack and I plenty of one on one time together.

Meredith has given us a couple blissful nights of 4-5 hours of sleeping, but her routine tends to be fickle at best. She’s attached to her mama and would like nothing better than to be with her 24-7, which someday I’m sure I’ll want back. She’s starting to visualize the world around her, following faces, watching her crazy, loving brother, who runs in and out of her view all day … always trying to share his snacks or nuk. She also started cooing and smiling this week, appropriately starting right after Jack danced in front of her while I was making dinner. He’s such the entertainer in the household!

Though these day can be tough and long, and sleep deprived, I have to remind myself just how fast this phase really does go…

IMG_9224

Happy Week, Friends!

she’s here!

DSC_0242Meredith Anne entered this world and our lives on 3/25, a Wednesday night at 9:12 pm, weighing in at 8 lbs. 9 oz, and stretching 19 3/4 inches long. Her middle name honors all the great ladies in Meredith’s life, past and present. Her grandma’s Julie Ann, her great grandmas Mercedes Anne, and Joyce Ann and even her lovely aunt Jill Ann gets to be in the mix! But most of all it was for my mother, Marilyn “Mar” Anne. We’ll call her “Mer” too, and can only hope her optimist, zest for life comes from my mother. One of the sweetest purest soles I know.

photo 4Yep, this girl already has a mind of her own. We had originally scheduled a c-section for March 29. But she obviously had other plans. I went to work as usual Wednesday morning, thinking my last day was just a day away. I was having my usual hectic day of way too many patients and way too little time to see them. As always, we moved along quickly; things were getting accomplished and the day was running rather smooth. It was around 10:30 am that I started to feel – different – not labor pains, but facial swelling, redness and stinging?!?  A walk to the mirror revealed my face was blotchy and pink. I managed to get more of my schedule done but was still feeling this burning sensation and a new pain near my inner left eye. Finally, and a little reluctantly, I decided to call my OB. It was 2:30pm at this point and if I could make it to her office, I wouldn’t have to go to triage. I left the office in a rush, saying I’ll be back to my nurses and office manager, leaving my regular clothes and office in shambles. I made it to the OB’s by 2:50 pm and they took me back, took my blood pressure several times, looked at me and said it’s time. My OB added, “you look horrible and your blood pressure is up, Sarah. It’s time. Let’s have this baby.” She’s great and honest and I heart her.

Because I had eaten lunch we had to wait until 9pm to start the c-section.

photo 1So, again the images of my delivery being scheduled and planned out had vanished. One more Saturday at home had vanished. I had plans to  grocery shop Wednesday, watch Wisconsin play Thursday night, pack my bag for the hospital Saturday, and later that day, welcome our family into town! Plus, Jack had an Easter egg hunt Saturday! This was not the plan!!

photo 5But if the consolation prize for this “not being the plan” is a beautiful healthy baby, I’ll take it! I will still try to plan my life and my children will continue to break it, but that’s just fine with me.

We spent the rest of the night just staring at Meredith, watching her open her eyes, figuring out who she resembles (where is that hair from?), watching her first bath, completely memorized that she is all ours. We are officially a family of four.

DSC_0308We are so so so blessed. She definitely has our hearts and apparently already ruled over our schedule.

18 months (at almost 20 months, oops!)

DSC_0247Jack turned 18 months. That’s a year and a half people, back in January, and it’s already March! I’m so so behind! But here he is in all his naked belly glory at 18 months.

DSC_0261We are just loving this sweet boy. He is talking up a storm and is such a little helper. He’s so curious and just loves being active, which makes it hard to get anything done during the day but we’ve been blessed with a good napper (3 hours!) and sleeper in general, so we know we shouldn’t complain too, too much.

With the anticipation of our baby girl, we cannot wait to see the interaction between the two. Will he think she’s pretty cool and want to help out or will he think she’s a nuisance that takes up all of his mom and dad’s time? I’ll keep you posted. Here’s a couple photos of our little man amidst his daily quest to discover the world around him.

IMG_8482

IMG_8514

DSC_0253

IMG_8557

IMG_8562

DSC_0248

IMG_8905

IMG_8662

IMG_8653

IMG_8935We love you tons, Jack. Happy week, friends!

DSC_0262

half bath renovation

DSC_0248Hi Guys! I’m excited to tell you we’re already at the end of a tiny half bath remodel!! We had plans to get the master bathroom done before our baby girl showed up, but I was a little leery after our kitchen took WAY longer than expected to get started. I was worried we would be in our newborn zombie state, while workers walked through our bedroom and the contractor forced me to make final decisions on the design. Not smart.

This bathroom had some hiccups, but it has been a pretty smooth process, with a different and amazingly nice and professional contractor. Here’s our little half bath and where it all started… I was a little sad to see the stripes go but am excited to have a toilet and vanity at a normal height for us and our guests.

Half Bath BeforeHere’s what it looks like all gutted and ready for pretty, new things!

Half Bath DemoMy plan is to put hexagon tiles on the floor, run subway tiles from floor to ceiling on the vanity wall (to act as a backsplash), and paint the rest of the walls. There was a part of me (a big part) that wanted wallpaper, but the price to install and buy the rolls exceeded $1,500, and I really didn’t want to spend that kind of cash on this small bath, at least not at this point. Here’s the wallpaper… How cute is this?!

carlabathroomsource

Moving on! We also changed the door from a regular swinging door to a pocket door, and the window sill will have a piece of white quartz to match the white sink.

Here’s my mood board for the space! I’m going to try an IKEA product in this bath and am crossing my fingers that it will hold up in this space! Eek.

Half Bath BoardSource List: Hex Gloss Moss 1″ – The Tile Shop, white subway tile – Home Depot, Acacia Wood 24″ mirror – CB2, Willamette 2.25″ Pendant Light Fixture – Schoolhouse Electric & Supply Co., IKEA godmorgon/odensvik skin cabinet with 2 drawers and dalskar faucet, Edgecliff Pull 11″ Drawer Pulls – Schoolhouse Electric & Supply Co. 

Here’s some of the progress pictures!

half bath progress

DSC_0250

DSC_0249

DSC_0246

DSC_0247I’ll be back with the final reveal, depending on how fast everything gets done! Cannot wait to show you guys the goods and hope it all will come together as I envisioned!

kitchen reveal

DSC_0262Hi Friends! I’m SO excited to say we are OH, SO CLOSE to finishing this kitchen!! I cannot quite believe it’s taken almost four whole months to complete, BUT I’m glad to say, it’s almost done.

We have just three things pending items left for our contractor to complete: Yes, I want to kill him, but that’s another post. 

  • Redoing the can lights in the breakfast nook. (make sure your electrician is putting in up-to-code lighting!)
  • Repainting under the microwave. (When the vent guys came in, they scratched the paint. Grrr.)
  • Replacing the window screens (long story… paint guys, windows open, white film.)

The things I have to accomplish are more on the fun side!!

  • Art on those bare walls, mainly in the breakfast nook.
  • Vent cover under the cabinets.
  • Continue to reinvent the shelves with fun stuff

DSC_0252But before we get to the goodness of the new, lets remember the old. Below is how it looked when we first moved in. Not a bad kitchen; it was functional and clean, but it needed an update.  And the wasted space above the cabinets was killing me!

IMG_0035Fast forward 3 1/2 years, add in a main line water leak, and here’s what it looks like today! ...when it’s clean. It’s so fun walking into this space or peeking around the corner when I’m in the living or dining room. It just looks so pretty… I hope you all like it, too. Here’s my amateur photo shoot!

DSC_0261

DSC_0242

DSC_0243

DSC_0246

DSC_0253

DSC_0248If you have been following this journey, you already know just how far we have come. If not, here’s all my kitchen posts:

I’m in love with these little corner shelves! I think they bring a little color and personality to the space. It will be fun reinventing them for holiday and season changes.


DSC_0259

DSC_0249

DSC_0254Our cabinetry knobs and pulls are from Restoration Hardware and a little bit of a splurge, but I tried to find something similar at Lowe’s, Home Depot, and even online in the right finish/style, but I just couldn’t… We both kept coming back to these beauties.

DSC_0289

DSC_0259 2Our faucet is a Grohe K7 Single-Lever main kitchen faucet in chrome. We love the modern look with a more country/traditional apron sink from Kohler.

DSC_0261 2

DSC_0244The subway tiles are such a great look for bathrooms and kitchens, at a lower price point than many other options. I’m so glad we went ahead with that look here. And the marble-looking quartz countertops are a perfect mix of beauty and durability, too!

DSC_0243 2

DSC_0250Here’s one more before and after picture. Wow, it’s come so far!

Before + After 2015 KitchenI hope all your curiosity is satisfied with this kitchen photo shoot!! I know I love the space… and tulips, too! Anyone in the area is always welcome to stop on by and take a look! It’s more beautiful in person! Plus, we actually cook in this kitchen, so I love dinner guests! Ha!

Happy week, Friends. I’ll try to make a source list in the next couple weeks to help with your inquiries. If you have any questions, don’t hesitate to comment below!

kitchen sneak peak

The kitchen has been the talk of this blog for quite some time now, and never did I believe that it would take us allllll the way into the new year! Wow! But, I’m happy to report there are only two minor things for our contractor to complete, so we can officially say it’s done.

DSC_0286I, on the other hand, have a lot of finishing touches to attend to, like what will go in those cute corner shelves, what will our breakfast nook artwork be (oh, the possibilities!), and so much more! But for now, for the people who have been inquiring both the hubs and I for pictures, I will be editing them this week for just that purpose! BUT UNTIL THEN…here’s a few teasers to ease the anticipation a little… I know you all are on the edge of your seat, ha!

DSC_0287

DSC_0285

DSC_0243

Stay tuned for more!!

kitchen progress V: backsplash

DSC_0251We have been moving along at a snail’s pace these last couple of weeks…. maybe even slower than a snail’s pace. But the tile AND flooring guys (hold your breath) actually showed up this week. Of course the flooring guys still have work to do, but the backsplash is finished!

We picked a simple white subway tile and had them inch it together as close as humanily possible. I would recommend spacers for this work to make the grout look as even as possible. We, unfortunately, were advised that we didn’t need them, and there are a couple places that could have looked better, in my opinion. Live and learn.

I’ve always been enamored by the simplicity of subway tiles, and in this space it just worked wonderfully… what do you think?

DSC_0250

DSC_0242 2

DSC_0244We decided not to stop the subway tile at the level of the cabinets but worked them all the way up to the middle of the window. I like the look of more subway tiles than less, plus it will be a great backsplash to whatever items I decide to place on the sill.

DSC_0245

We matched that same sill height to the door of the entryway into the dining room. Yes, we still need the painters to paint the frame around the window, we know.

DSC_0247After they put in the tiles, it was time for the grout. We went with Polyblend Oyster Gray #386. At first glance (when it was still drying), I thought it was too dark, but by the next day, I liked the color and the contrast.

DSC_0248 DSC_0249All in all, we’re really pleased with the progress but can’t quite believe it’s almost Thanksgiving (Thanksgiving!), and I don’t have my kitchen back. Sigh. It’s been two months for this very small galley kitchen. Wow. Touch ups, appliances are up next! 

Happy Thanksgiving Week, Friends! 

kitchen progress IV: countertops

quartzs samplesNow that we have cabinets and everything painted, we can move onto the countertops and backsplash! Above are just a few of the may choices we brought home and debated over. Our contractor was trying to steer us toward granite, but I didn’t like many of the variations for our kitchen. Plus, we were leaning toward a lighter shade of countertops, and if you spill red wine on granite, it will stain! I like red wine, and I know I will spill, so that was a lot of pressure.

A new-er product that has been getting a lot of respect in the kitchen is quartz. It’s about the same price as granite, but you don’t have to seal it when it’s installed nor annually like granite, and if I spill Kool-aid or red wine on white quartz, which I can pretty much guarantee, this countertop is safe! Win-Win! Plus, it comes in simple patterns and some variations look like marble, which we were both drawn to.

We went to a bunch of countertop stores around the area, looked on-line, and found two that really stuck out. LG Hausys Rococo Quartz and Vicostone Calacatta Quartz. Rococo quartz only came in 2 cm and we really wanted 3 cm. Calacatta quartz was the one that shined through the rest, the whole time. It looks great with the cabinets, the newly painted walls, and was a touch of bold in our white-on-white kitchen.

DSC_0197I was able to go to the quartz showroom in Dallas to see the exact piece. This was exciting!! Look at those bold stripes! I was a little nervous but overall super excited!

IMG_7990Then it was time to talk to our fabricator. This is crucial when picking something with a pattern. Talk to your fabricator, often. I printed out this exact image above, then used it to “puzzle” the pieces we wanted for our lay out. The fabricator took it with him, laid out the design on the slab and had me come out into his shop to make sure I was okay with the design before he actually started cutting. This is what we thought it would look like…

Stone PositionThe fabricator had to change a couple pieces, when he got the actual slab and measured everything out. But as I said before, he had me come out to the shop, and three guys and I walked through the layout. I had the puzzle pieces on the floor, and we working with the big slab until everything was correct. We came up with a plan that kept the flow of the lines consistent, kept the pieces I wanted in each area, and matched the seams perfectly! Sorry, the masking tape is hard to see, but they are there!  postHere’s a crude/discolored idea of what the sink side of our kitchen countertop will look like… see how the lines on the top of each side match up where the seam will be above the sink!! That was the work of one of the fabricators! Moving, measuring, and taping, over and over! Trust me, it’s worth your time to sit and make sure your pattern flows! Your eye thinks the other line connects were the sink is cut out, too (see the arrow below). Bonus!!

sink side completeOkay, enough with all the details, are you ready for a peak of the real countertops?!? I figured you would!

DSC_0266

DSC_0271

Besides the whole sink side, this little gem is one of my favorite pieces.

DSC_0277And here’s that seam I was so worried about… they got it! Perfect!

DSC_0267I’m in love! It’s a little bit of boldness in this simple kitchen! Plus, a little dose of Jack, who absolutely loves the construction site!

DSC_0265

DSC_0276With a durable surface like quartz, I won’t be as worried about every little thing I’m doing on them! It’s been a pretty fun process from start to finish.

I’ll be back with our backsplash! Yay! We’re getting SO close to the end!

girl’s nursery design board

We’re waiting for our countertops to be finished and installed, but this doesn’t mean I’m not without distractions. I have a baby girl in my belly, and I get to decorate a room to celebrate it!

I made this same type of mood board back before we had Jack, here. It was a fun way to gather up the pieces month by month to make a nursery and what we now call Jack’s room. We would budget for one or two pieces a month, so it didn’t feel like a hefty expense, and we had something to look forward to each month! We plan to do the same with this nursery space. This mood board is a little more tech-savvy than the cut-and-paste version last time, but it serves the same purpose.

Baby Girl Nursery Mood BoardSource list: artist in kiev knob – anthropologie, dresser – west elm, 3 spouts basket sand camel – target, baby peacock mirror – wisteria, let them be little – easy, malibu chandelier – serena & lily, ribbon mobile – etsy, cool mint  582 – benjamin moore, organized girl’s closet (minus the pink everything) – the container store, rug – urban outfitters, crib – baby mod marley 3-in-1 convertible crib. 

I have to say planning a girl’s room is much harder than planning a boy’s. There are SO many options, yes, but I also have that underlying voice to make sure it’s not too feminine so she grows up strong. Maybe I’m putting too much thought into the underlying effects of paint color on my baby girl’s self-worth and self-confidence. Just maybe. But I want her to be strong, independent, and know she can do anything she puts her mind to. Plus, the amount of accessories little girls can have! I can barely remember to put earrings and my ring on during the weekends!! Luckily, I expressed these concerns to a dear friend one night, and she calmly, more matter-of-factly said, you’ll teach her those things and she’ll accessorize you!

Simple as that. It made me smile and tiptoe off that edge of nervousness.

Back to the room, I plan on painting the walls Benjamin Moore cool mint 582. It’s a great pastel creamy-goodness, and I think our little girl will love it in the daytime and sleep well (hopefully) in it at night. I plan on applying some gold polka dots on an accent wall, as well. After thinking of these two colors; gold and mint, the other items above just came together!

I’ll keep you posted with the progress!!