chicken enchiladas

DSC_0243

Until the hubs and I experienced it ourselves, I did not know that you are supposed to make dinners for your friends who have just had a baby. My husband and I were overwhelmed by the outpouring of friends that came and went those first few weeks. With our own family hundreds of miles away, it was amazing. Live and learn. This was a dish I had during those first few weeks and decided to make it for another couple who had a newborn a couple weeks ago. Enjoy!

Recipe

Ingredients DSC_0229

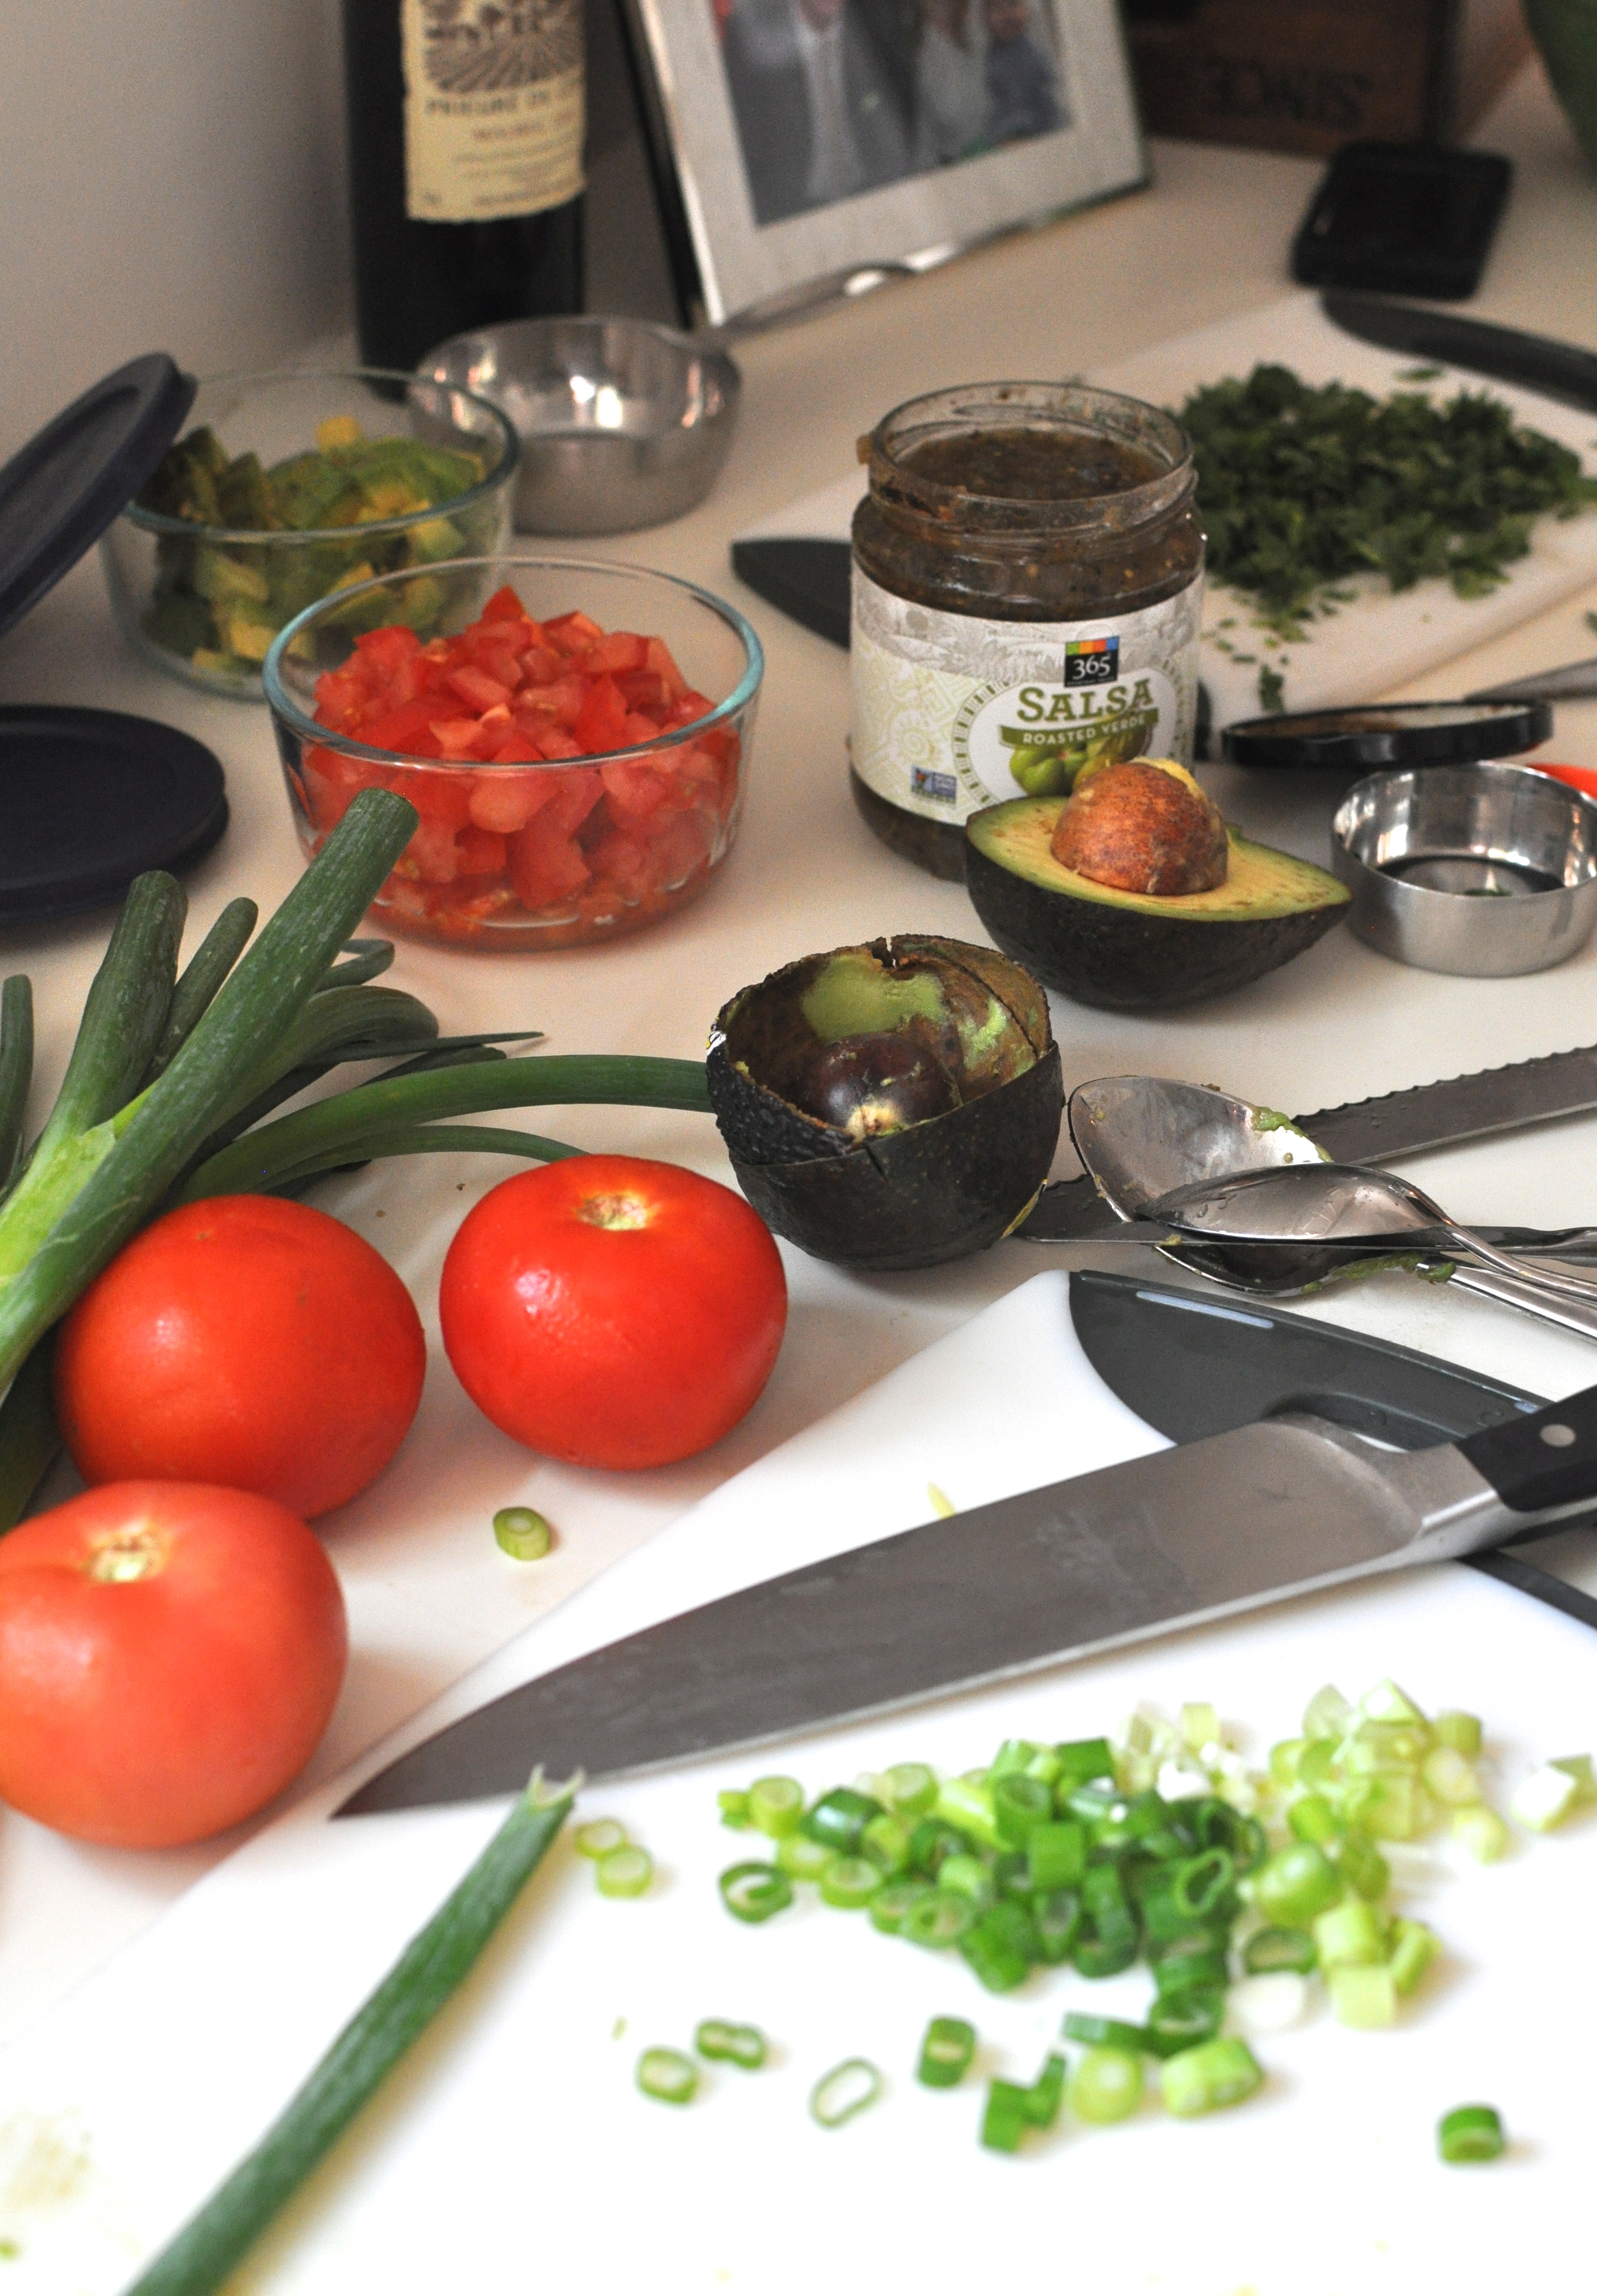
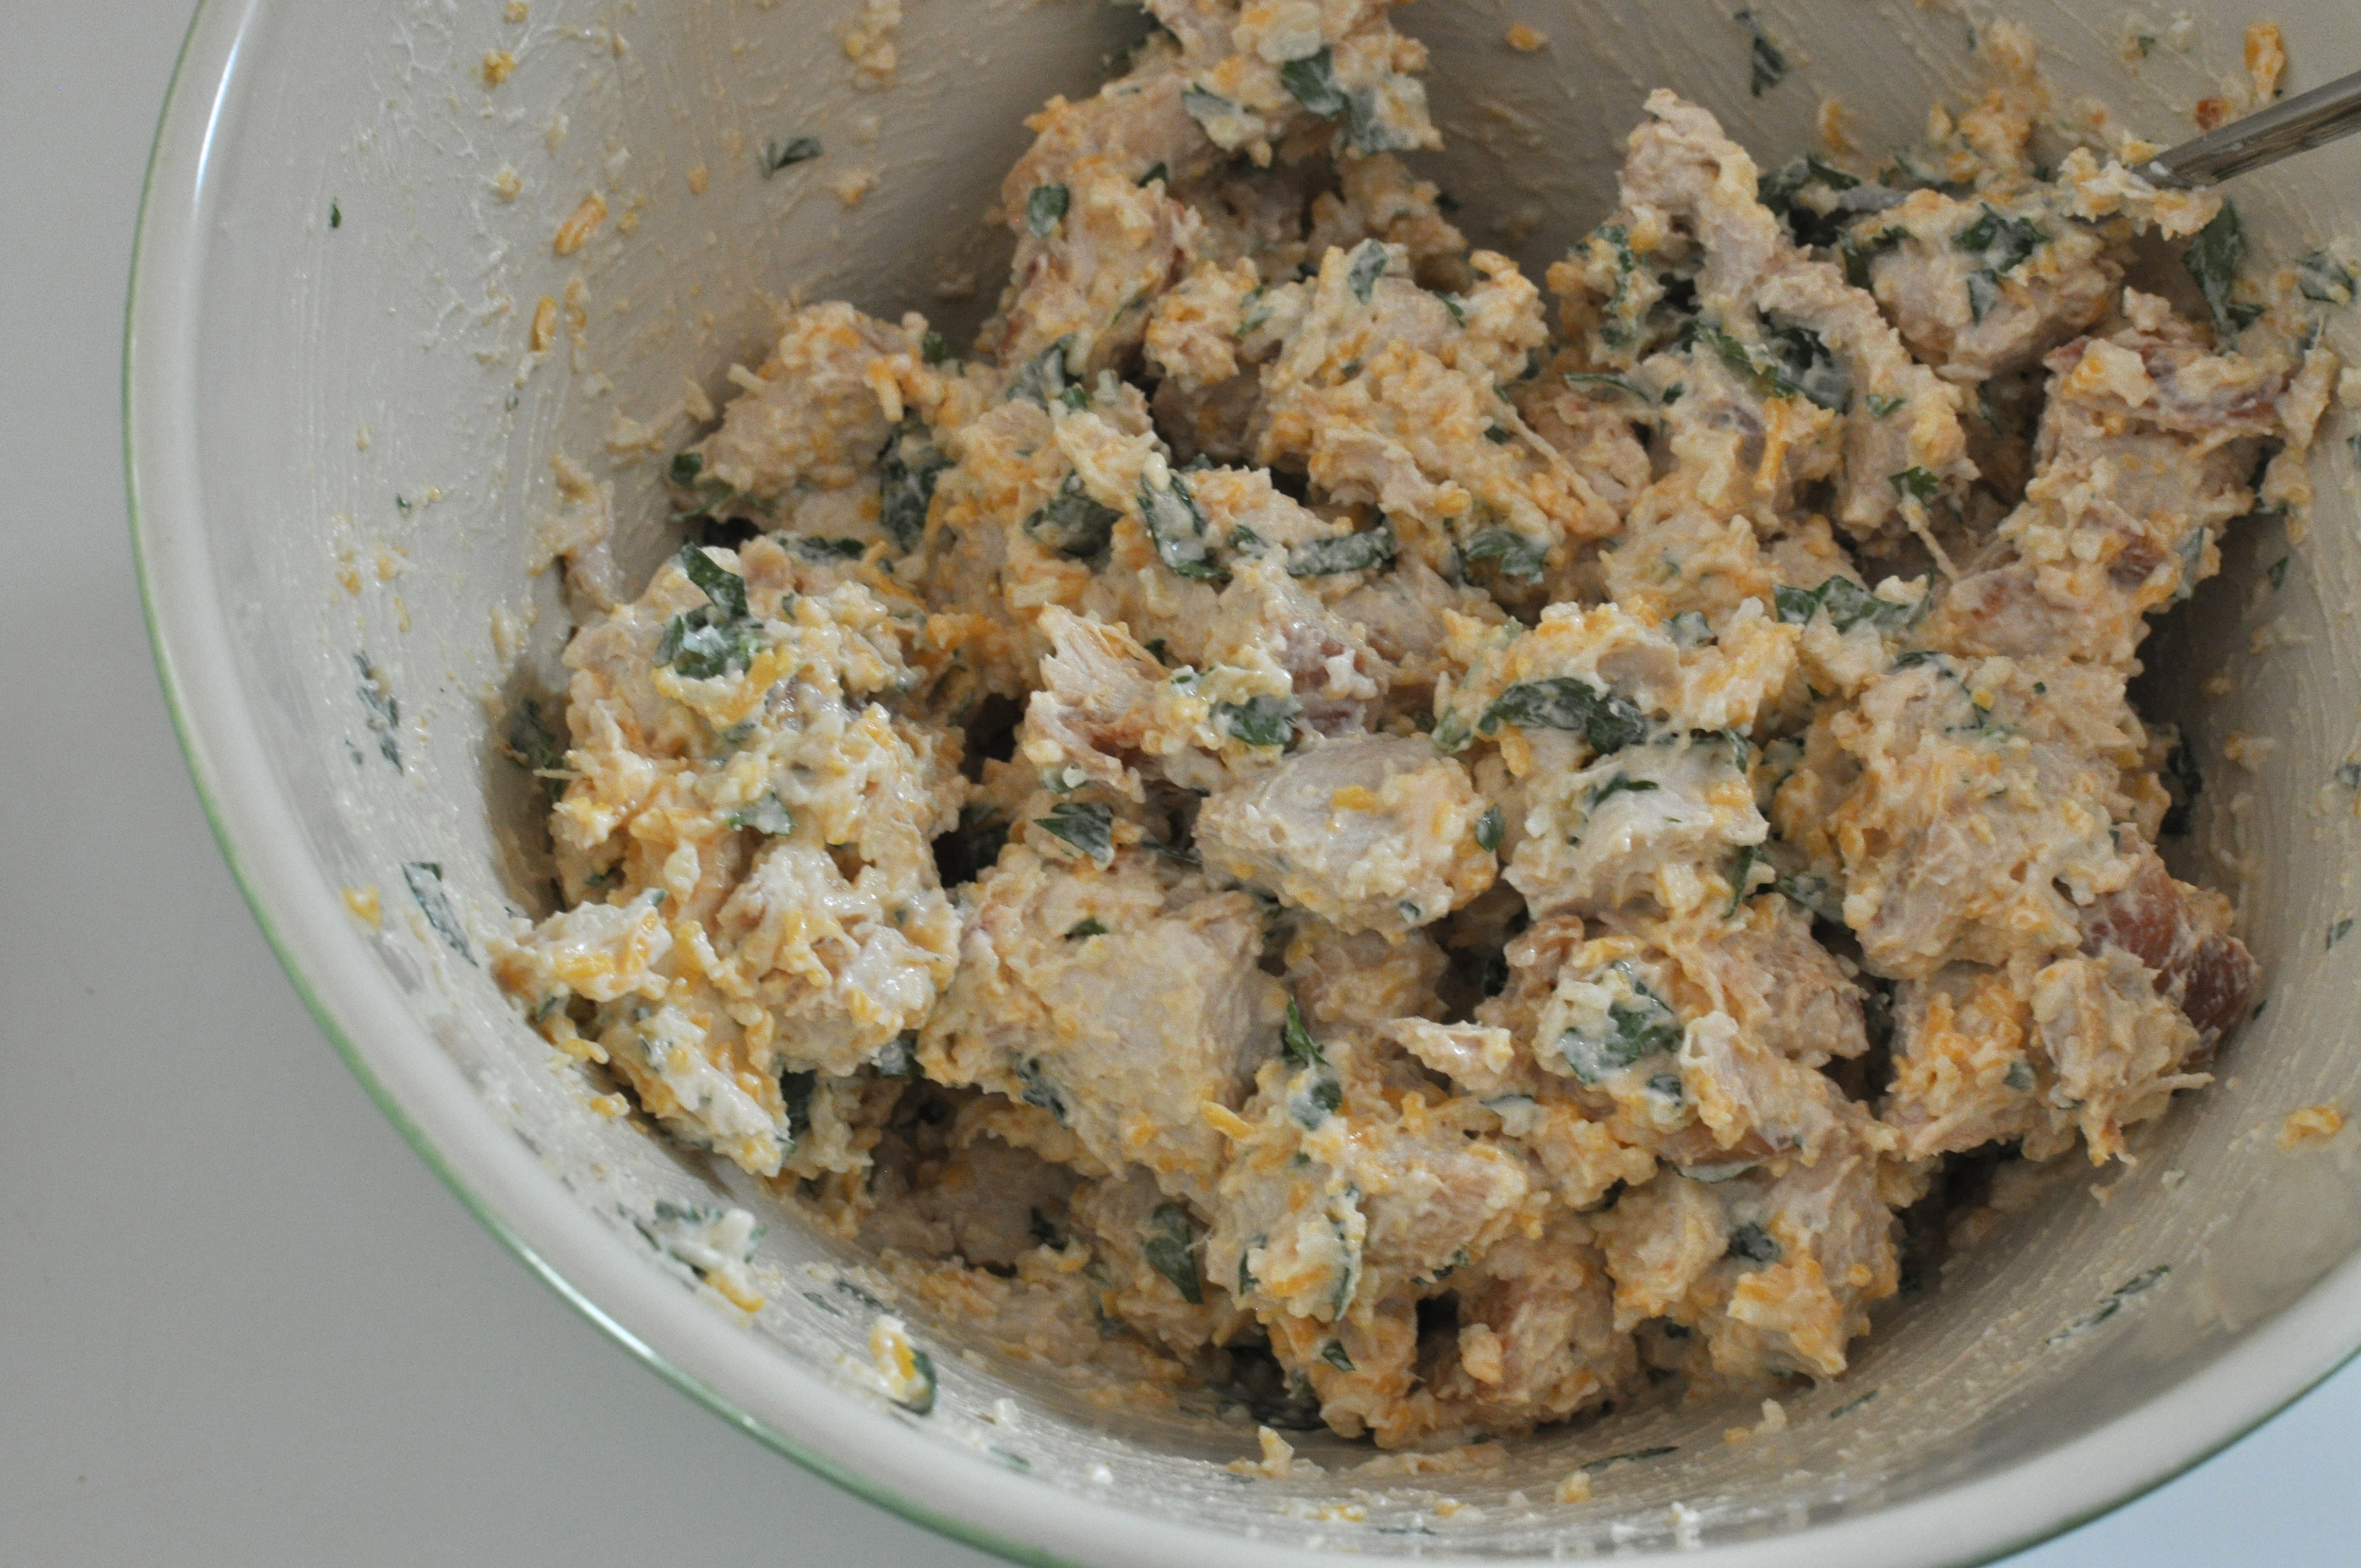
  • 3 cups chopped cooked chicken
  • 2 cups shredded Monterey jack cheese
  • 1/2 cup sour cream
  • 1/3 cup chopped fresh cilantro
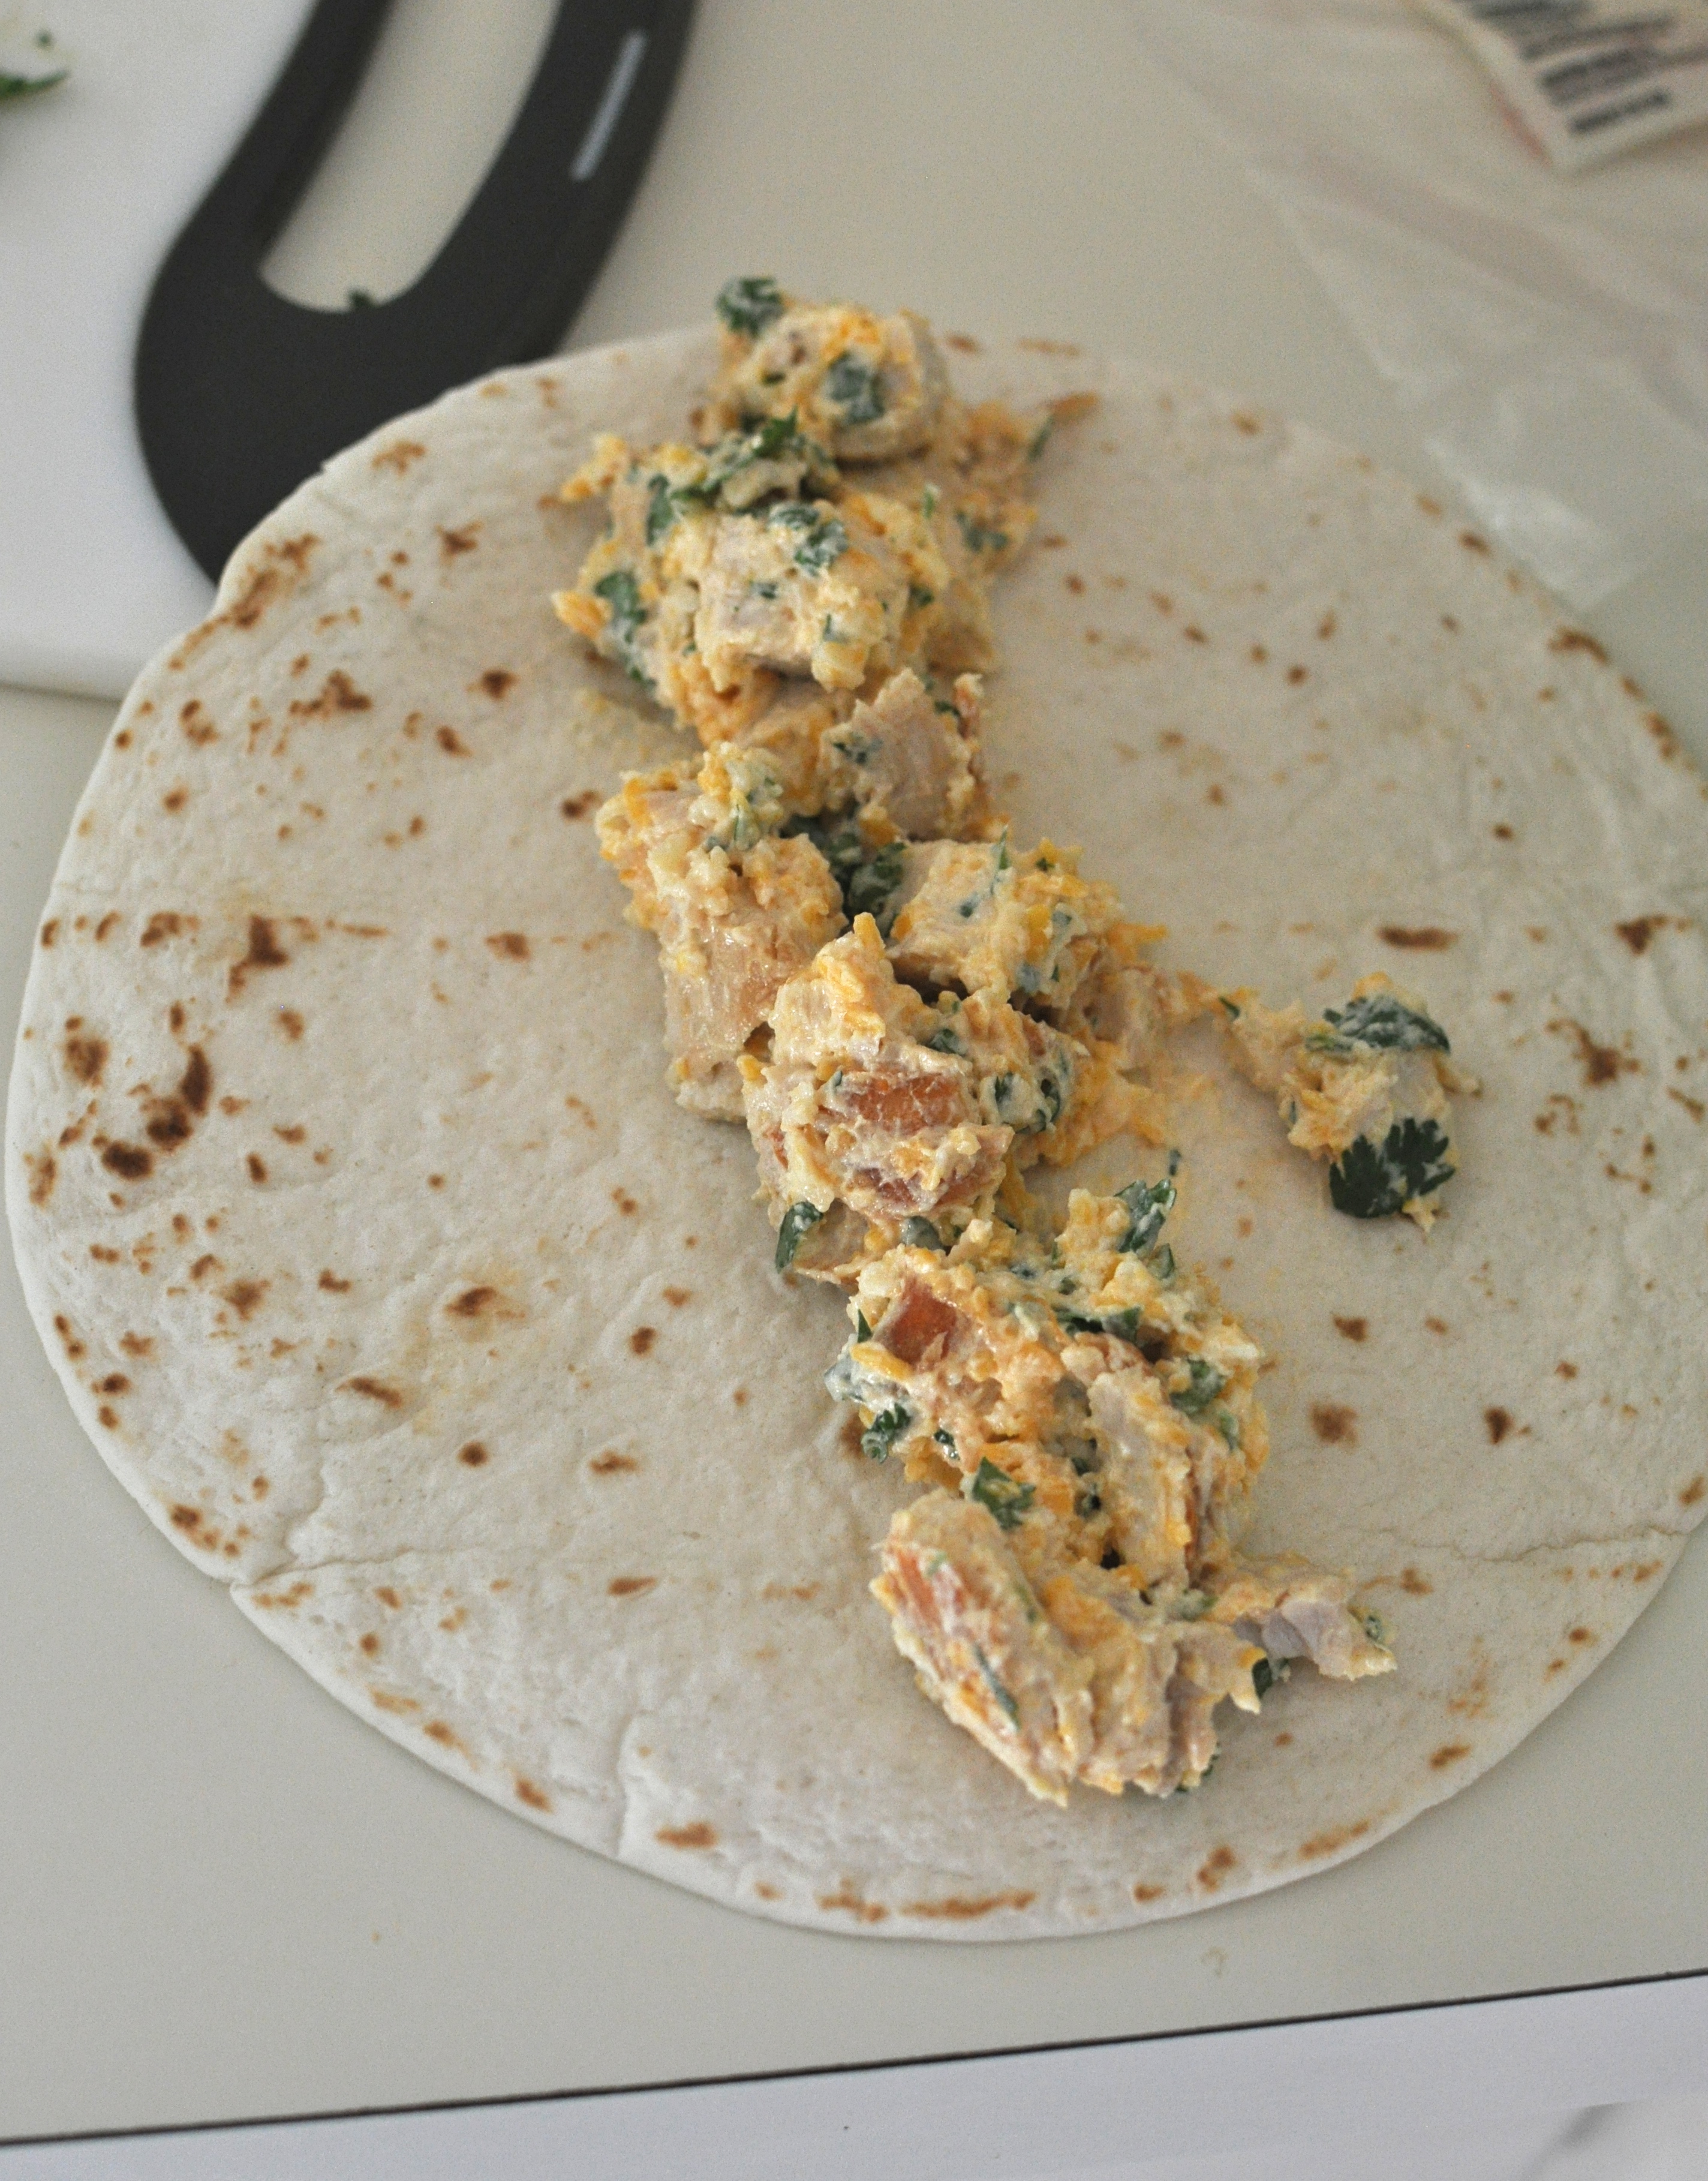
  • 8 (8inch) flour tortillas

Sauce on top

  • 1 (8oz) container sour cream
  • 1 (8 oz.) bottle green taco sauce (aka salsa verde)

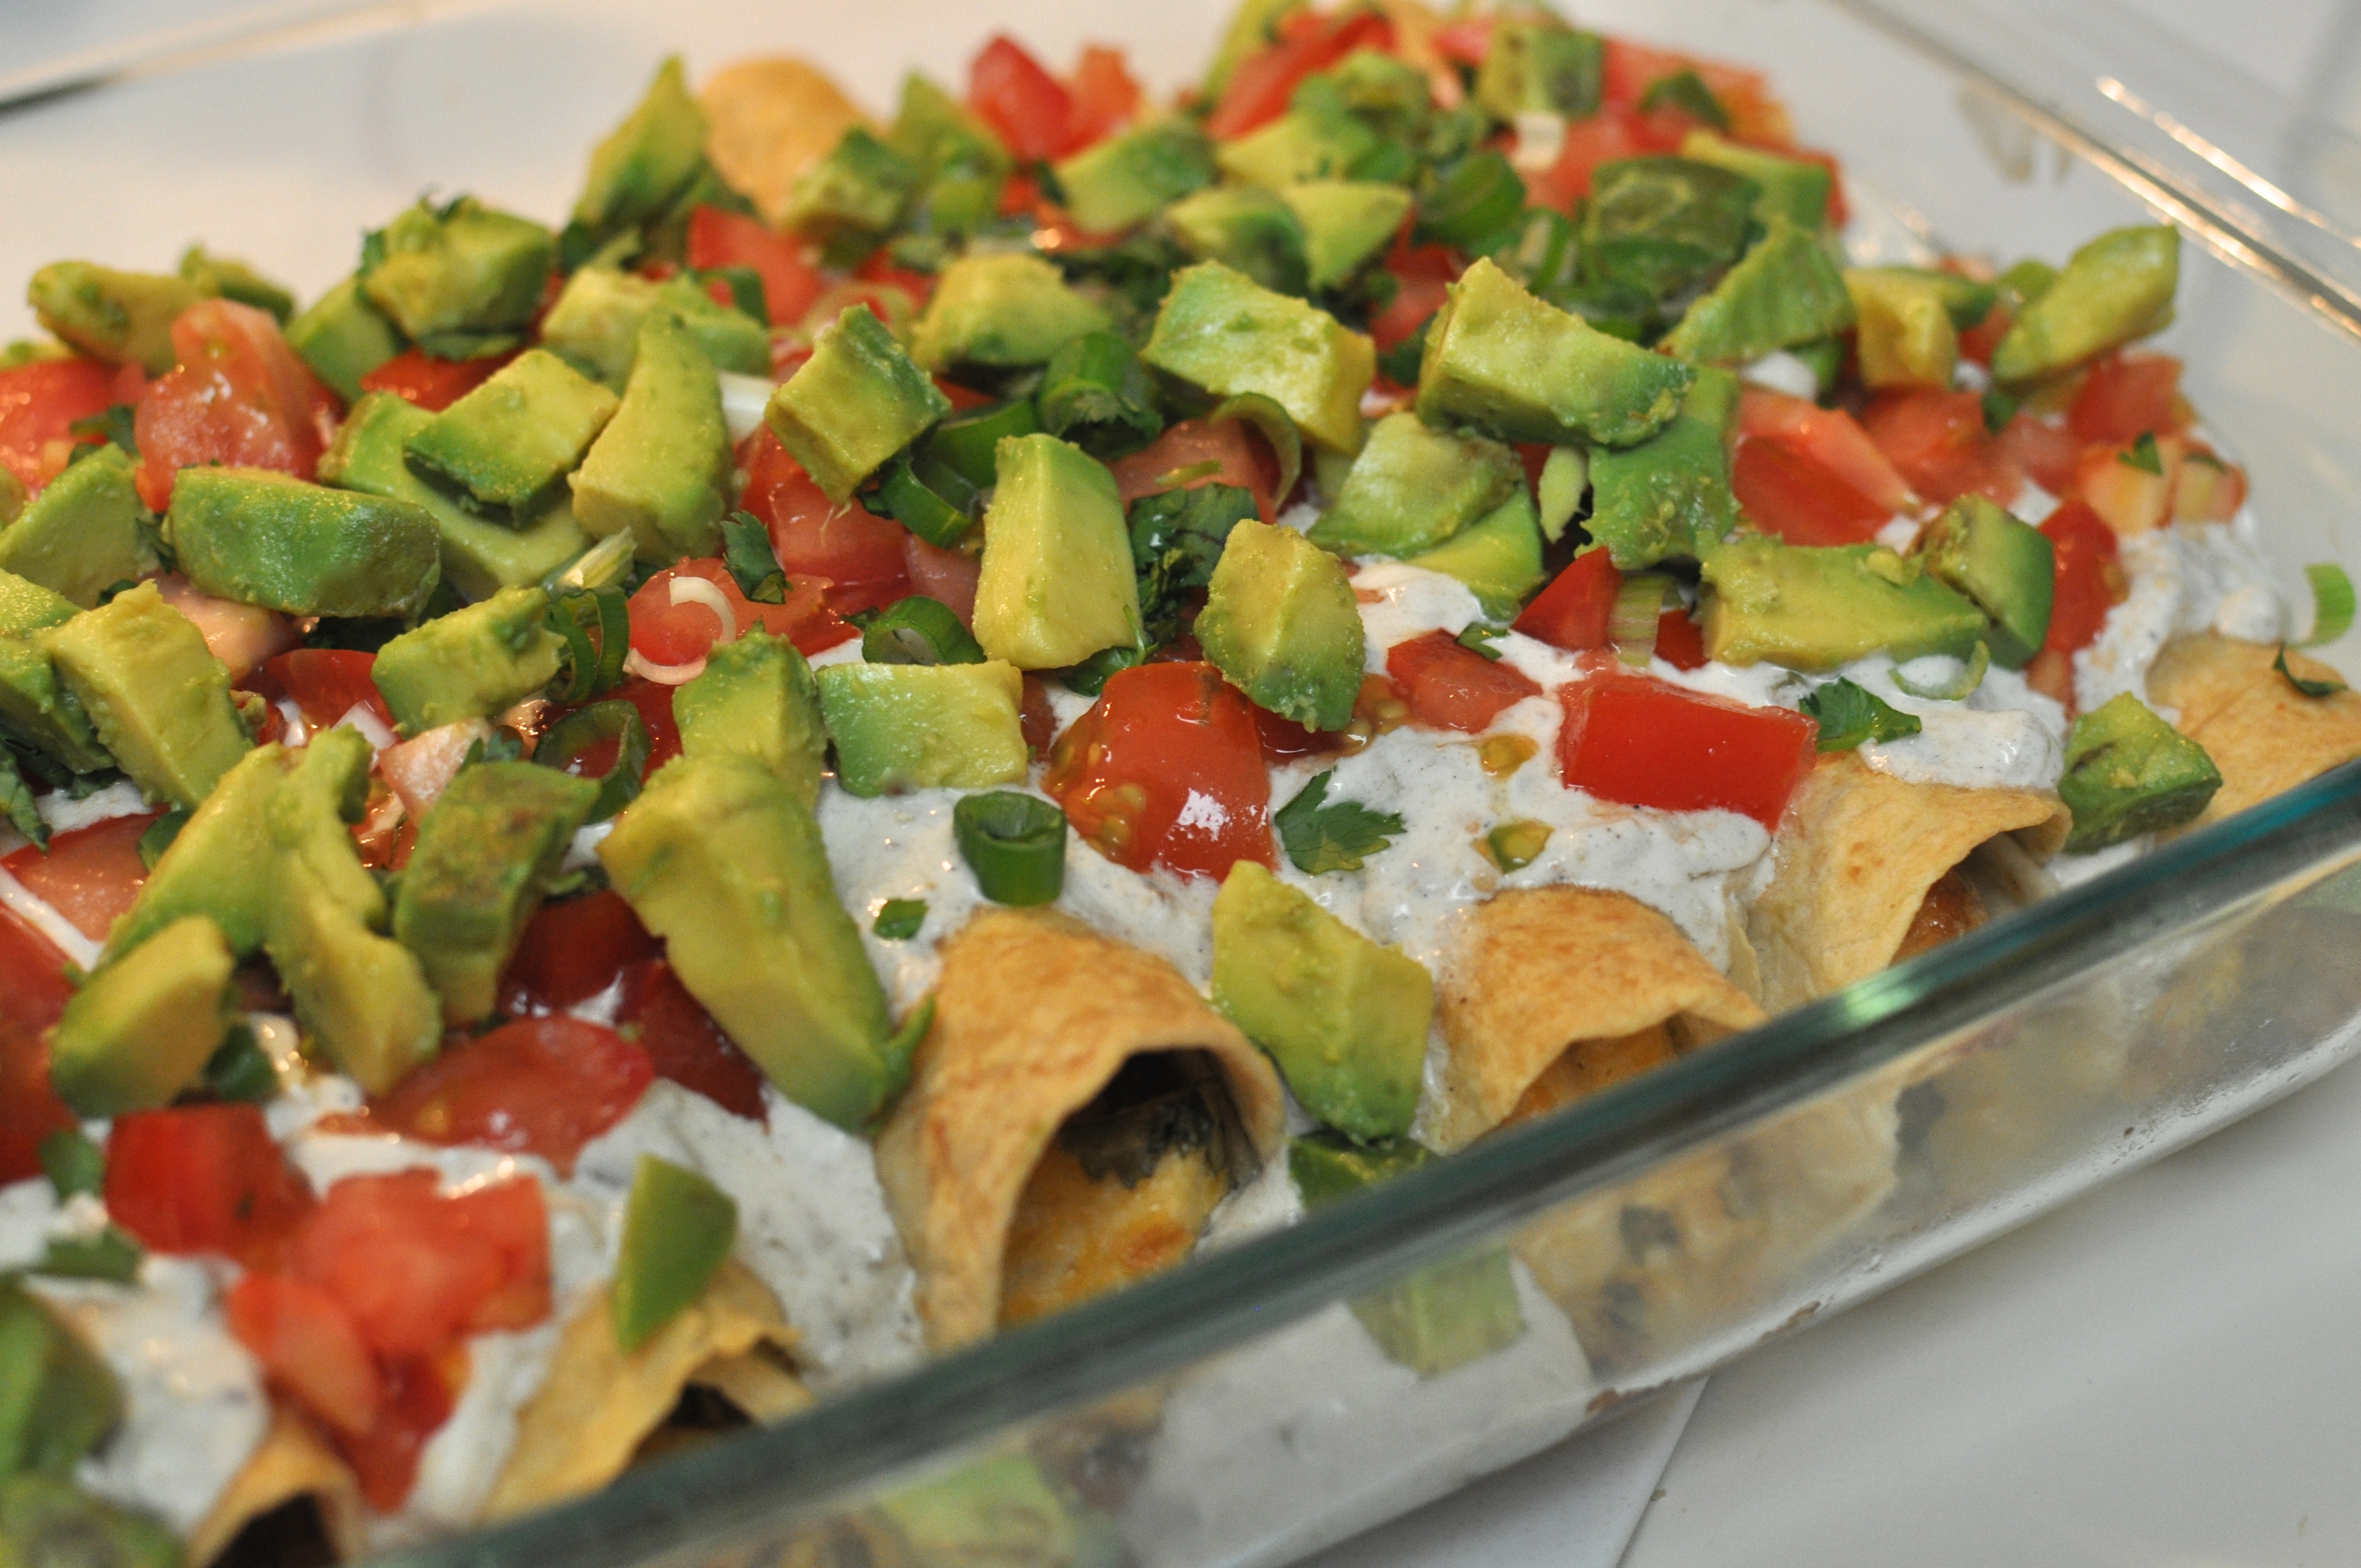
Toppings – diced tomatoes, chopped avocado, chopped green onions, chopped cilantro

Stir together first 4 ingredients.

DSC_0235

Spoon chicken mixture evenly over each tortilla, and roll up.

DSC_0239

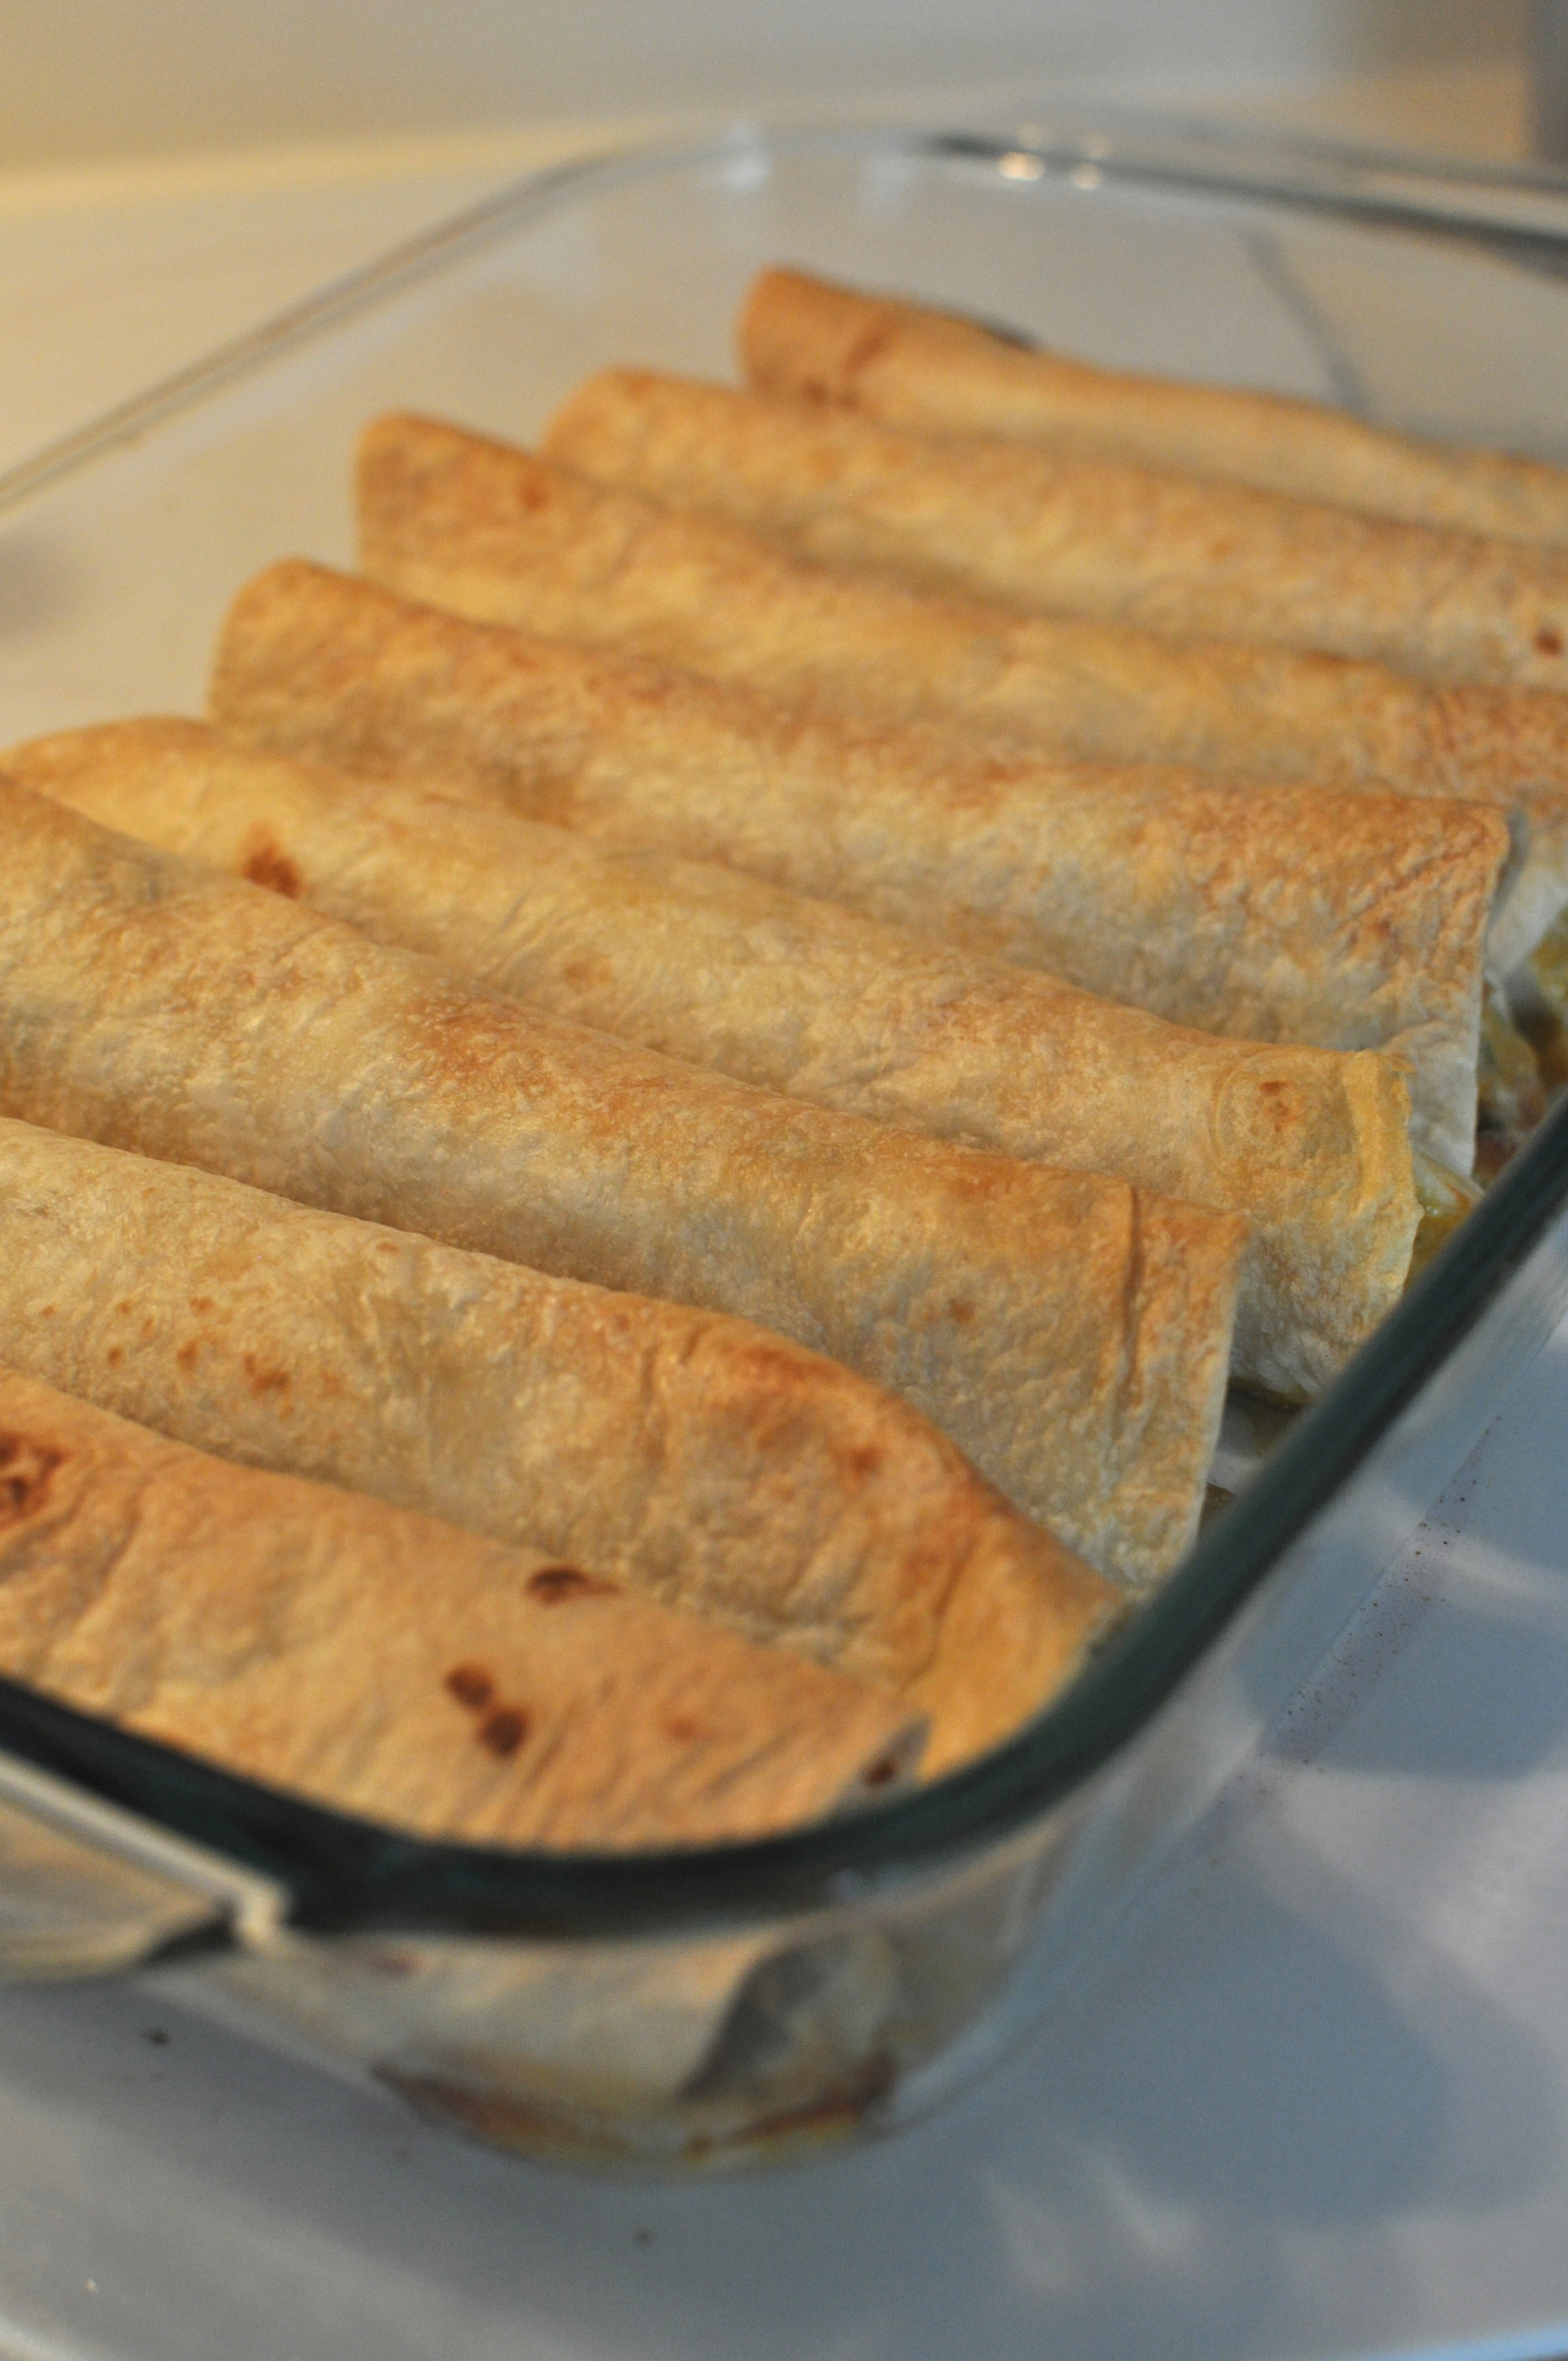
Arrange in a lightly greased 13×9 inch baking dish. Coat tortillas w/vegetable cooking spray (I used melted butter). Bake 350º for 35 to 40 minutes.

DSC_0240

Stir together sour cream and taco sauce.  Spoon over hot enchiladas, sprinkle with toppings and enjoy!! These are so yummy!

DSC_0241

chicken and asparagus stir fry

DSC_0077

This delicious dish came from Living Lean by Mike Dolce, the hubs got a while back. We were paging through it, trying to find new meal options to make a monotonous week feel more alive in the meal department. Luck would have it that the hubs stumbled across this one, and we fell in love with this delicious dish. It’s pretty simple, easy to make after work, and I think if Jack was older, he would like it, too. We’ve paired it with quinoa here, but we’ve also made it with rice and potatoes, too. All great pairings for this delicious dish or simply on it’s own if you’re carb leery. As always, enjoy!

Recipe

Ingredients

  • 2 chicken breasts cut into bite-sized pieces (I just use my kitchen shears) 
  • 1 bunch thin asparagus (about 20 stalks)
  • 2 cloves garlic, chopped
  • 1 medium shallot, minced
  • 2 tbsp. low-sodium soy sauce or teriyaki

Start by breaking off the thick ends of the asparagus; wash what remains and cut into bite-sized pieces. Steam asparagus for 7-10 minutes, or until bright green, and then set aside.

DSC_0068

In a large pan, sauté shallot and garlic in peanut oil for about 2 minutes.

DSC_0070

Add chicken and continue to sauté about 6 minutes or until pink disappears.

C&A Cooking Chicken

Pour into heat-safe serving bowl and mix in asparagus.

C&A w:soy

Add 2 Tbsp. low-sodium soy sauce or teriyaki sauce and serve!

scallops in tomato basil chipotle cream sauce

Cover Scallops

I have to admit something here. I know it looks like I must cook a lot at home, but to be quite honest the husband has been the main cook in our household for a while now. I love to bake more than cook, and I could do cereal for dinner instead of a real meal. I make the fun sporadic meals but he makes the daily ones.

That being said, our local Central Market grocery store always has simple recipes to follow. This time it was scallops, a crustacean I tend to shy away from but the husband loves. Last Friday, I was lucky enough to have the day off and wanted to have dinner ready when he got home! (I’m such a great wife, sometimes.) This recipe was greeted with a warm welcome and a smile! The hubs said it was amazing more than once and even had the leftovers the following day. I too had my fair share and must say it was pretty tasty and super easy to make!!

Recipe

IngredientsIngredients

  • 1 lb bay scallops
  • 1 Tbsp olive oil
  • 1 Tbsp butter
  • 1 Tbsp garlic, minced
  • 1 cup heavy cream
  • 1 Tbsp Tomato Basil & Chipotle seasoning, or to taste
  • salt and pepper, to taste

Heat butter and olive oil together in a sauté pan. Add the garlic and cook for 1 minute. Add the tomato basil and chipotle seasoning to the pan, stirring to blend and cook for another minute. Add the cream, blending, with the spices and cook at medium-high heat until sauce has been reduced by one third.

cream sauce

Add scallops and cook (turning often) another 3-5 minutes.

cooking scallops

Remove from heat and serve over pasta. I added sun-dried tomatoes to mine for taste and visual appeal. Enjoy!

final scallops

dill pickle chip crusted salmon

cover

A few weeks ago, I Facebooked about my love for Dill Pickle Chips north of the Mason-Dixon Line, and guess what appeared at my door step! Yep, a whole lot of Dill Pickle chip goodness!
Old Dutch Pickle Chips

Our Aunt Nancy read my facebook status and made a trip to her local store to pick them up and ship them down to Texas! It was one of those amazing surprises! If that wasn’t enough, she also added in a couple craft items that she created! We already have them displayed and will love them for years to come!

Tile

Scrabble

I brought the Dill Pickle Chips to work to share (only one bag) with my co-workers. They loved them as much as I did and mentioned they tasted much like salt and vinegar chips with dill. That got me thinking about a recipe I would make all too often with my roommate Jessica (well, she lived above me but she might as well have been my roommate) in PA school. She wasn’t a fan of fish, and this was the first dish I could get her to try to move into the world of eating fish. It’s a recipe modified from Young & Hungry by Dave Lieberman.

Recipe

Ingredients

  • 16 oz salmon
  • salt
  • freshly ground black pepper
  • 1/4 bag of kettle-cooked potato chips (or dill pickle chips)
  • Zest of 1/2 lime
  • 1/8 cup chopped fresh dill (I didn’t use this time, my chips were already dilled!)
  • Olive oil

Preheat the oven to 400°F. Line a baking sheet with aluminum foil. Lay the salmon, skin side down, in the center of the baking sheet. Season it lightly with salt and pepper.

Crush the potato chips, lime zest, and dill together in a bowl until the chips resemble coarse crumbs. Mix in 2 tablespoons of olive oil until incorporated.

chip mixture

Coat the salmon with a thin, even layer of potato chip crumbs. Pat them on the fish gently so they stay put.

chipped up salmon

Bake for about 20-25 minutes, or until the chip coating is nicely browned.

oven crisp

This recipe serves 4 -5 people. If it’s just the hubs and I eating, I usually start with a smaller piece of fish. Enjoy!

final

tuna burgers

Burgers

Tuna burgers have been a staple in my household since elementary school. It was a simple dish easily whipped up after my two hardworking parents got home from work. I really loved them. Transitioning them to my own household was another story. The husband was willing to try them but doesn’t like tuna from a can or miracle whip. It was kind of a lost cause but I pressed on and made them anyway.

Ingredients

  • 1 can tuna
  • 2 Tablespoons celery
  • 2 tablespoons onion
  • Cheddar cheese(small cubes or shredded)
  • Miracle Whip (to taste)
  • 4 buns or hards rolls

Mix all ingredients together.

Mixture

Lightly butter hard rolls or buns. Add mixture to buns. Wrap with aluminum foil and bake 350 for 20 minutes until melted and hot throughout. I still love them and yes, the husband confirmed his dislike from both tuna in a can and miracle whip. I shamelessly ate two.

foil

broccoli & cauliflower casserole

This recipe has been served up to me for the last 29 years of my life, and until last weekend, I didn’t know how to make it. My grandmother would slave away (making it look seamless) in her embroidered apron every Thanksgiving and Christmas to make an amazing meal for her family. I have some very fond memories of eating a lot of mashed potatoes, serving up dessert and coffee to the adults, and helping my mom and Aunt Paula with the dishes. After, we would head out in the snow and play football, (me with my brother and two boy cousins) while the adults watched the football and chatted about everything.

It turns out – it’s a super simple dish; I’m not quite sure where she got it but I’ve been blessed to inherit all of her recipes and her Betty Crocker cookbook. It makes me smile just thinking about it. Enjoy!

Recipe

Ingredients

  • 1 – 8 oz can of mushroom soup
  • 1 – 8 oz jar of cheez whiz
  • 1 small onion (about 1/2 cup)
  • 1 stalk celery (or how many ever you want)
  • 1 cup Minute Rice (uncooked)
  • 1 pkg. frozen broccoli & cauliflower mixed or 1 8oz. pkg. each

Start by mixing soup and cheese together.

Add the rest of ingredients in a greased 9×9 baking dish. I mixed mine in the dish.

Bake uncovered at 325 degrees for 45 minutes. After 45 minutes, I mixed everything and put it in for 5-10 more minutes. Happy Holiday season! Enjoy!

crispy chicken with citrus teriyaki sauce

I made this recipe last week. I found it online on Annie’s Eats when I was searching for different chicken recipes. It was a great alternative to grilled chicken and paired well with yellow squash and zucchini. As you can tell, I don’t have a lot to say about this, but it made for a great food photo op! Ha! Happy eating!

Recipe

Ingredients

For the sauce:

  • 3 tbsp soy sauce
  • 3 tbsp freshly squeezed orange juice
  • 3 tbsp sake
  • 3 tbsp sugar
  • 3 tbsp mirin

For the chicken:

  • 1/2 cup all-purpose flour
  • 1/2 tsp garlic powder
  • 2 tsp salt
  • 1/2 tsp pepper
  • 2 large eggs
  • 1 1/2 cups panko breadcrumbs
  • 1 lb. boneless, skinless chicken breast (about 2-3)
  • Nonstick cooking spray

To make the sauce combine the soy sauce, orange juice, sake, sugar and mirin in a small saucepan. Bring to a boil, and reduce the heat to low, letting it simmer for six minutes, until slightly thickened. Remove from heat and set aside.

Preheat the oven to 475°F. In a shallow bowl or pie plate, whisk together the flour, garlic powder, salt and pepper. In a second bowl, lightly beat the eggs together. Place the panko in a third shallow bowl or a pie plate. Place a wire rack over a baking sheet and spray lightly with nonstick cooking spray.

Butterfly the chicken breast into halves so that you have 4 to 6 pieces total. Lightly season both sides of the chicken piece with salt and pepper. Using tongs and working with one piece of chicken at a time, dredge the chicken in the flour mixture to coat both sides.

Shake lightly to remove any excess flour. Then dip it into the eggs and shake gently to remove any excess. Finally place in the panko, turning to coat well.

Transfer to the prepared wired rack. Repeat with remaining chicken pieces. Once all the chicken pieces are in place, spray lightly with cooking spray.

Bake for 15 minutes, until chicken is cooked through and the bread crumbs are golden. Let rest for a few minutes before slicing and serving. Serve with teriyaki dipping sauce. Enjoy!

maid-rite


Have you seen this wrapper? There’s usually a sandwich inside. I’m sorry I didn’t take a picture of the actual sandwich, but it was devoured before I thought to take a picture! This loose-meat sandwich has been a staple in Iowa since the 20’s and it’s chains have shown up all around the United States. Whenever we travel through Iowa, we have to stop at a Maid-Rite! It’s too good not to! I suggest the same on your travels.

When I was looking through my recipe box, I came across a recipe for maid-rites! Honestly, four years ago, when I got the recipe, I didn’t even know what a maid-rite was! But now, now, I know! I’m so excited I’ve found the recipe from Grandma Kuhse. She’s a born and raised Iowan, so I figured she knew her stuff! Plus, as I have said in previous posts, I’ve been blessed with amazing cooks in my family! These women and men have been feeding hungry, hard-working farmers, so they know a thing or two about great hearty eats!

Recipe

Ingredients

  • 2 pounds ground beef (I use venison)
  • 1 can tomato soup
  • 1 tablespoon brown sugar
  • 1 teaspoon dry mustard
  • 2 tablespoon chopped onion
  • 3 tablespoons vinegar
  • Pepper & Salt

Brown meat and saute onions until tender. Add salt and pepper to taste. (about a 1/2 teaspoon or so.)

Add remaining ingredients and simmer for 10 mins.

We served these up at our friend’s house, during a Sunday football game and got great reviews! It’s quick, easy, and so tasty! Plus, its another great recipe that will feed you for a week! We add cheese and pickles to ours, which makes it a cheese-rite, if you want to be technical! Enjoy!

Happy Weekend Friends!

cheeseburger soup

A recipe card used this much… I have to tell you about! It’s one of my favorite recipes for winter; I received it about five years ago, and I’ve been loving it ever since. My husband’s family threw me a bridal shower,where they invited each guest to bring a recipe they enjoyed! (I loved this idea and suggest it for all!) Lucky for me, we have some great ladies and even better cooks on both sides of my family tree.  Thank Sara Turner-White for this recipe.

Ingredients

  • 1 lb gound beef (I use venison)
  • 3/4 cup chopped onion
  • 3/4 cup chopped carrots
  • 3/4 cup chopped celery
  • 5 tbsp butter (divided)
  • 3 cups chicken broth
  • 4 cups diced raw potatoes
  • 1/4 cup flour
  • 8 oz Velveeta
  • 3/4 tsp salt
  • 1 1/2 cup milk
  • 1/2 tsp pepper
  • 1/4 cup sour cream

Recipe

Cook 1 lb ground beef until brown, and drain.

In a sauce pan, sauté onions, carrots, and celery in 1 tbsp butter until tender. (about 10 minutes)

Put veggies and meat in a big pot and add 3 cups chicken broth and 4 cups diced raw potatoes. Bring to a boil, then reduce heat and simmer for 10 minutes or so.

In the meantime, prepare white sauce. Melt 4 tbsp butter. Add 1/4 cup flour.

Mix for about 1 minute or until smooth and pasty. If lumpy, remove from heat and add more butter. <- I love that line. Remove sauce from heat when it gets smooth and bubbly.

Mix into the soup. Bring soup to a boil for a couple of minutes.

Reduce heat to low and add last ingredients: 8oz Velveeta, cubed, 3/4 tsp salt, 1 1/2 cup milk, and 1/2 tsp pepper. I know Velveeta isn’t even considered real cheese, but trust me, this is good!  

Cook and stir until cheese is melted. 1/2 hour before serving, add 1/4 cup sour cream.

This recipe makes 13 cups! So, for the husband and I, that’s 6+ meals! We had it all week at work. It’s so easy to heat up again and again. And for all you weight watcher fanatics, it’s 4 WWPP, per cup! (I used light sour cream and skim milk.) Enjoy!

bread bowl chili

I’m really ready for fall! Football has started, Starbucks has their Pumpkin Spice Latte, and Dallas has had a couple mornings in the 60’s! So, it’s officially time to bring out the chili!

Chili is one of my favorites fall recipes! It’s a great meal to make in a big batch so you can enjoy it all week long. I wanted to share one of my mother’s classic recipes (I believe she got it from a Kraft recipe book, but I couldn’t tell you which one. I’m sorry.) with my own personal twist!

Recipe

Chili

  • 1 lb ground beef (I use venison)
  • 1/2 c chopped onion
  • 16 oz can kidney beans, undrained
  • 16 oz can tomatoes, undrained
  • 16 oz can tomato sauce
  • 1 Tbsp chili powder
  • 1 tsp salt
  • Shredded sharp cheddar cheese

Bread Bowls

  • 1 cup warm water
  • 1 package yeast
  • 1 tsp sugar
  • 1 cup bread flour
  • 2 cups all-purpose flour
  • 1/2 teaspoon kosher salt
  • 1 tbsp honey
  • 1 tbsp olive oil

First, I used the instructions from my BBQ pizza post to make the dough. Make sure to allot for 2 hours-plus (before serving), in order to allow the dough to rise, bake the bread bowls, and chili.

P.S. I know making dough sounds primitive, and to me sometimes scary, but everytime I make it, I get reminded of how easy it really is! Don’t get discouraged! It’s easy and fun!

For the chili, I started by browning the meat; drain.

Add onion to meat and cook until tender.

Stir in the remaining ingredients, except the cheese. This is where you can get creative. I add cumin, cayenne pepper, etc depending on my spice level that day! Have fun with it!

Cover; simmer 30 minutes, stirring occasionally.

Now, back to the bread bowls. I used 4 corning ware 7 oz dishes, but any small (oven-safe) bowl will suffice. Spray each dish with non-stick cooking spray and mold the dough around the dish. The dough will make about 4 0r 5 bowls.

Place the bowls on a cookie sheet and bake until light brown, approximately 10-15 mins.

They should pop easily out of the bowl!

Add chili with or without cheese and enjoy!! I love me some bread with my chili and cheese, and these bread bowls are so easy and make for an adorable presentation if you’re hosting. Enjoy and Happy Fall!!